Doug Horgan
This was illustrated on a recent job where the customer had a ce…
If not properly detailed, tile shower pans are prone to leaking at joints in the curb, benches, niches, and knee walls, at the shower-valve escutcheon, and at the drain. We see shower failures all the time, and frequently the toughest part is deciding how far we need to go to fix it. We can be certain we’re fixing all the problems if we demolish the whole thing and start over, and often that’s the right solution. But sometimes a less aggressive approach can work, saving customers time, hassle, and money.
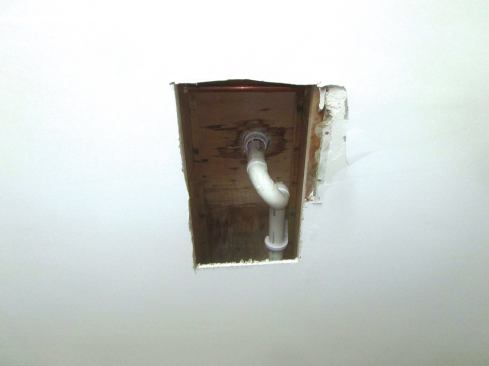
This was illustrated on a recent job where the customer had a ceiling leak. When we arrived, the plumbers had already cut a hole in the ceiling directly below the shower drain. Judging from the calcium buildup in the leak area (including stalactites a couple of inches long), this leak was a longstanding one.
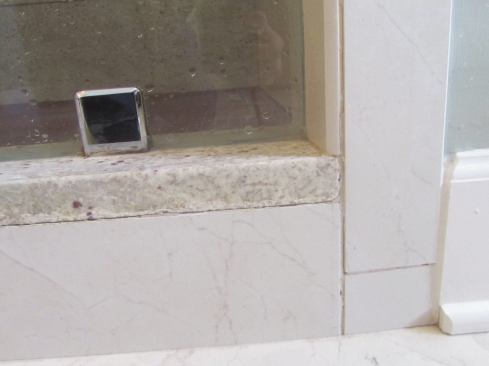
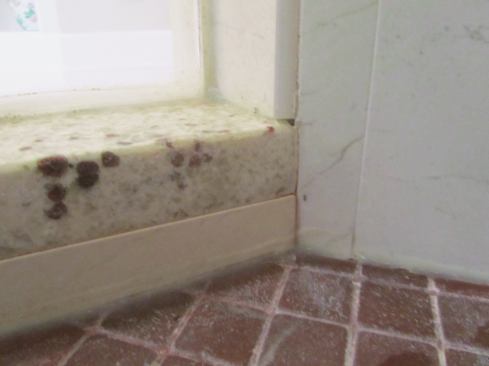
A close look at the shower revealed a number of potential problems: cracks along the corners of the curb, voids in the caulk and grout, and buildup of efflorescence around some of the joints, indicating water flow that deposited minerals. The question was, how much water was actually flowing through these cracks? Was it enough to cause the leak in the ceiling below?
Cracks in grout lines are perfectly normal. We see a lot of cracks in curbs, often caused by movement of the wood structure below. If not properly waterproofed, the wood curb (usually a double 2×4) swells as it gets wet, which can create cracks as large as 1/4 inch wide in tile.
A good caulk job that’s well-maintained should stop, or at least slow down, leaks in the curb area. If the curb had originally been designed and built correctly (always a question to ask when you’re looking at someone else’s work), there would be a complete, intact second layer of protection below the tile or stone. In that case, there shouldn’t be a problem, even if the caulk wasn’t maintained perfectly.
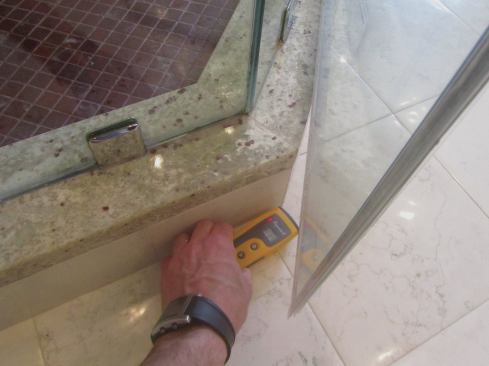
So we investigated a little further using a pinless moisture meter. The floor outside the shower was a bit wet in some spots, but there was no visible damage, and the readings were not very high.
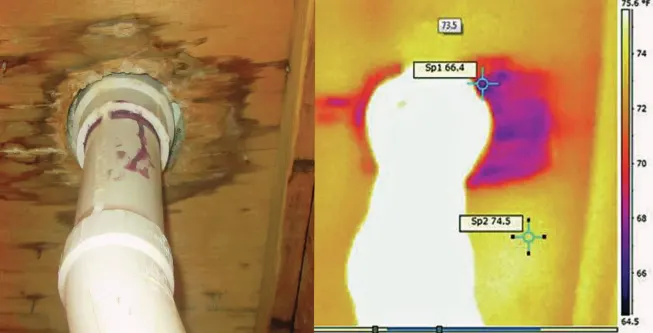
Next, we used an infrared (IR) camera to look at the ceiling, subfloor, and drain. IR cameras are great tools for evaluating moisture damage. You can scan large areas for water, quickly and accurately. We could see that except for very near the drain, most of the area was dry. In the IR image, the purple areas show where water evaporating out of the plywood has lowered the temperature of the wood. The warmer areas indicate drier wood.
That’s good; the minor wetness at the curb we found with the moisture meter didn’t seem to be enough to spread into the floor or drywall below. Similarly, there were no wet areas under the valves or the bench. The wet areas were localized to immediately around the drain.
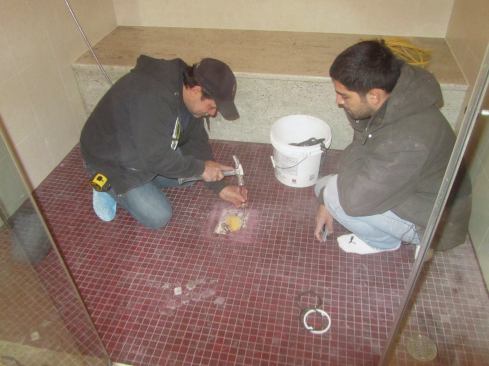
We brought in GLB Tile & Marble, one of the tile subs we use that has over the years shown particular expertise in dealing with water leaks. GLB agreed that because of the small area of dampness our forensics confirmed, it would be a safe bet to open up only the drain area.
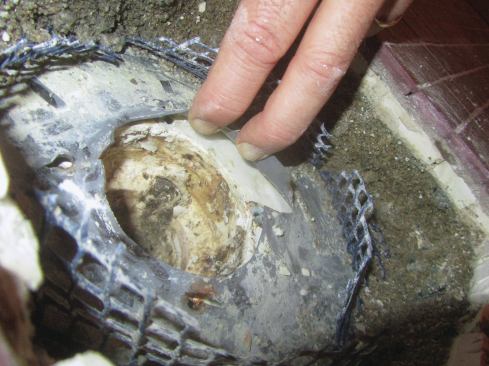
Our hope was that we could fix the problem that way without tearing out the whole shower. We could always come back and take out more if need be. So GLB carefully cut the grout and removed the individual tiles, saving every one, then carefully chipped out the mortar.
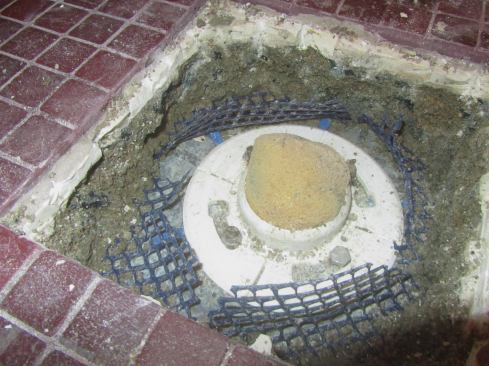
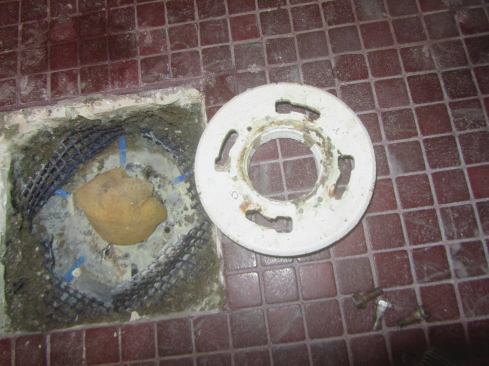
We found two obvious problems right away: First, the Oatey (oatey.com) clamp ring was installed so that the weep holes were facing the wrong way. In the photo, the slots across the white clamp ring are weep holes that should be facing down.
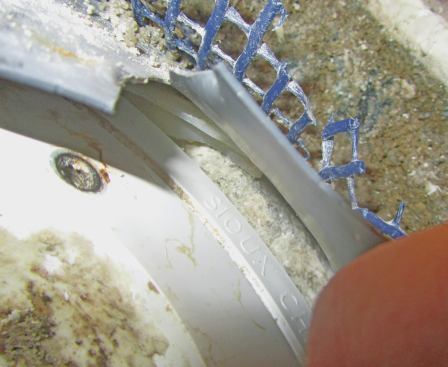
Second, someone had shimmed up the clamp ring with blue plastic shims spaced around the perimeter. This prevented the ring from firmly clamping the liner down onto the drain body below. Our best guess is that the tile guys who installed this drain turned the ring over in an effort to extend the thickness to account for a second layer of old tile underneath. But they knew that the upside-down ring needed weeps, so they tried to make a weep passage by shimming the clamp ring up a bit. Big mistake.
Further digging revealed a third problem: The shower liner material was not properly glued to the drain body. Someone had tried to use silicone caulk, which in our experience is not a long-term solution for water sealing. Predictably, it had failed. Personally, I would use silicone only where it can easily be seen and replaced when it fails, never in a concealed location where it is needed to hold back water for the long run. Since the silicone in this case wasn’t adhered to either the drain or the liner, there were actually two paths for water to escape: between the liner and the silicone, and between the drain and the silicone.
The silicone molded to the drain body below, which helped us find a fourth big problem: The clamp ring and drain body were from two different manufacturers and didn’t seal properly. The words “Sioux Chief” (siouxchief.com) were molded into the silicone pieces we pulled out. Sioux Chief drains have a slot on top of the drain body, and the smooth clamp ring has a molded bump that presses the liner down into the slot. In contrast, Oatey drains have a little bump molded into the top of the drain body, and the clamp ring’s edge presses the liner onto the bump. If the glue fails (or is omitted), the physical clamping at the slot or bump will pretty reliably seal the liner to the drain. Unfortunately, if you use a mismatched clamp ring, it doesn’t press the liner into the drain body to seal it.
THE REPAIR
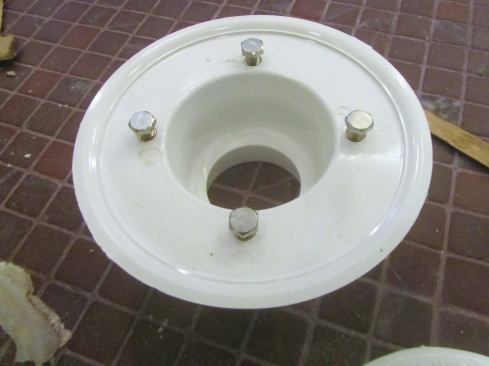
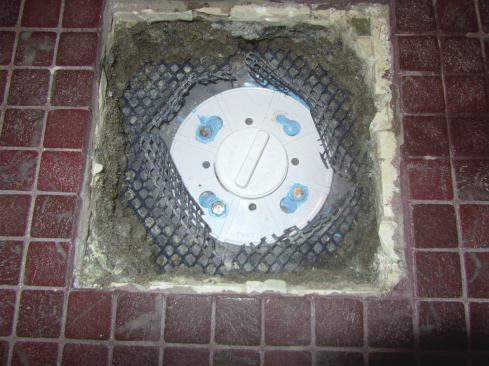
We bought the matching Sioux Chief clamp ring, and used NobleSealant 150 to glue the liner to the drain body. The cutouts for the bolts in the existing liner were pretty big, so we used a generous amount of sealant (the blue goop in the photo) around those. But we were careful not to clog the weep holes and slots. Keeping those open was critical to the job.
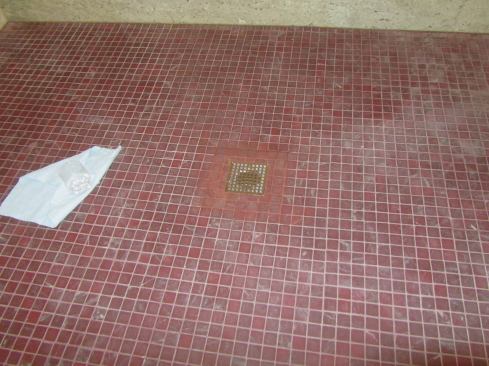
Once the drain assembly was put back together, we water-tested it for 24 hours before the tile guys repaired the area, using a trendy square drain that the clients preferred over the previous round one. The existing grout had a bit of white buildup on it, so the new grout will look darker for the time being. We expect that over time it will match as the same minerals and soaps wash over it. The grout below the surface was the same color as the new grout we used.
So far the repair has held, justifying our decision to focus only on the drain and not rip out the entire shower pan. In the end, we had very happy customers and built some trust by keeping the job within reasonable bounds.


