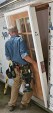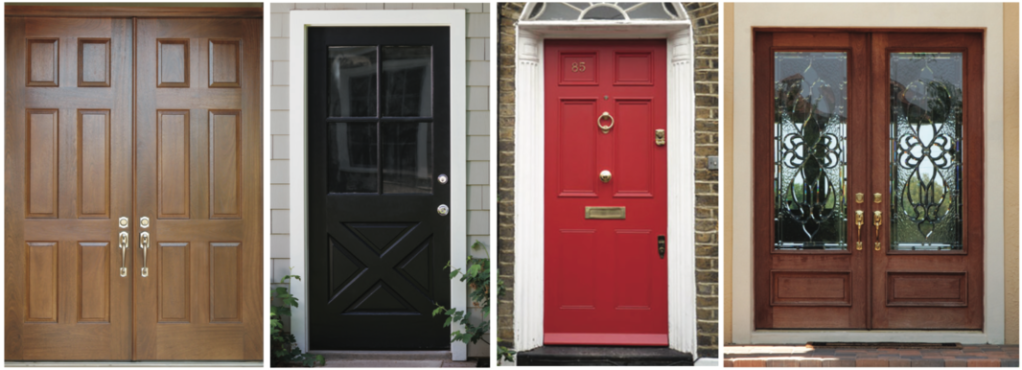
There’s a good chance you’ve installed dozens, perhaps hundreds, of exterior doors over your career, from builder’s grade to grand, high-end custom doors and everything in-between.
No matter how fancy the door, they all share common issues that can lead to mistakes, callbacks, delays, or even a failed building inspection report. Here’s our list of common snafus to avoid along with one can’t-miss solution that puts all these headaches behind you. See if you recognize any of these:
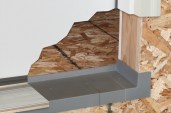
- No Sill Pan, No Problem. You can always fashion a makeshift pan sill out of flashing tape, right? Let’s hope not. Building code in many states and local jurisdictions now mandates rigid sill pan installation. Flirting with a possible code violation doesn’t make sense for the owner or your reputation. Nor does leaving behind a leaky threshold and water-damaged subfloor.
- Any Old Sealant Works. Don’t tell the door manufacturer or the AAMA that. They know the only sealer that offers performance is a 100% solid composition that meets AAMA 800 requirements. Trying to skate by with a non-compliant sealer exposes the door assembly to needless adhesion and shrinkage issues, leading to voids for water and air infiltration.
- Generic Flashing Tape Blues. There’s flashing tape and then there’s flashing tape that meets or exceeds AAMA 711 standards for exterior wall fenestration. Insist on a flashing tape with block co-polymer adhesion that applies in low temperature environments, even down to 0 degrees F. A split release liner also simplifies installation.
- What About the Foam Sealant? Sealing-up void in the frame and rough areas is too often neglected. It shouldn’t be. As little as nine ounces of a low-pressure polyurethane door and window foam is all that’s required to fill the gaps in a single exterior door install. A non-rigid, highly elastic foam will accommodate up to 30% joint movement without a problem. Plus it seals out air, water, and sound for an even tighter project.
- I Can Get By With 3 Screws. Door assembly packages often include three screws that match the hardware. But you know it takes more than that to mechanically fasten the door. You should figure on a dozen rust-resistant (galvanized or stainless steel) screws for proper installation.
- Shims Without Snap. You’ve gone to all that trouble to keep air and water out. Why risk rot from water-soaked wood shims? Specify composite shims that are water resistant and pre-scored for easy snap and fit.
- Missing Metal Flashing. Don’t rely on flashing tape alone over the head brick mold. The only way to prevent water from sitting on the exposed wood of the brick mold is with a metal head flashing/drip cap. The vertical leg of the metal flashing should be installed against the sheathing and the weather barrier lapped shingle fashion over it.
- I Forgot the _______________. It’s critical that installers have all the preceding items on hand at installation time. It’s a lot to remember and don’t expect door manufacturers to help with installation accessories. Shop these must-haves when you order doors from your building materials supplier.
Ask your building products supplier to include an exterior door installation kit with each single, double, or sliding patio door order. It’ll save you a world of aggravation, keep your code compliant, and help deliver another outstanding project.
Learn more about DAP Products Quick Kit for exterior door installation here.