I’ve renovated many porches that have treated 4×4 or 4×6 posts supporting their roofs. Those posts seem spindly and out of proportion with the scale of the porch, so I have a system for wrapping PVC trim around the posts to give them the appearance of being more substantial while also making them look infinitely better than the bare treated wood.
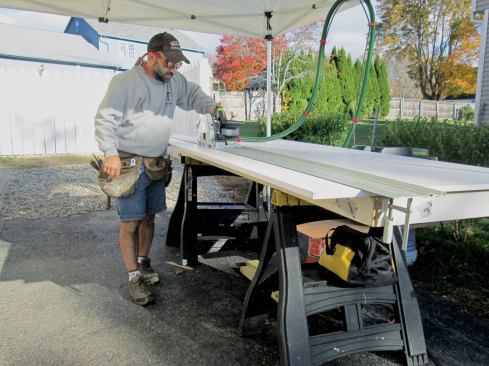
To make this process fast and efficient, I create all the components on my workbench. Instead of buying stock sizes, I rip all the parts from a sheet of ¾-inch PVC using a track saw. Doing so is less expensive, and it gives me the flexibility to create the exact sizes I need. To join the edges of each component, I use butt joints instead of miters. Butt joints are faster and easier to make than miter joints, and they all but disappear when sanded and finished.
Treated posts can move and twist over time, so I like to give them ½ inch of wiggle room on all sides when I make my wraps. The posts in this project were 4x6s, so I ripped the narrow part of the main sleeve at 6 inches: 3 ½ inches for the post, ½-inch space on each side, plus ¾ inch on each side for the intersecting sides of the wrap. The wide sides of the sleeve were 6 ½ inches: 5 ½ inches for the post, plus½inch on each side for the extra space. For length, I measure from the porch floor to the beam overhead and subtract a couple of inches to account for the part of the post that will be covered by the base.
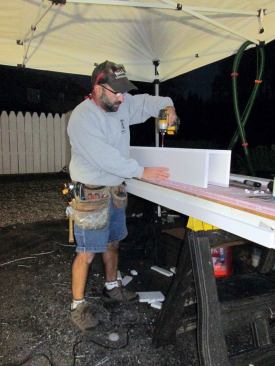
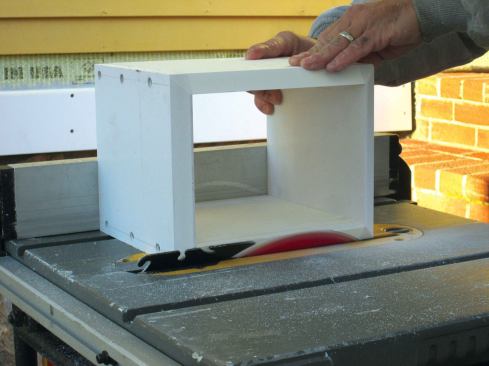
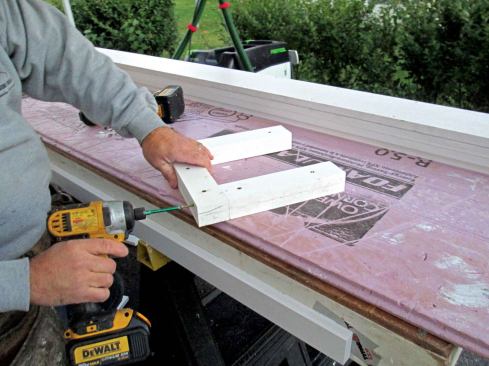
First I pre-assemble three sides of the sleeve on my workbench. Every joint in the wrap is glued and screwed, and for consistency, I lay out the screw locations using a marking gauge and measuring tape. I’ve tried different fastening systems over the years, and using countersunk screws with plugged holes gives me the most dependable, long-lasting results. I pre-drill the holes using a Fuller countersink and tapered bit with a depth collar that leaves a perfect 3/8-inch hole. I drill and fit the fourth side temporarily without gluing it. Then I set the sleeve aside to help me fit the other components as I make them.


Emanuel Silva
Instead of buying stock sizes, I rip all the parts from a sheet …
The base comes first, and I rip the widths I need and cut them to length. As before, I glue and screw three sides together and screw on the fourth side temporarily. I bevel the top of the base to shed water, so while it’s still all together, I set the bevel angle on my table saw and run the piece through on all sides. Then I remove the fourth side and set all the pieces aside.
The top collar is thicker and wider than the other components, so I stack two layers of ¾-inch PVC glued and screwed face to face. Because this band is purely decorative, I glue and screw three sides together with simple butt joints. Again, the fourth side is screwed on temporarily so that I can ease the edges using a round-over bit in my router. I also give the edges a quick sanding to even them out and to smooth the “end-grain” of the PVC. Instead of removing the fourth side completely, I leave a screw in one end that will let me slide the collar over the post wrap and swing the fourth side into place. The final component is a simple square-edge support band that I make and pre-assemble like the other components.
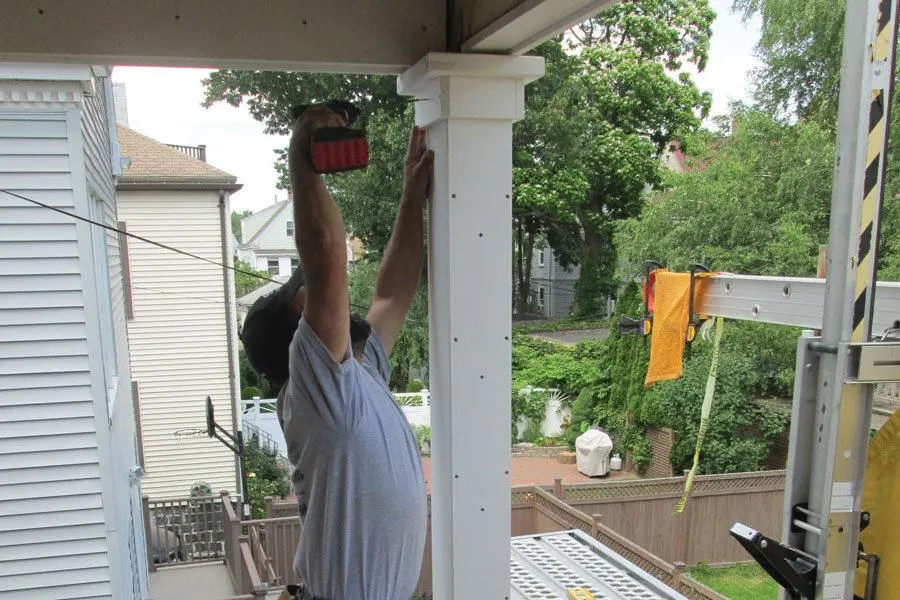
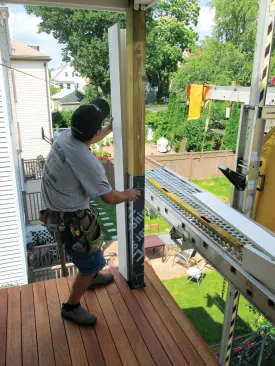
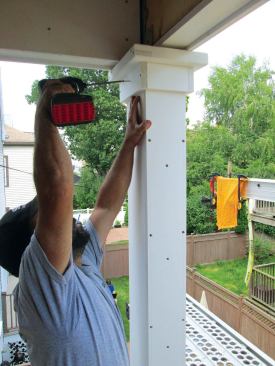
Sleeving the posts. Now I can bring all of the parts for the wrap onto the porch. I start by slipping the pre-assembled part of the sleeve around the post. With the final side of the sleeve already pre-drilled, I glue and screw it permanently to the pre-assembled part. At this point, the sleeve is just floating around the post, and the space I built into it allows me to plumb it in both directions.
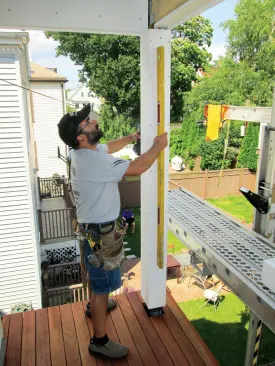
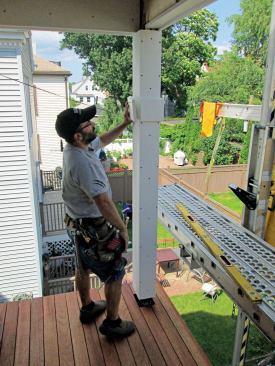
I slide the sleeve up as high as it can go and drive screws on all sides at the bottom, securing it with a space between the sleeve and the post. Next I plumb the sleeve in both directions and drive screws near the top to anchor it. At this point I can use my screws to micro-adjust the sleeve for plumb. When it is plumb, I drive screws into the pre-drilled holes on all four sides from top to bottom, taking care not to distort it by overdriving the screws.
Installing bases. I install the bases by slipping the pre-assembled part of the base around the post and then screwing and gluing the final side in place. Once the base is complete, I just slide it down to the porch floor and screw it to the sleeve on all four sides.
The top collar is the only component that can be installed in one piece. I swing the free side out of the way as it slips around the sleeve. Now it’s just a matter of swinging that side back into place to complete the assembly. The supporting band is last and is installed much like the base; I slide it up along with the collar and attach it to the top of the sleeve.
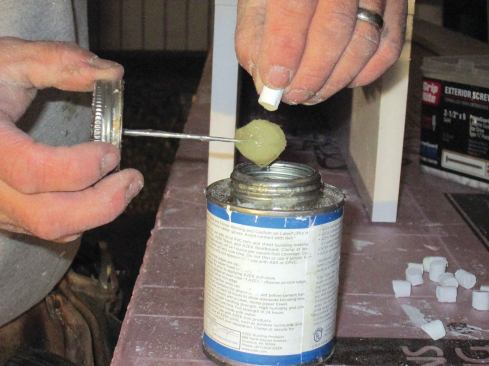
Plugs. Depending on my schedule for installing the wraps, I can plug the holes on the bench or after the wrap is installed. The PVC plugs are made from leftover scraps. I cut them with a 3/8-inch Fuller plug cutter chucked into my drill. I always cut a lot of plugs—on this project, there were more than 90 holes to plug in each post wrap.
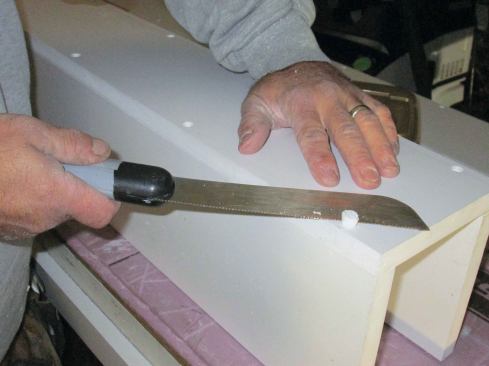
I dip each plug in PVC glue before tapping it into the hole. When all of the plugs are in, I go back and trim them flush, using a thin, flat saw. I sand the faces to smooth over the plugs and to remove any remaining saw marks. Finally, I caulk all the joints using 100% acrylic latex caulk. The wraps are now ready for paint.


