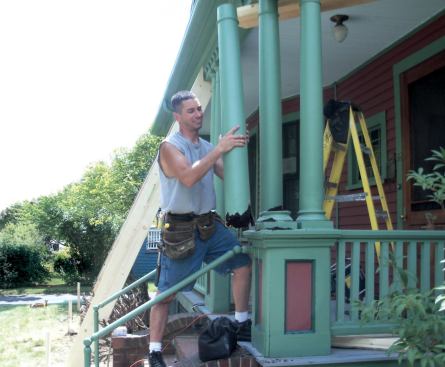
I was recently asked to repair the front porch of a 100-year-old house in Medford, Mass. Though handsome, with turned wood columns and nice details, the porch had seen better days. Another contractor had done some work on the deck about 20 years earlier, but because those repairs had trapped water rather than allowing it to drain, there was a lot of rot.
Demolition and Footings
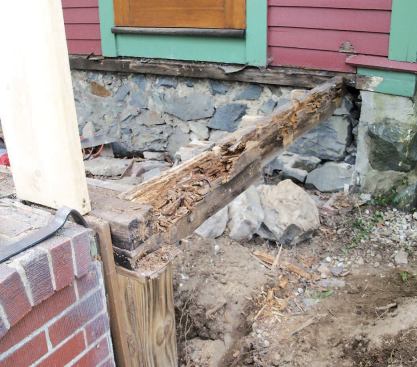
Fortunately, the roof structure was still completely sound. We supported it securely with double 2×10 braces, then went to work removing the handrails, columns, and pedestals and pulling up the mahogany deck boards. Most of the decking was sound enough to reuse, but the understructure was badly rotted. We also found that the footings were undersized and only 11/2 to 2 feet deep. Since all this had been hidden by the porch skirting, none of it was included in the original scope of work. The homeowner agreed that the problems had to be addressed, so we wrote up a change order and kept moving.
We used the roof and the existing brick steps – which the homeowner wanted to save – as guides to laying out new footings, although this was complicated by the fact that the steps weren’t parallel to the porch. After several attempts at plumbing down from the roof and adjusting the results to the position of the steps, we came up with a layout we could live with.
Concrete piers. We established a reliable height reference for the footings and posts by running a level string line between two 2x4s plumbed and fastened to each front corner of the porch. Then we dug the footings by hand, 2 feet in diameter and 4 feet deep, flaring the bottoms of the holes outward to give them a bell shape (see “Working With Sonotubes,” On the Job, 02/11). Each 12-inch Sonotube was reinforced with four lengths of #5 rebar. I like to keep the rebar about 10 inches down from the top of the footings so it doesn’t interfere with the post anchors.
Framing and Decking
The existing frame had three crosswise beams set into shallow pockets in the foundation wall running to a 4×6 rim joist. We replaced the undersized rim with a triple 2×10 and added two crosswise beams to the layout, dividing the overall span into fourths rather than the original halves.
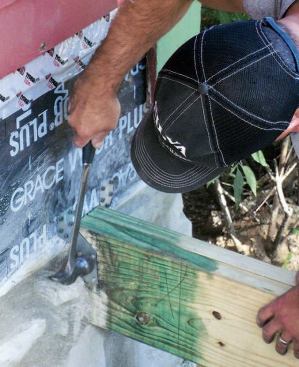
Changing the beam spacing meant cutting two additional pockets into the mortared stone foundation wall. Like many old foundation walls, this one was neatly made where exposed to view, but where it was hidden by the porch it was very rough, consisting of small pieces of stone thrown together almost at random. We used a cold chisel to cut the additional 3-inch-deep pockets and deepen the original ones, which extended only an inch or so into the wall. We then reparged the face of the wall around the pockets with cement mortar.
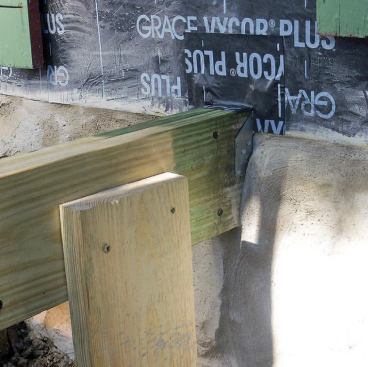
We soaked the cut ends of the doubled 2×10 crossbeams with Jasco Termin-8 wood preservative to prevent rot where they made contact with the masonry. Although the structural load was carried by the beam pocket, we added metal hurricane clips for good measure.
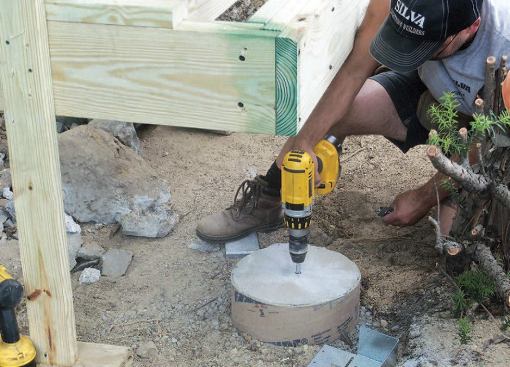
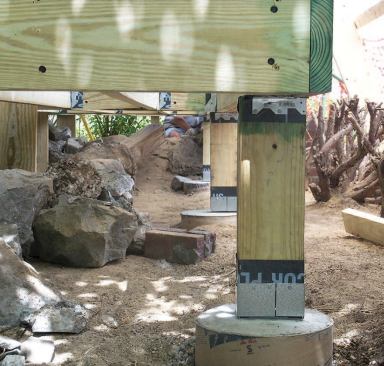
I used 1/2-inch wedge anchors to attach the 6×6 post bases to the piers. Drilling the required holes took more time than pushing J-bolts into fresh concrete but guaranteed that the bolts would end up exactly where we wanted them, saving us trouble in the long run.
The final step in the framing was building short sections of “knee wall” – basically, low stud walls tied to the deck with metal connectors; later they’d be encased in the finished pedestals.
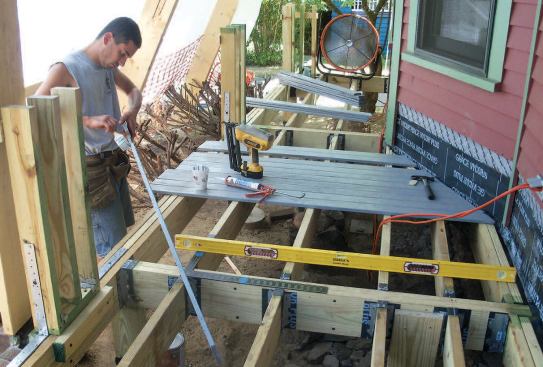
Decking. We were able to reuse about three-quarters of the existing deck boards; both the original boards and the replacements were given a first coat of Benjamin Moore exterior primer. Instead of using one of the various hidden fastener systems for fastening deck boards, I usually apply a couple of dabs of 3M Marine Adhesive to the tops of the joists, press the boards in place, and nail them down with 2-inch finish nails. I’ve been doing this for eight years and have yet to see a board work loose or develop a squeak. I used three tubes of adhesive on this job – cheap insurance at 10 bucks a tube.
Pedestals and Handrails
The homeowner wanted exact duplicates of the original column and handrails. We used wood for the handrail but assembled pedestals from rotproof cellular PVC. The columns are cast from a fiberglass-reinforced polymer.
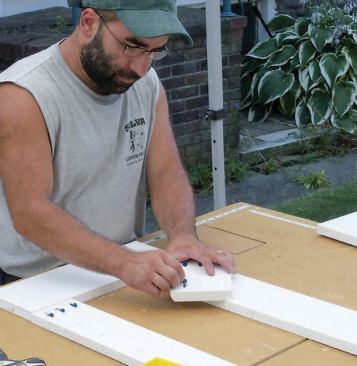
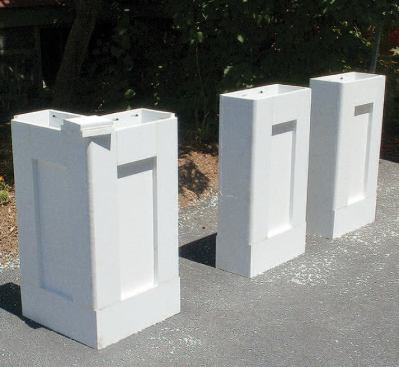
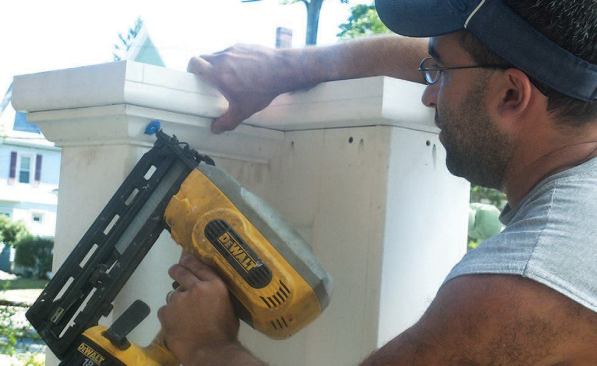
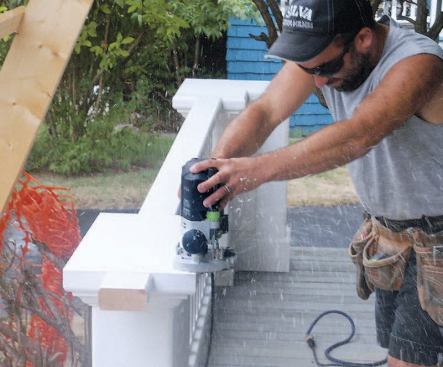
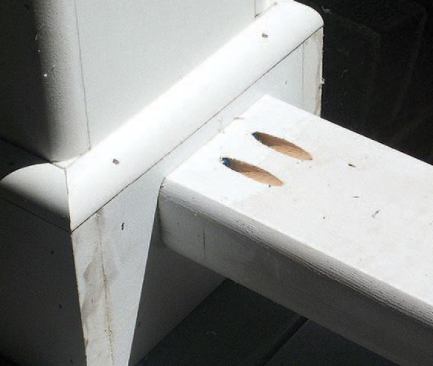
Frame-and-panel pedestals. The pedestal frames are made from 3/4-inch cellular PVC trim boards, and the panels from 1/2-inch PVC sheet stock. For applications like this, I use Kreg pocket screws along with TrimTight cellular PVC cement (TrimGlue, 877/874-6458, trimtight.com). Using both pocket screws and glue helps ensure that the stock won’t move and open at the joints. The original base caps were made from 2-inch stock, which wasn’t locally available in PVC, so we glued up the caps from two layers of 5/4 material.

Thick handrail and baluster stock was laminated from 5/4 red ced…
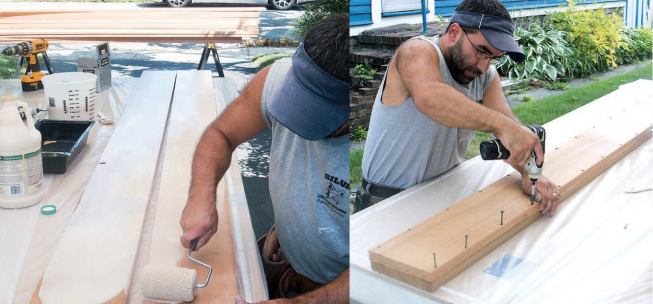
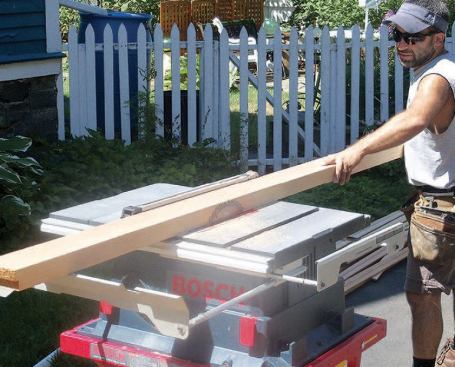
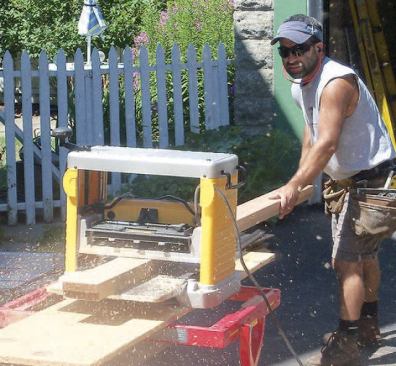
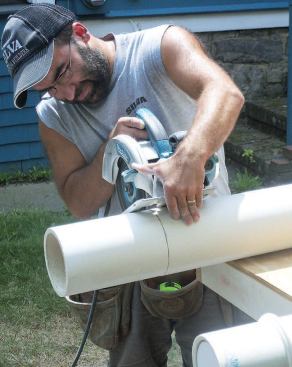
Built-up handrails. The existing handrails and balusters were fir, but we glued up the replacements from two layers of 5/4 red cedar, which is durable and machines nicely. I didn’t have the 50 or so clamps I would have needed to laminate the cedar boards in the usual way, so I improvised with wood screws. After drilling holes 4 inches apart along the edges of the boards, I coated them with glue and screwed them together. The next day, I removed the screws, ripped off the edges with the screw holes, ran the stock through a portable thickness planer, and routed the edges to match the profile of the original rails.
We glued up the baluster stock in the same way, then ripped the material to width and cut the balusters to length four at a time, using a miter saw with a stop block. After sliding the new pedestals over the framed knee walls and fastening them in place, we were able to measure and cut all the handrails to length. I fastened the matching top and bottom rails to the pedestals with pocket screws. But rather than installing the balusters individually, we screwed them between pairs of PVC spacers, then fit the baluster sections between the upper and lower rails, which concealed all the pocket screws.
To prevent the handrail and baluster sections from sagging, we screwed short support blocks to the deck underneath the bottom railings. We then caulked all the joints and filled all the holes with Bond & Fill two-part epoxy (877/822-4615, bondfill.com), which is designed for use with PVC trim.
New Columns
Like the pedestals that support them, the columns are a maintenance-free synthetic. We special-ordered the slightly tapered Tuscan columns – which are molded from a composite material called PermaCast – from HB&G (800/264-4424, hbgcolumns.com). The upper and lower terminations – the base and the capital – are separate pieces. By studying the catalog, we were able to obtain combinations that matched the originals almost perfectly. Each three-piece column cost a little less than $150.
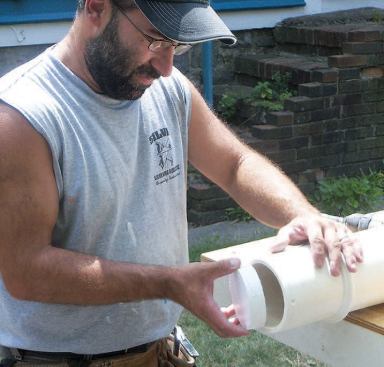
Not an exact match. Installing the columns is supposed to be a matter of cutting them to length, positioning them and making sure they’re plumb, then fastening the base and capital to hold them in place. We had one minor problem, though: I could see that an ornamental ring that was an integral part of each column was noticeably higher – and closer to the capital – than the rings on the original columns.
The difference was fairly small – less than 2 inches – but columns can look very strange if they’re not properly proportioned. Plus I had promised the homeowner that I would match the old columns. After arguing with myself for a while about whether I could just ignore the difference, I came up with a solution.
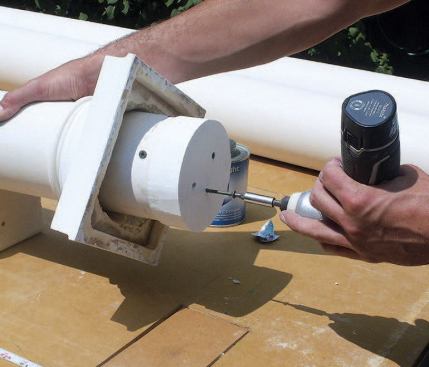
Using a jigsaw, I cut a circular piece of 3/4-inch PVC trim stock just large enough to fit snugly into the hollow upper end of the column and fastened it with screws. I then cut two slightly larger disks of the same material, extending the upper end of the column and effectively lowering the position of the ring. It took some time, but I repeated this procedure for the remaining nine columns, confident that I was providing an exact match with the originals.
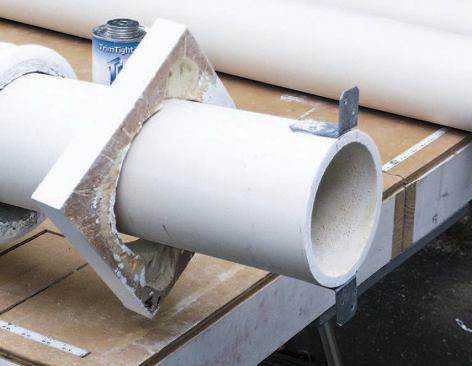
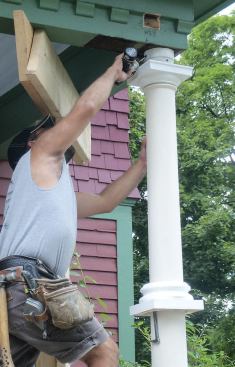
Finishing up. Although the composite material of the columns was very hard, it could be cut with a regular carbide-tooth saw blade. I decided that I didn’t completely trust the capital and base alone to fix each column in position, so just to be safe I screwed a couple of small metal framing angles to the bottom of each column. Plumbing the columns was complicated by the fact that they were tapered. I wedged one column temporarily in place and kept adjusting its position until my 4-foot level gave me the same out-of-plumb reading on all sides, then marked the position of the bubble on the vial and used the mark to plumb the remaining columns.
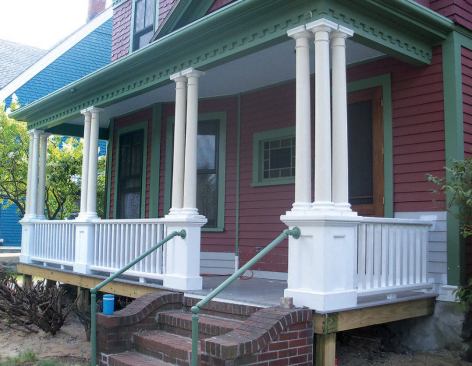
To allow for drainage, I drilled a 1/2-inch hole in the top of each pedestal – centered below the column – so that any water that pools there can escape to the ground. The homeowner is pleased with the final result, and I am, too. The porch looks just like the century-old original must have when it was new, and with its improved structure and materials, it should continue to look good for many years to come.
Manny Silva owns Silva Lightning Builders, a remodeling company in North Andover, Mass.


