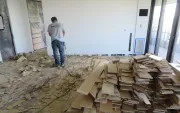
Our company, Miiller Construction, installs a lot of exposed-fastener metal roofs. Most of these are reroofs on homes, which we typically install over existing asphalt shingles. All of the commercially available metal roofing we can buy in our area is warranted for contact with asphalt, but we prefer to install 3 1/2-inch wood strapping first, securing it through the shingles to the sheathing with ring-shank nails. This gives us a firm base for the screws that hold down the roofing. Many of the older roofs in our area are decked with board sheathing. With a nail gun, it’s obvious when you miss a solid board, and you can just fire in another nail. But if you are screwing the roofing directly to the shingles and hit a dead space, you need to back the screw out and fill the hole with a grommeted stitch screw. All the extra holes in the metal makes for more risk than we care to take on. It also takes longer.
On the majority of roofs, we install 29-gauge panels, which are less expensive than heavier, 26-gauge panels. We explain to customers that the heavier-gauge material will withstand hail better, but most still opt for lighter-gauge material because of the cost. We can actually install 29-gauge metal (strapping, screws, and 29-gauge trims included) for less than we can install a good architectural shingle roof with a similar lifespan. Even at the lower cost, most of our clients see a metal roof as an upgrade over shingles. (We do price out heavier-gauge trims as an option, disclosing to customers that the lighter–gauge trim can oil-can easily, but most clients still go with the less expensive package.) The photos that follow here detail the key steps from a couple of roofing jobs that show our methods for a fast, quality installation.
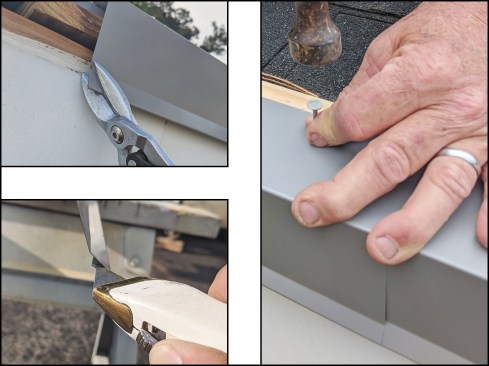
We start by ripping off the overhanging edge of the shingles with a hooked knife and remove any existing metal drip edge so we can install our eaves trim. We attach this trim by hand with roofing nails. On most homes, the eaves are longer than one trim piece, so we need to splice the trim. For this, we cut a little diagonal on the drip leg (left, top), and take a utility knife and open up the hem a little bit on the joining piece (left, bottom). This allows the diagonal cut to slip into that open hem (right). If you don’t do this, the overlapping piece will stick out and may open up as wind catches that lip and bends the trim.
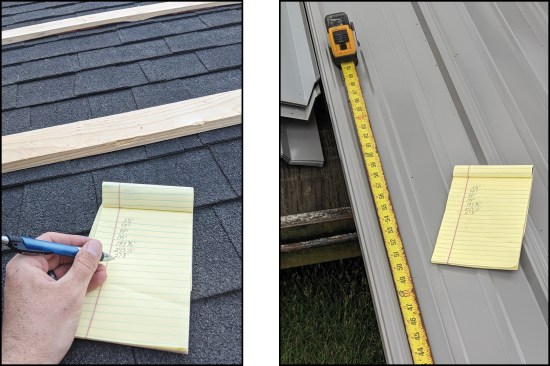
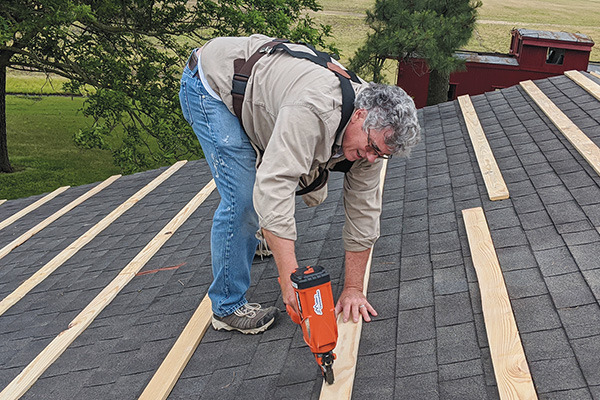
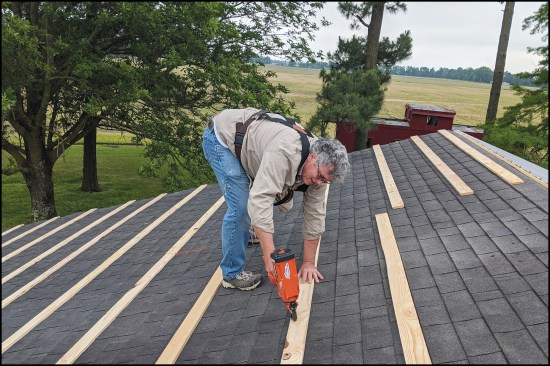
On a house, we normally install lath every 2 feet. More is not needed; there’s no reason to drill extra holes through the roofing panels. But it’s key that you know where your holes go. We measure the distance to the center of each lath and write those numbers down (left). We can then transfer these numbers to a panel (right).
We clamp the marked panel to a stack of panels (enough for the run) to hold them together and drill all the holes all the way through with an 1/8-inch bit. This way, all the holes are in exactly the same position on all the panels so we end up with a nice, straight line of fasteners.
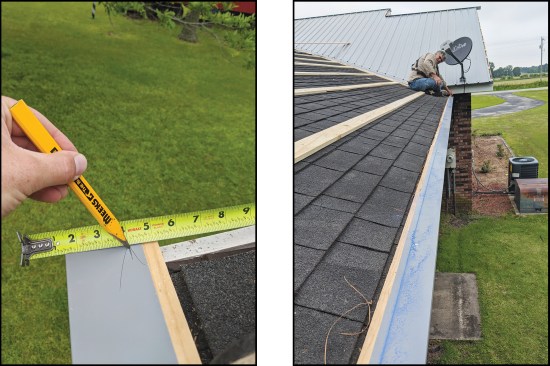
Existing roofs are rarely square, so we use a method for positioning panels that focuses on getting the overhanging edge straight; if the gable edge is off, it will be covered with trim. We start by measuring any distance that allows for the roofing to overhang the eaves trim by 1 1/2 inches and lands on the drip edge—in this case, we chose 4 inches (left). We mark the same distance on the far end of the roof and pop a chalk line (right).
I mark the same distance (4 inches) on both sides of each roofing panel (left) and use the marks to align the panel on the chalk line (right). As a result, we don’t spend a lot of time trying to microadjust each panel to align with the roof, and we end up with a consistent overhang along the front fascia.
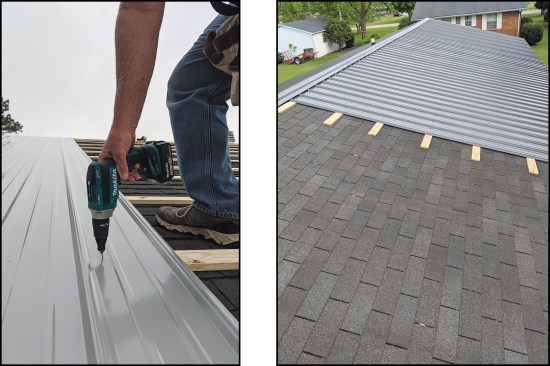
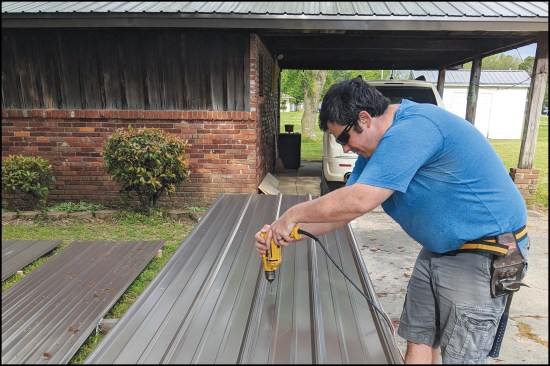
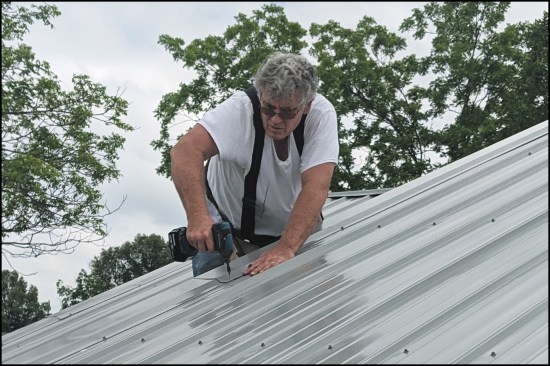
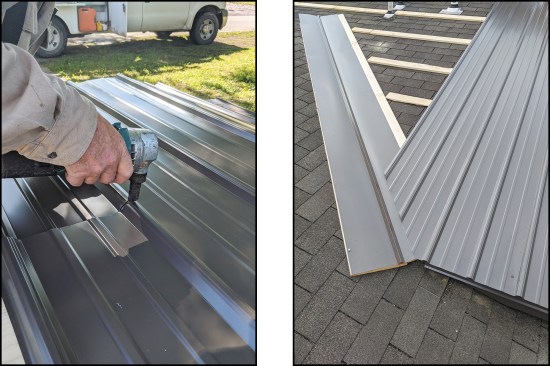
We place screw holes in the center of the pan, just to the right of the rib, and use 1-inch roofing screws to secure the panels (left). Ridge cap is secured to the ribs of roofing panels with stitch screws for a metal-to-metal connection. Typically, we complete the roof in sections (right) so we don’t have to move ladders around the house multiple times and continually walk back and forth to one work station.
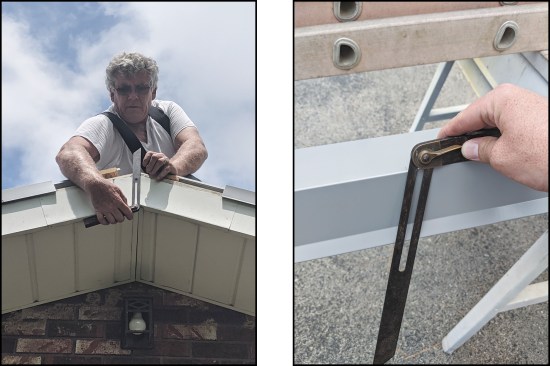
After the roofing panels are installed, we cover the gable edge with rake trim. To find the plumb cut for the trim at the peak, we use a sliding bevel square (left, right); it’s a simple, old-school tool, but it works well.
We start installing the trim from the bottom and work our way up, just as we do with the roofing panels, so that the lap drains water away with gravity.
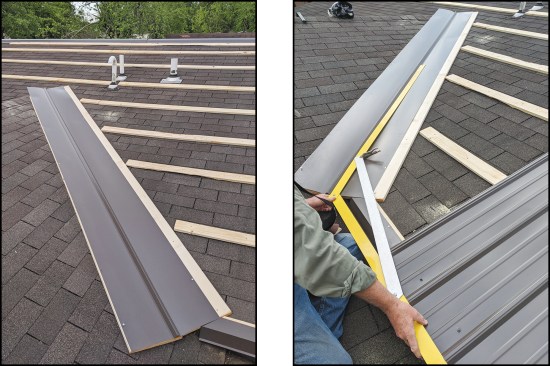
At valleys, we start with 1×12 decking boards so the metal W-valley has continuous support (left). On existing homes, it’s often hard to be precise with the math (where you measure to is often a guess in a woven shingle valley), so we developed a method to measure the angle of the metal panels. We made the angle gauge using 3-foot aluminum rulers (the yellow ones are made by Swanson) that we joined with swivel screws. We lay this in the valley and hold the angle with vice grips (right), which makes it easy to transfer the exact angle to the roofing panel.
All cuts we make with a nibbler (left). The marking is fast enough we do it for each panel, working up the valley (right)…
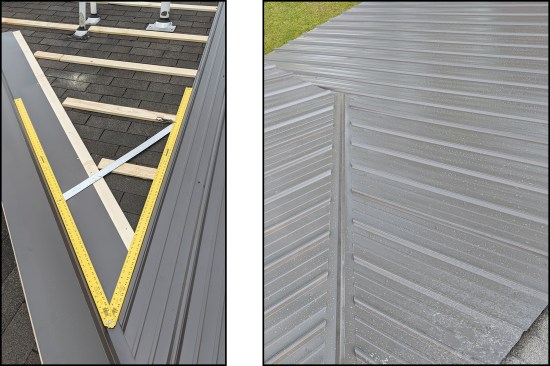
…(left), so we end up with straight, parallel lines (right).
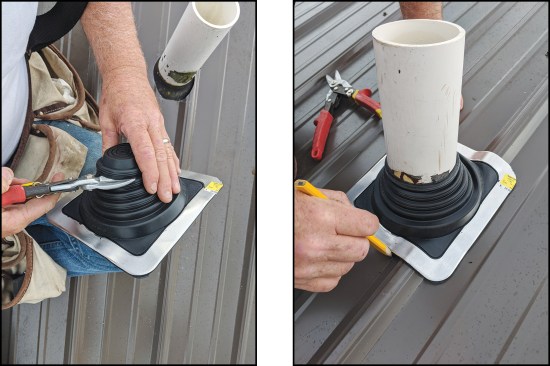
We rough-cut the metal panel around plumbing vents using a metal blade in a jigsaw and rely on a boot to seal the penetration (left). After trimming the rubber to fit the vent, we dry-fit the boot and mark the perimeter (right) so we know where to apply a continuous bead of a solvent-based rubber sealant. (We use a sealant by Sashco; a sealant that stays flexible is critical for metal roofing, which moves a lot with changes in temperature.)
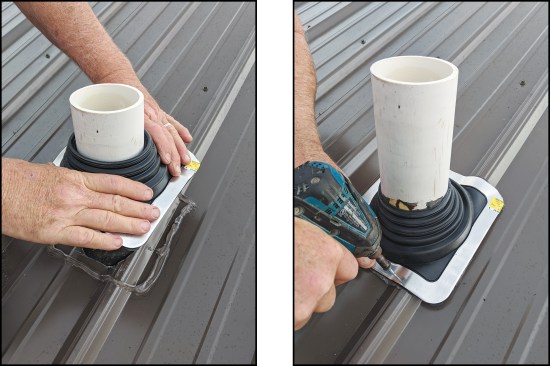
Don’t remove the boot after marking; just lift it up to apply the sealant (left). When securing over a rib, we typically place the screws at an angle so they suck the metal edge into the indents of the rib profile (right).
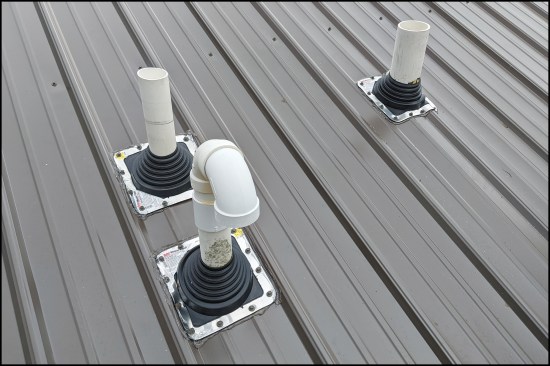
It’s great when the vents fall in the center of the pan, but this doesn’t always happen. The boot (this one is made by Oatey) has a soft aluminum and lead edge that is made to conform to the panel ribs.
Photos by Aaron Miiller