Carl Hagstrom
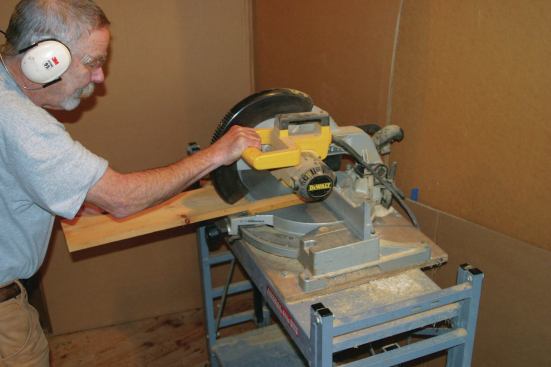
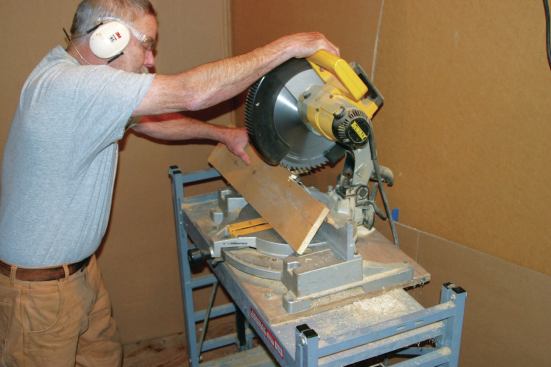
With the end of the board against the chop saw fence plunge the …
When it comes to table-saw safety, there is no substitute for a good riving knife or blade guard—period. But the unfortunate truth is that jobsite table saws with this equipment are rare birds. A close second in table-saw safety equipment is a good push stick. (And no, a chunk of 1×3 with a V-cut in the end does not qualify). Here’s how to make a push stick in less time than it will take you to read this article.
You’re on the jobsite and just broke out your portable table saw to make a couple of rips when you realize that you left your push stick back at the shop. The temptation is to make the rips bare-handed—after all, by the time you set up to make a push stick, you’d be done, right? You might reconsider, though, if you knew you could make a push stick in less than 60 seconds using just a chop saw. In fact, I’ll show you how to make two push sticks in that time.
For material, I use a scrap of 1-by or ¾-inch plywood a couple of feet long and narrow enough so that I can cut it standing up in the chop saw (most larger chop saws can handle a 1×6 on edge). Then I follow these steps.
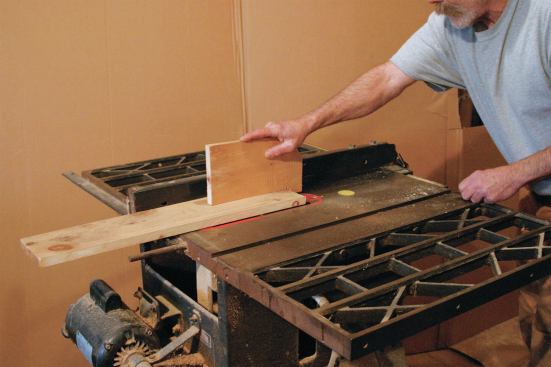
First, I square both ends of my scrap, then place the narrow end against the fence and plunge the blade into the board for a rip that takes off a strip ½ inch to 5/8 inch wide. (The 2-foot length of the board allows me to hold the board a safe distance from the blade). I lower the head of the saw until it bottoms out, which determines the length of the rip. If your saw has a fine-cut trim blade, slowly “bounce” the blade in and out of the rip so that the blade doesn’t overheat.
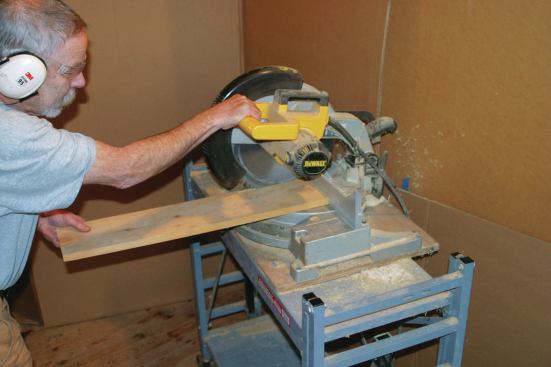
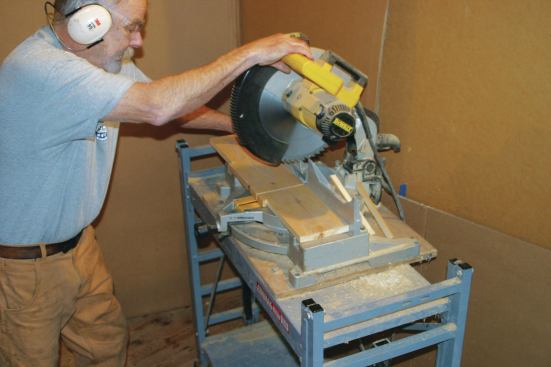
Flip the board over and lower the blade into the same kerf to finish the rip from the other side so that the length of the rip is equal on both sides of the board. Reverse the board and make the same plunge cuts for a rip on the other end.
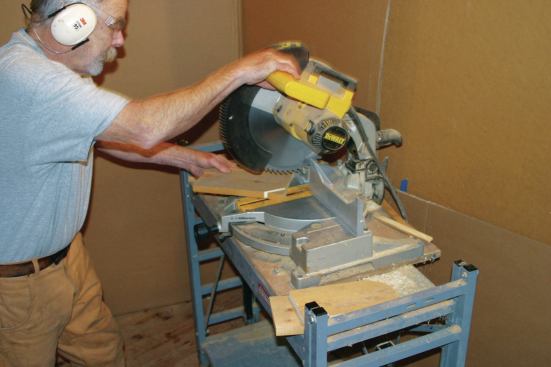
Next, I stand the piece on edge and cut off the strip I just ripped at the point where you can’t see daylight through the kerf. (Do the same at both ends of the board).
Now I cut the push stick to length, slicing through at least 2 inches from the cut I just made to leave a 2- to 3-inch heel.
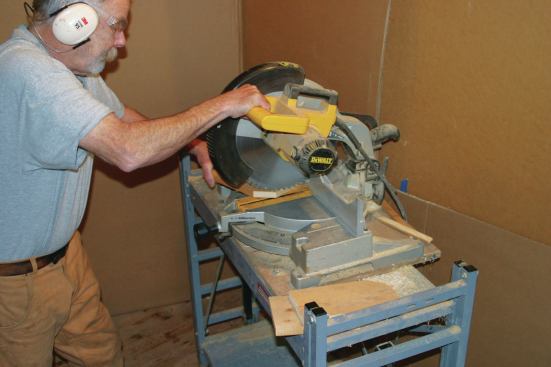
Finally, I chamfer the corner of the push stick above the heel where my hand will rest. One 45-degree cut will work, but I like to nibble at it with a few more cuts to round off the corner for a smoother, more comfortable grip.
In 60 seconds I’ve made two push sticks and still have time for a sip of coffee. When you push stock through the saw with this push stick, your hand is pushing parallel to the saw table in a stable, controlled fashion rather than in a straight line toward the blade.
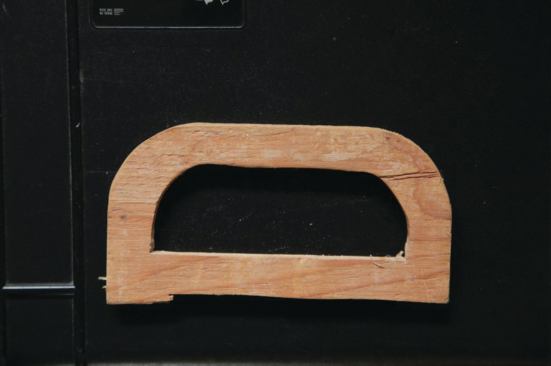
A couple of additional notes: If I’m ripping material thinner than ¾ inch, I cut down the heel so that it doesn’t quite contact the bed of the table saw when the push stick is placed on the material being ripped. If you feel safer with a handle grip, you can take an additional minute and cut out a hand hole with a jig saw. The hand hole also gives you a convenient way to hang the push stick on the fence of the table saw to keep it handy.
So take that one minute—it could mean still being able to count to five on one hand.
—JLC contributing editor Carl Hagstrom runs the professional woodworker siteWoodWeb.com.