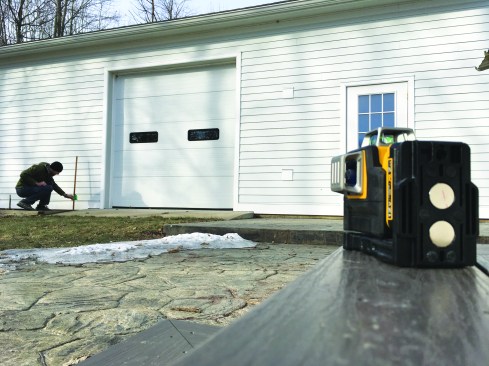
I didn’t own a laser level prior to purchasing DeWalt’s 12-volt 360, a green three-beam laser level (DW089LG; dewalt.com). A co-worker, Jason, has a Hilti PM 2-L (two-line red laser level) that we use for most tasks. In addition, I used a standard beam level, line level, and plumb bob. With the DeWalt 360 in my arsenal, those still have their place, but I use them much less often.
After shopping lasers, I decided the DeWalt 360 in green was my choice ($500; the red-laser option was about $100 less). We were in the middle of a bathroom and bedroom remodel when my laser arrived, so I put it right to work. Out of the box, it’s easy to use. I quickly vowed to never hang drywall without it again.
I hung the unit on a drywall screw in roughly the center of the bedroom we were working in, approximately 5 feet up off the floor (to raise it above any 4-foot sheet goods resting on the wall). I turned on the plumb laser and rotated it to each premarked stud location. This significantly sped up setting screws. Never again will I have to use a level or other straightedge so I don’t miss the stud.
The next task was to frame a wet wall for a shower, with a 32-inch rough opening. I made a quick pencil mark on the new subfloor and one halfway up the adjacent wall and, within a few seconds, had the laser positioned on the floor with a bright, green plumb line through both marks. I tacked my wall together plumb and square and nailed it off without reaching for a beam level.
Tony Blue
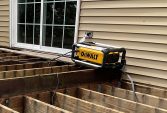
While the laser is mainly for indoor use, the beam, though faint, is visible from a distance for marking deck ledgers and other exterior layout.
Other uses I found were squaring tile work, installing outlets at the same height, leveling cabinets, and even installing windows. Because we build a few decks each year, I wanted to see if I could get by without using a rotary laser or string line for setting my post heights. I didn’t have any deck projects coming up, so I did a quick test run on a sunny day. In daylight conditions, the beam is hard to see with the naked eye, but with the help of the included green laser target card, I could pick up the faint line well enough that I could mark off the line for each imaginary deck post.