1
of 5
JLC executive editor and veteran carpenter Clayton DeKorne simpl…
JLC executive editor and veteran carpenter Clayton DeKorne simpl…
Many carpenters make their own saw stands, which they can tailor exactly to the work they do. These stands are their workbenches, and because the stands are wooden, users can nail or screw their accessories anywhere. Here are five noteworthy examples.
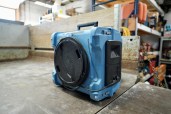
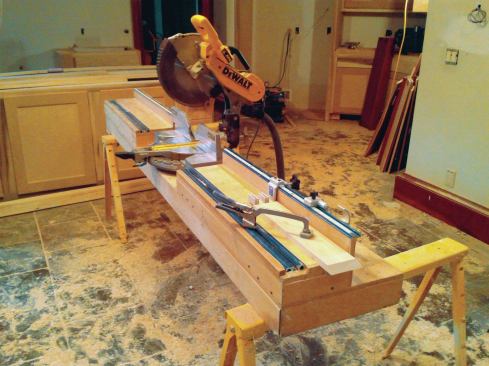
JLC executive editor and veteran carpenter Clayton DeKorne simply clamps or bolts his miter saw to a slab of plywood and sets it on sawhorses or another stable surface. The outboard work supports consist of plywood L-brackets that are ripped to the same height as the saw table. For production cutting, he clamps a taller wood scrap to the bracket, which serves as a stop.
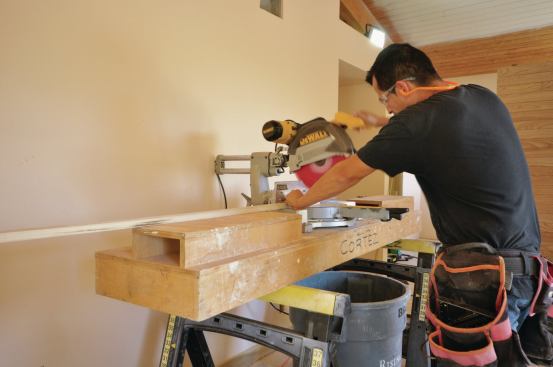
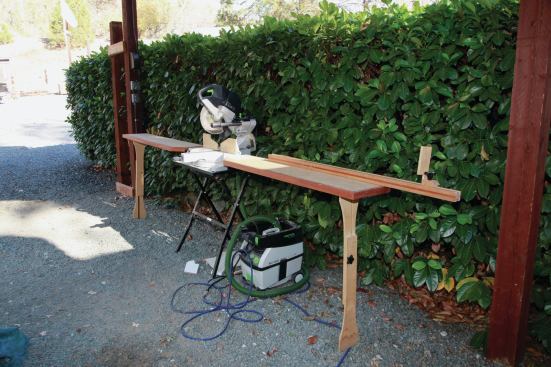
Risinger Homes, in Austin, Texas, uses this basic 7 ½-foot stand for most of its finish carpentry. Made of ¾-inch plywood, the lightweight stand is easy to carry and fits in a pickup bed. The stand sits on sawhorses, and solid tables on either side of the saw provide several feet of continuous support. A power strip mounted on the back of the stand allows it to double as a workbench. The saw’s fence aligns the workpiece, so no additional fences are required.
Gary Striegler, a trim carpenter in Fayetteville, Ark., devised a simple but high-tech stand that combines portability with precision. The straightforward 8-foot table uses just one sheet of ¾-inch plywood. The stand starts with a wide plywood-box base with a 12-inch-deep table on top that’s backed by a fence. The extra room gives him a place to stack pieces that he has cut. But Striegler incorporated several Kreg components (kregtool.com) that really bring this stand to life. Each fence is capped by a length of Kreg Top Trak with a self-adhesive tape measure applied to it. Two types of stops with built-in lens cursors ride in the tracks for making accurate and repeatable cuts. On the table below, he mounted a ¾-inch-thick Klamp Trak that accepts any Kreg Bench Klamp, converting the entire table into a versatile workbench. Striegler normally adds wheels to one end of the stand so he can roll it back and forth from the truck or between rooms. He says that he can build the stand in about two or three hours.
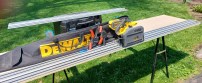
Expert finish carpenter, Gary Katz, loves his Festool Kapex miter saw, but he doesn’t like the Kapex UG stand because the wings are too narrow for the work he does. Instead, he mounts his saw on a four-legged stand and quickly attaches a 1-foot by 5-foot wing to each side of the saw using the Kapex-Sawhelper connecting brackets that sell for $88 per pair at multiblades.com.
Katz says that you could also use wide butt hinges to attach the wings to any saw, and then just pull the hinge pins when you need to collapse the wings for transport. The lightweight wings are made of ½-inch Baltic birch plywood with mahogany banding, and have adjustable 1-by outboard legs that hinge underneath. Katz attaches a homemade fence and flip stop to one wing when making repeat cuts.
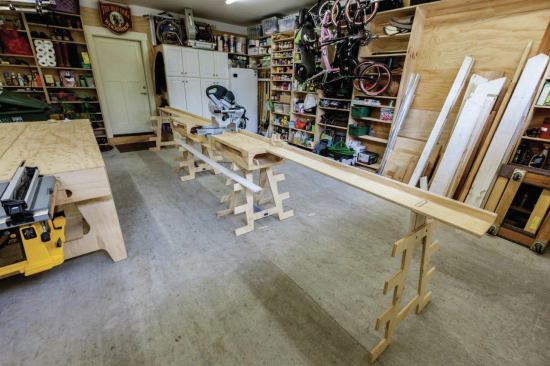
The Paulk Miter Stand was designed by Ron Paulk, a home builder and finish carpenter in Anacortes, Wash. Made of ½-inch and ¾-inch AC plywood, it features a roomy 18-inch by 78-inch top with a place for the saw to mount in the middle. Each side is a box with multiple openings for convenient tool storage, and you can attach an ingenious homemade flip stop to the fence. Extension wings dovetail into both ends of the table for supporting longer stock, and everything is supported by adjustable-height plywood sawhorses that double as convenient lumber racks. Though it’s designed for the Festool Kapex saw, Paulk says the stand can be modified to fit most other brands. It takes about six hours to build and the materials cost about $100. For $10, you can order the plans at paulkhomes.com and receive them by email. View a demonstration by searching “Paulk Miter Stand” on YouTube.
—Bruce Greenlaw is a contributing editor to JLC.