


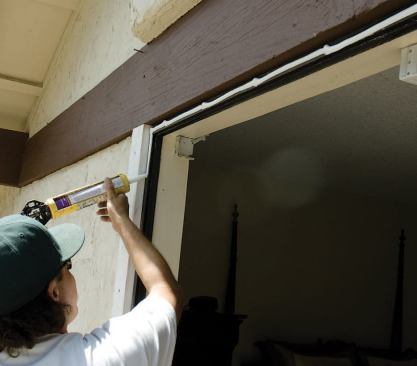


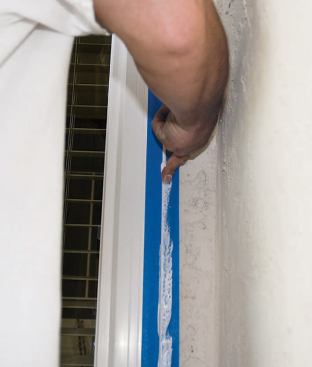


An installer applies sealant around the face of a window opening…
My company — which specializes in solving rain-related building-envelope problems — has investigated hundreds of leaking retrofit window installations over the past decade or so. In every case, the problem has been caused by a tradesperson who did not understand how to correctly install the window, and not by the window itself.
While there are obviously lots of different types of replacement windows of varying levels of quality, I think that the better-quality, AAMA-certified vinyl replacements tend to work well. One of the tools my company uses to test leaky walls and windows is a calibrated spray rack. We’ve sprayed replacement windows from a range of manufacturers to simulate heavy rain and sustained winds of up to 49 mph. Most of these units exceed their AAMA performance ratings. Like full-frame windows, AAMA-certified replacement windows are performance-tested and meet minimum standards for resistance to water penetration, air leakage, and wind pressure.
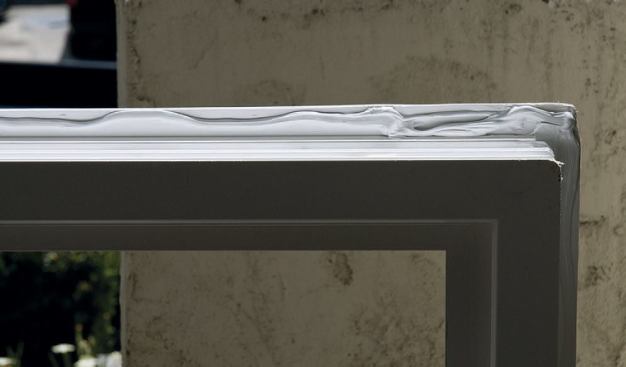
For the project shown in this article, a window-replacement company I often work with replaced all of a home’s old aluminum single-pane windows with new vinyl flush-fin insulated-glass units in less than a day. Flush-fin (sometimes called Z-bar) replacement windows have a large flange—the Z-bar—that covers the old window frame and stucco siding; they’re probably the most common type of retrofit window in California, if not the entire country. Block-frame windows, the other main type of replacement window, are basically new-construction windows without the nailing fin, and they’re used where wood windows are common.
Limitations
Replacement windows can’t be used on every project. If an existing window has a history of rain-related leakage, I always recommend a thorough investigation to determine whether the water is coming through the window itself or through the flashings around the window. If the existing flashing or surrounding building materials leak, they will continue to leak after the new retrofit window is installed. This problem can be solved only with a new full-frame window. If the house has stucco siding (common here in California), the project will require breaking back the exterior wall surface installing new flashings and building-envelope materials, and choosing a full-frame unit that can be integrated with the drainage plane.
Measurement
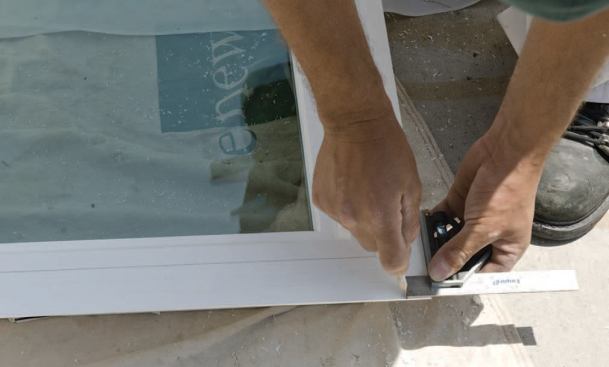
Good measurements are the key to a successful window replacement, so I don’t recommend leaving this step to a window salesman. Whoever is measuring the window opening must understand what will remain of the window frame after the old sash or glass is removed, and many salesmen don’t have the necessary experience.
I measure the width of the opening at the top, middle, and bottom, typically from jamb to jamb. I then subtract 1/2 inch from the narrowest of those three measurements to get the required width for the replacement unit.
To find the height, I measure from where the replacement window will rest on the sill to the underside of the head jamb, again at the two sides and in the middle. I take the shortest of those three measurements and subtract another 1/2 inch to determine the height of the replacement unit. If the opening is square (determine this by measuring the diagonals), 1/4 inch of wiggle room on all four sides should be sufficient for the unit to fit into the opening. If the opening is not square, a smaller window — or even reframing — may be required.
If a window opening has been mismeasured and the new window is too big for the opening, don’t be tempted to simply “collapse” the old window to find extra room. Doing that — cutting through the jambs with a reciprocating saw and pulling the frame out of the wall system — will tear the old flashings and dislodge them from the weather-resistive barrier underneath the siding. I’ve seen collapsed-window jobs leak as badly as if the rain were pouring in through an open window, so it’s better to simply order a new window that’s been correctly sized. Most replacement windows are available in increments as small as 1/8 inch.


