by Jesse Wright
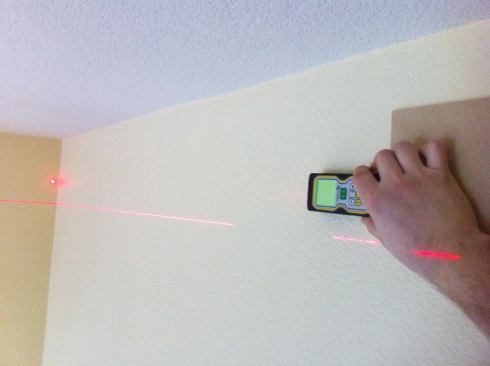

Using a Stabila LD 400 digital laser measure.
Floors are rarely perfectly straight and flat, so it’s lucky that on most of our trim jobs we use shoe moldings when running baseboard. But occasionally a customer wants the clean look of shoeless base, so we end up scribing to get a tight fit at the floor. It’s more work than installing shoe molding, but we’ve learned to speed up the process with a combination of old-fashioned carpentry and modern tools.
Lasers. For starters, we use a Stabila LD 400 digital laser measure, which is faster and far more accurate than a tape measure – within 1/32 inch. I walk around the room and call out exact dimensions to my partner, who’s at the saw making the cut list.
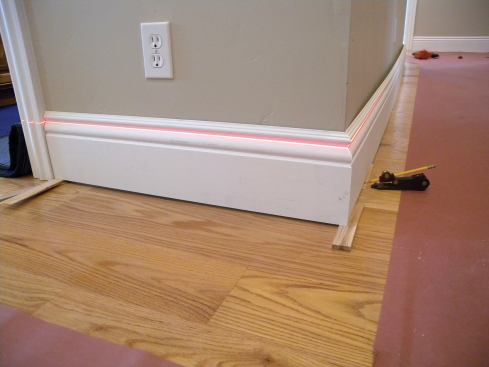
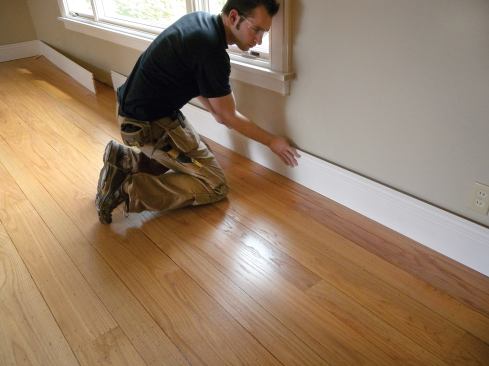
We also use laser levels to find the high points in a room and to establish a level line to work to. We shoot the reference line even with the top of the baseboard or align it with a fillet in the profile.
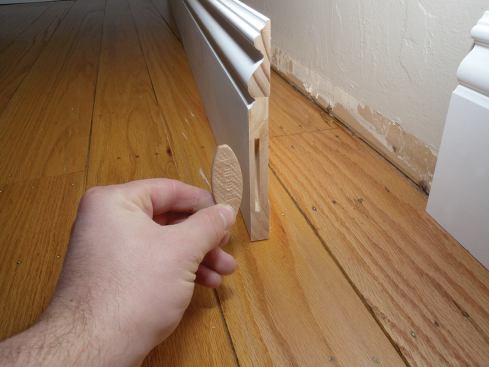
Back bevel. Because of the sanding process, refinished wood floors are often slightly ramped right where the floor meets the wall, especially at the end grain. This tends to hold the baseboard up off the floor just enough to make it difficult to get a tight joint. So especially when we’re working with full 3?4-inch-thick stock, we often start by ripping a 20- or 30-degree bevel along the stock’s bottom edge, stopping the cut short of the front edge of the baseboard. Removing this little bit of stock makes scribing with a block plane that much easier.
With the baseboard in position, I set my AccuScribe Pro scribing tool (888/443-3748, fastcap.com) to the largest gap, then carefully run the scribe around the room to trace the floor contours onto the baseboard. The scribe line needs to be accurate, so I use the onboard pencil sharpener now and then, especially if I’m tracing a large room.
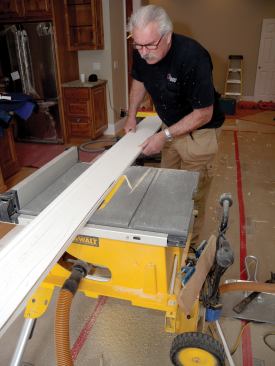
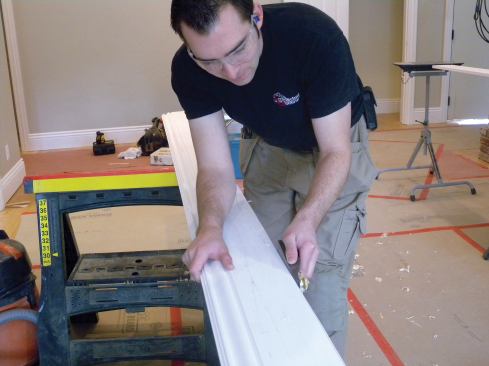
Usually we rough out cuts freehand on a table saw with the blade set to a 15- to 20-degree angle, once again ripping a back bevel to make it easier to fine-tune the cut. This is a fast but potentially dangerous technique. Even though we’re working with long stock, we don’t use a helper for this task because binding and kickback happen if the operator and helper aren’t exactly in sync. Instead we use outboard supports for long material. Portable rollers tend to make the stock veer off-course, but we like using Ridgid’s Flip Top stand (800/474-3443, ridgid.com). We wax the surface to help the stock slide. As I rip the waste, I keep the blade about 1/8 inch away from the scribe line; if more material needs to be removed, I’ll make another pass.
Once I’ve roughed out the cut, I use a low-angle block plane to fine-tune it. Some carpenters use belt sanders or angle grinders, but block-plane shavings are much easier to clean up than fine dust and won’t get into your lungs or your client’s furniture.
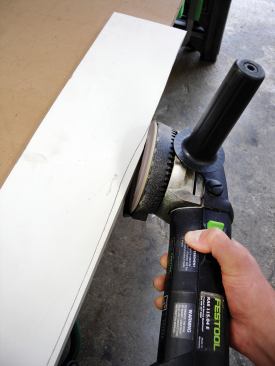
We do sometimes use a Festool RAS 115 sander; it’s as fast as an angle grinder but has a dust-collection system that captures most of the dust. It’s so effective I’m comfortable scribing right in the room where I’m working. And it’s so fast, back-beveling doesn’t seem necessary, though it’s still helpful. In fact, if I need to, I can back-bevel a section of the baseboard just by pitching the angle of the sander. To avoid overcutting the scribe lines, I make light passes and use nothing coarser than 60- or 80-grit paper.
When we’re working with profiled stock, we always cope inside corners. If a wall is longer than our baseboard stock, we splice sections together with biscuit-reinforced butt joints before setting the sections of baseboard in place to test the fit.
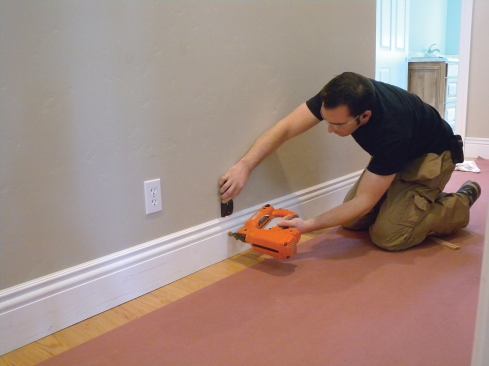
Finally, when nailing off, I don’t bother laying out the studs; it’s much faster to locate them with an inexpensive Zircon stud finder.
Jesse Wright is a finish carpenter and designer with Architectural Molding in Pleasant Hill, Calif.


