An unusual remodel called for some heavy engineering solutions and gave us the chance to try something we’d heard of but never tried: pre-applied waterproofing, also called “blind side” waterproofing.
Normally, we pour concrete foundations between forms on the inside and outside, then strip the forms and waterproof the outside surface, which is accessible from the overdug area around the foundation. Pre-applied waterproofing is used when a concrete wall is poured up against a surface that won’t be stripped out later. The concrete can’t be accessed on the outside surface after it’s poured, so waterproofing must be done before the pour.
I’m most familiar with pre-applied waterproofing in big commercial projects. City tower basements are excavated using shoring methods to hold back the dirt around the property line, then foundations are poured up against the shoring, with removable formwork only on the inside. Waterproofing has to be installed between the shoring and the poured concrete for it to work on these multilevel basements. (Interior waterproofing is not a preferred system when poured floors attach to the inside of perimeter walls.) You can see this work as you go around town, but I got more info from attending meetings of the Building Enclosure Councils in Washington, D.C., and Baltimore, each of which has organized lots of great educational events, including some on these waterproofing systems. Your town may have a similar group focused on building details and building science, and if it’s anything like ours, it’s a great way to learn.
Rescuing the Hillside Structure
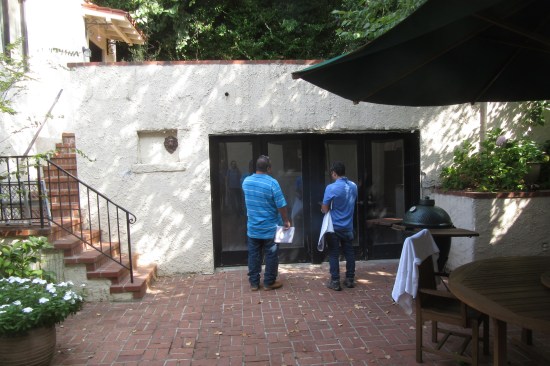
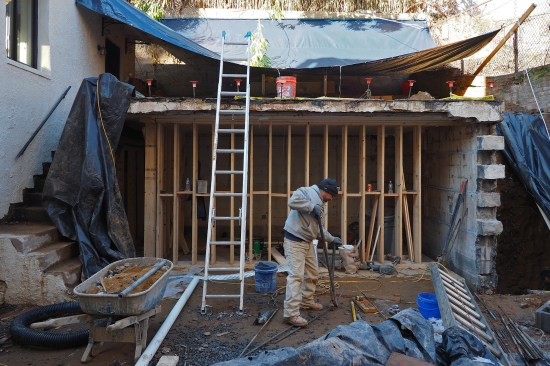
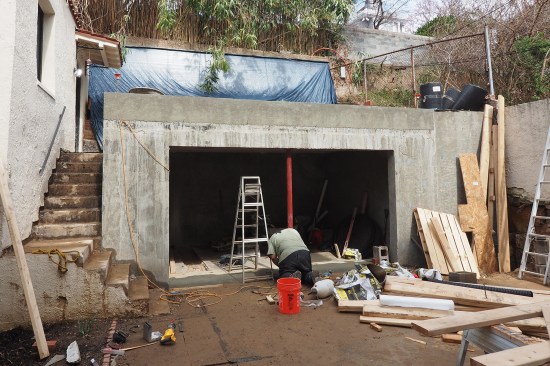
Our project was to fix a masonry building built up against a hill. The attached structure housed an exercise room on the main level, which was accessed through the garage and small mechanical space. The doors of the exercise room opened onto the lower patio area, while a set of exterior stairs led to an apartment and upper patio area on the second-floor level. On the uphill side, the room’s right and back walls were below ground level, with the back wall extending up another 3 feet to retain dirt on the hill above it (see plan and section details below).
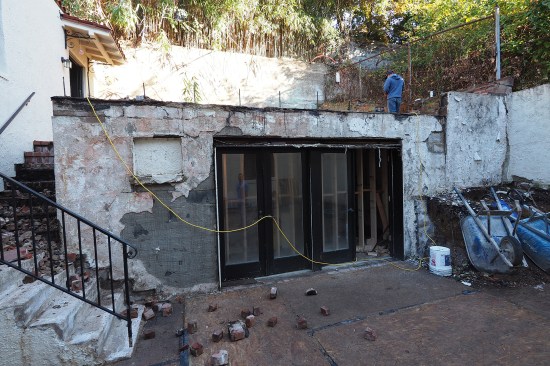
The attached masonry structure was built into a hill behind the …
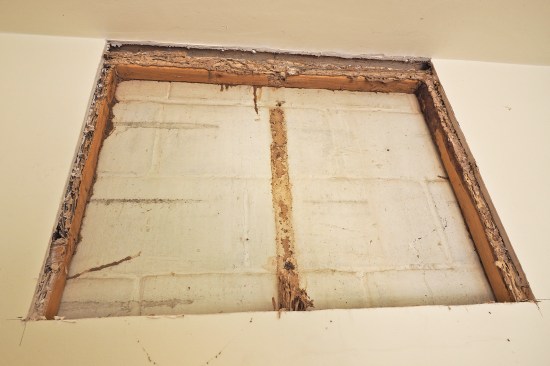
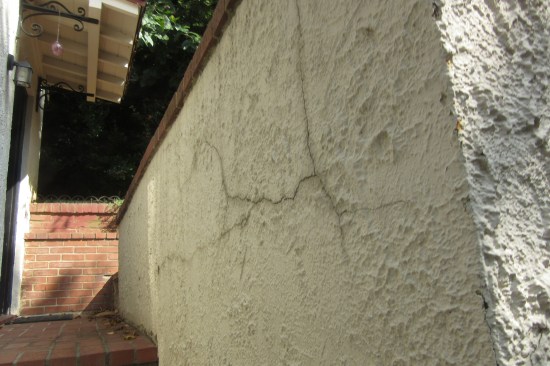
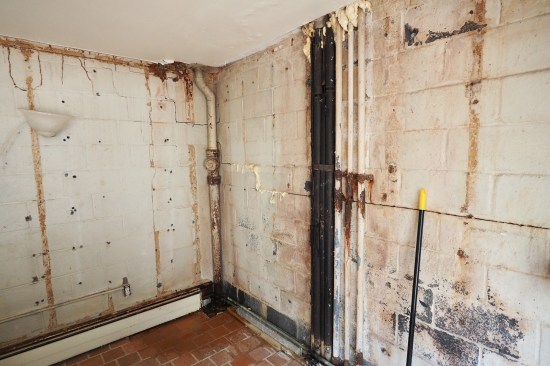
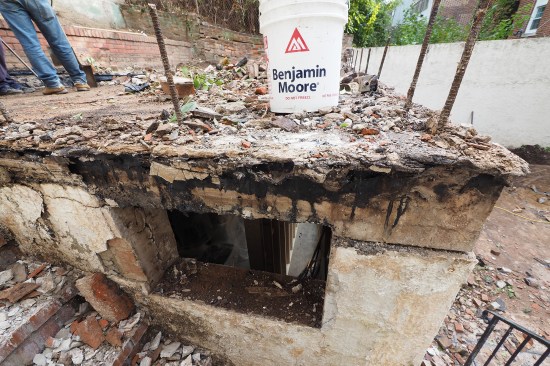
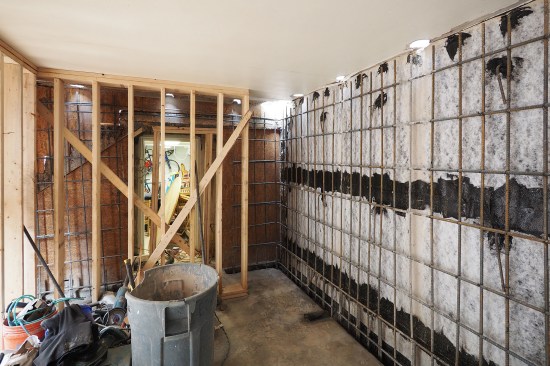
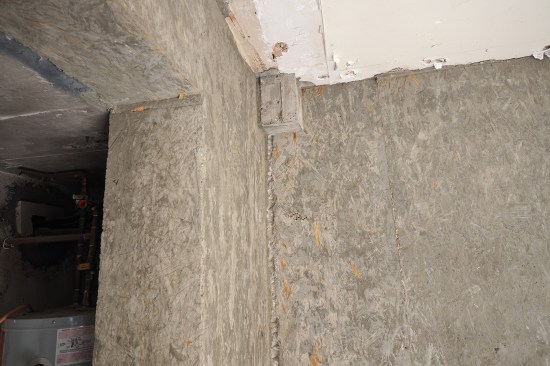
The interior of the building was in poor condition, and we stripped the drywall as part of the planned renovation. In addition to revealing an impressive termite situation, we found large cracks in the 12-inch-thick, reinforced block wall, which made it seem that the building was being pushed down the hill. (The top of the front wall was pushed out significantly as if the upper slab had been pushed down the hill a few inches and had broken the stucco on the front).
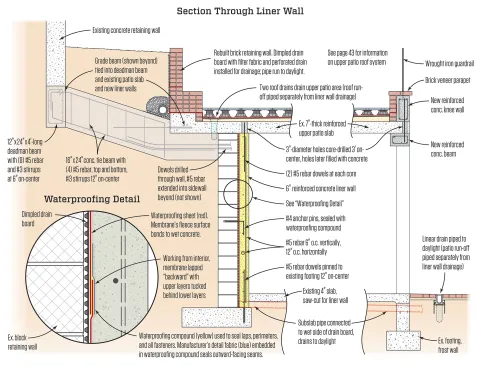
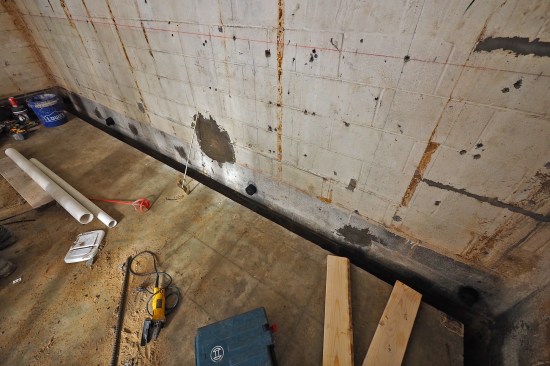
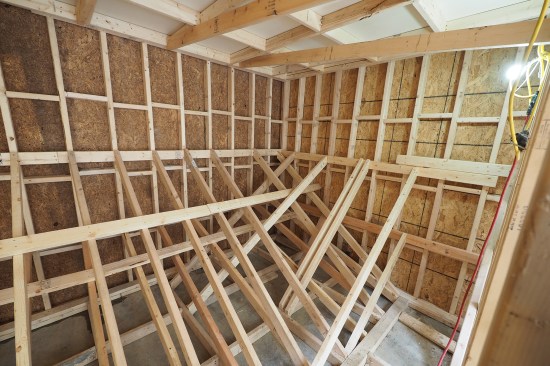
Liner walls and deadmen. It was time to bring in an engineer, who prescribed new, heavily reinforced concrete walls poured interior of the existing block walls, tied into grade beams and retention structures in the hill above the building. The purpose of the new “liner” walls, as he referred to them, was to take over the structural functions of the existing block wall. These new 6-inch-thick walls were tied into the upper patio’s slab with rebar dowels through holes cored into the slab and, at the bottom, doweled into the block wall’s existing footing. All in and cured, it was a very solid system.
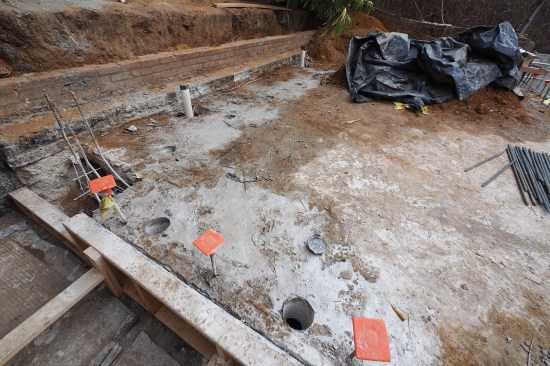
To hold back the weight of the soil and keep the liner walls from being pulled down the slope, the engineer designed two grade beams tied into deadman beams and the liner side walls. The two 4-foot-long deadmen were formed under an existing concrete retaining wall located farther up the hill in order to hold the deadmen in place to prevent their overturning.
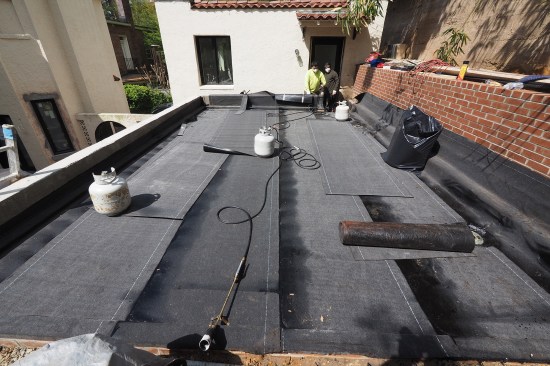
“Blind side” waterproofing. On initial inspection, we could see water had been coming through the block walls, and we knew we’d need to manage that water. But our new concrete walls were going to be poured right up against the existing CMU walls, so we would not be able to spray waterproofing on the concrete or install drain board after the pour. It was a perfect opportunity for pre-applied waterproofing.
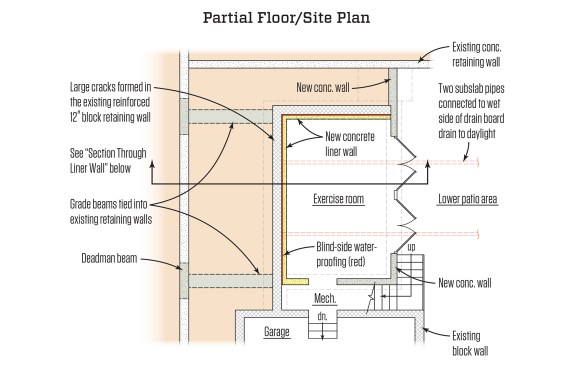
New, reinforced “liner” walls (highlighted yellow) are poured against the interior face of the existing block retaining walls.
A “blind side” waterproofing assembly is installed to dissipate any ground water which may collect between the new and existing walls. (Ground run-off water from the upper and lower patios are piped separately from the blind side drainage system to daylight.)
We worked with our masonry and concrete contractor, AB Construction and Remodeling, which had a preferred system and supplier for the waterproofing. It recommended WR Meadows Precon sheet material, Mel-Drain dimple sheet drain board, and Hydralastic 836 cold-applied waterproofing compound, which work together as a system.
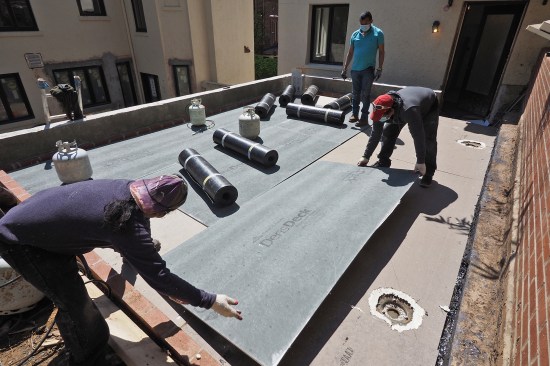
There are two primary layers to the system we used: drain board and waterproofing sheet.
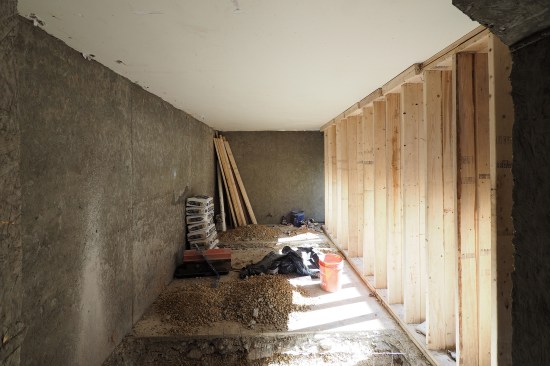
We used the same drain board we use on many projects, a dimpled sheet of heavy, semi-rigid plastic that creates a space for water to easily move down through. We faced the dimple side out in this case, toward the block walls, making a 3/8-inch space at the face of the CMU. The Mel-Drain dimple sheet is available with or without a filter fabric facing, and for this application, we opted to use it unfaced (we use the fabric version only when dirt will be against it, as on the outside of the walls, but in this application, it was sandwiched between two masonry walls).
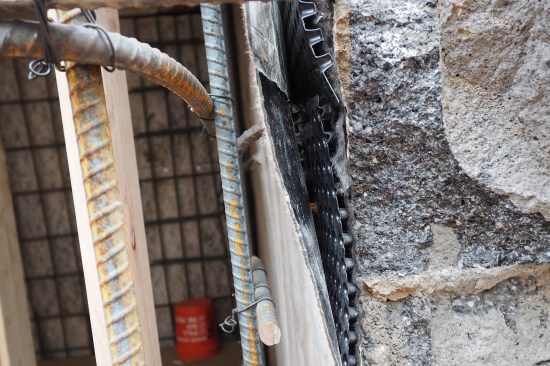
A crew member bends rebar as he preps for the installation the l…
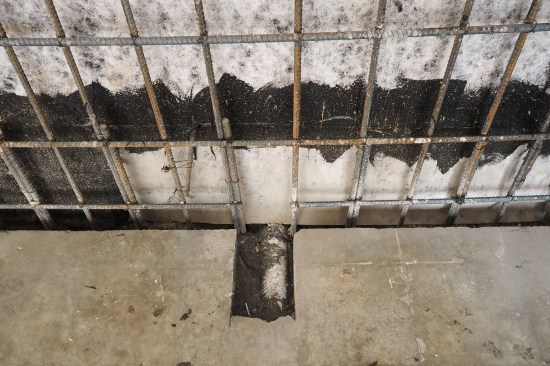
Installation is a little confusing because unlike when we waterproof on the outside, overlaps tuck the upper material behind the lower—the opposite of what we’re used to. The material was pinned in place with powder-actuated fasteners. At the bottom, we placed two PVC drainpipes from the rear drainage space, through the future poured wall. We connected drains later for water to move out of the building to daylight.
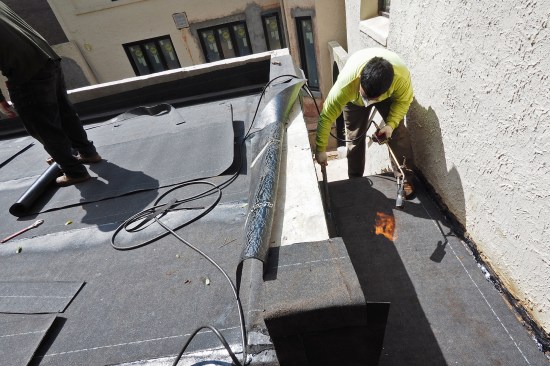
The second layer is the special sheet waterproofing material, designed to adhere firmly to the concrete we poured up against it. We lapped and sealed it as it ran up the wall, again lapping “backward” with upper layers tucked behind lower layers, directing water out toward the block side of the future poured wall.
We again used powder-actuated fasteners to attach it temporarily and used the manufacturer’s trowel-on Hydralastic 836 detail material to seal all the fasteners, laps, and perimeter. The Precon waterproofing we used has a fleece skin that wet concrete will bond with, so once we poured the walls up against the sheets, the temporary fasteners were no longer important for holding the waterproofing in place.
Following the directions wasn’t difficult, and the tech support reps for the system were available for questions and instructions. They even offered to come on site, but in the end, we worked remotely with photos and video apps.


To pour the concrete for the liner walls, access holes are cored…
To seal the outward-facing seams, we embedded a strip of the manufacturer’s detail fabric in the Hydralastic 836 waterproofing compound; this nonwoven, geo-textile fabric helped to create a water- and vapor-proof barrier to resist moisture penetration through end laps.
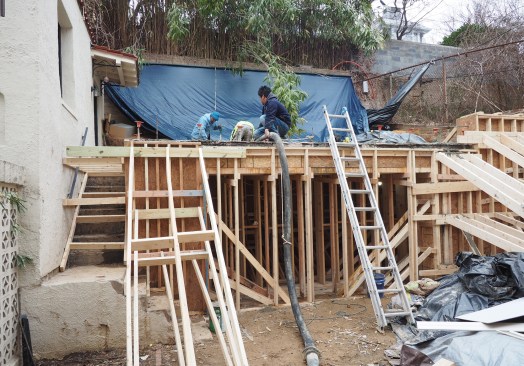
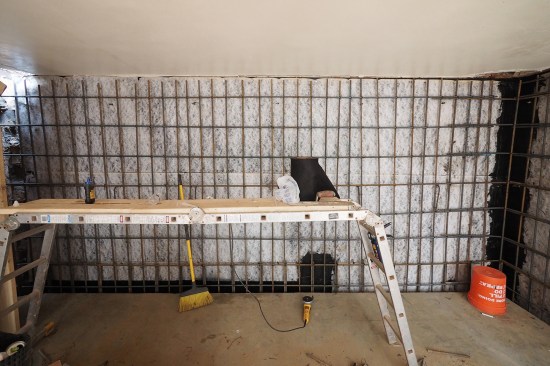
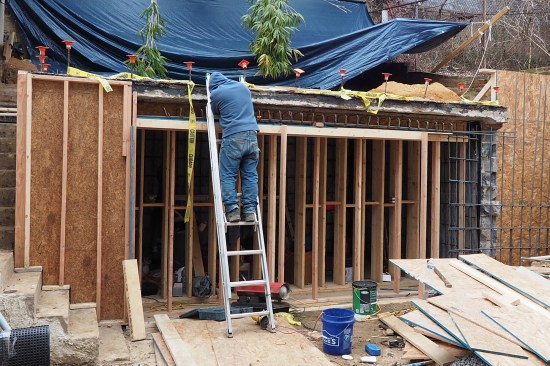
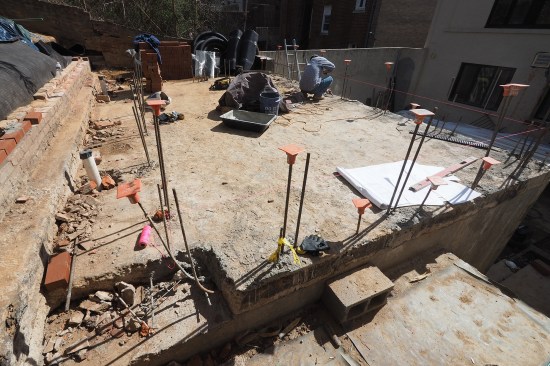
Concrete “liner” wall. For the 6-inch-thick concrete liner wall, we installed the required rebar in front of the waterproofing, then formwork inboard of that. The engineer had cleverly called for holes to be drilled 3-feet on-center in the existing upper patio’s 7-inch-thick concrete slab, so we had easy access to pour the concrete from the top of the wall.
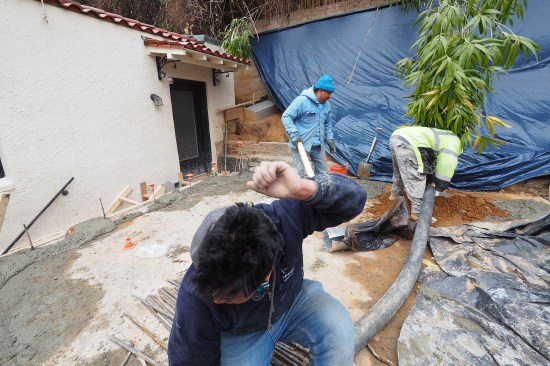
The pour was accomplished with a 3-inch hose, trailer-mounted concrete pump, and a site-mix concrete truck with pea-stone gravel to facilitate flow in the rebar-filled cavities of our new liner wall (as shown in the photos in the slide show, above). We filled the drilled holes through the ceiling slab with the same concrete from the wall pour and later waterproofed the top of the ceiling slab.
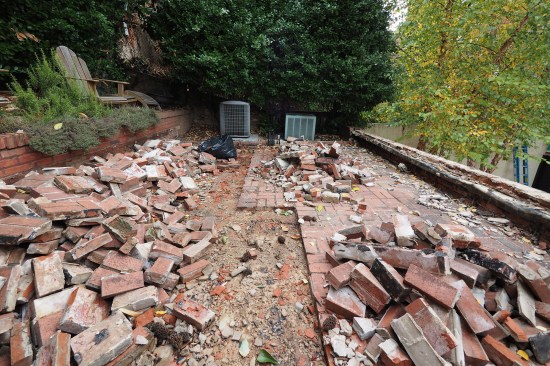
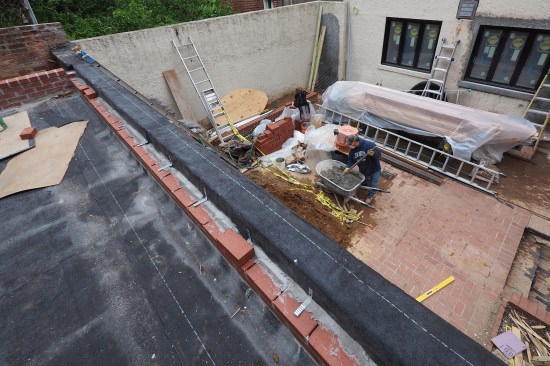
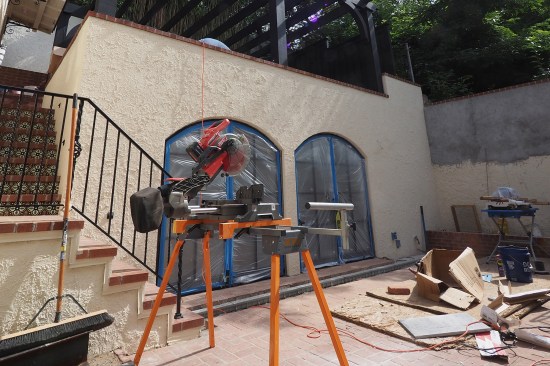
Additional concrete work. The structure’s downhill “front” wall was also in poor shape. In addition, the clients wanted to change the style of exterior doors from sliders to a set of arch-top double doors, so we removed all the concrete block on the fourth side of the structure. We poured a reinforced concrete knee wall on top of the upper patio slab to support a new brick-veneer parapet and poured a reinforced concrete beam below the slab to square up the opening. (The door’s arch-top rough openings were later framed out with 2-by stock and a stucco finish was applied to the front façade).
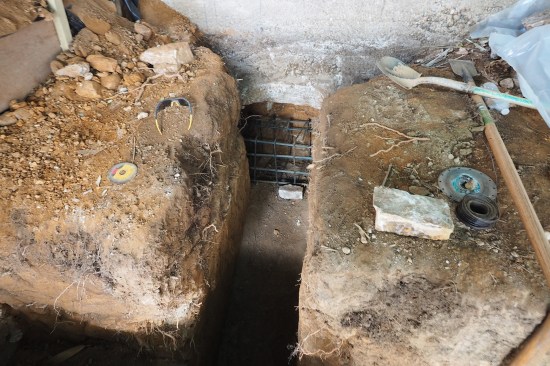
A reinforced deadman beam was formed under an existing concrete …
Blind-side drainage. Our last task was to connect the drainpipes we installed through the wall to an acceptable outlet for any water that comes down the wall. We had left the existing floor slab in place; it made for easier working compared with gravel or mud, and, in fact, we attached the wall formwork to it. Following the plan created by the engineer, we channeled across the slab in two places, exposing the two 3-inch PVC pipes we had cast into the wall. These connected the wet side of the drain board to the below-slab gravel area; we tied new pipes to them to run out the front side of the building and out to the surface as the grade drops off.
There are a number of pre-applied waterproofing materials that can be built into relatively simple systems (like our two-layer system here) or more complex ones (with multiple layers, lots of detail work where there are penetrations, and so on). Chances are, there are engineers, material suppliers, and contractors in your area who are familiar with the local geology and workforce and can recommend the right system for your conditions.
Our system was relatively simple to install, and we had good support when we had questions or issues during the work. It has held up to heavy storms over the two years since we installed it.
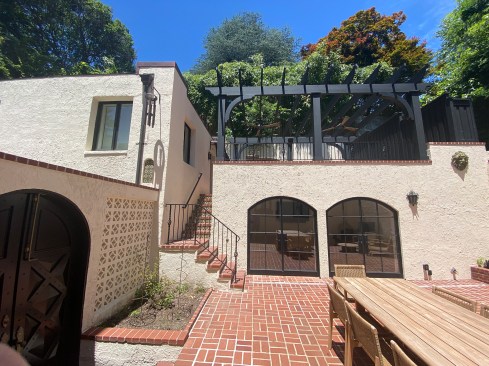
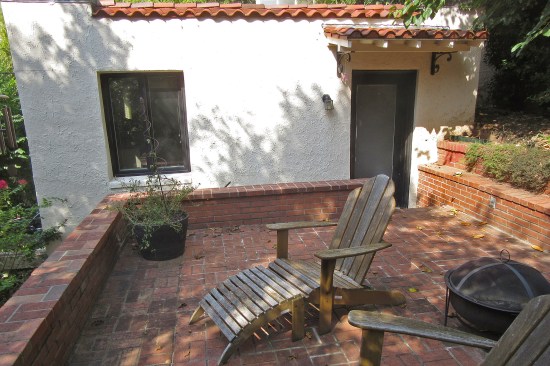
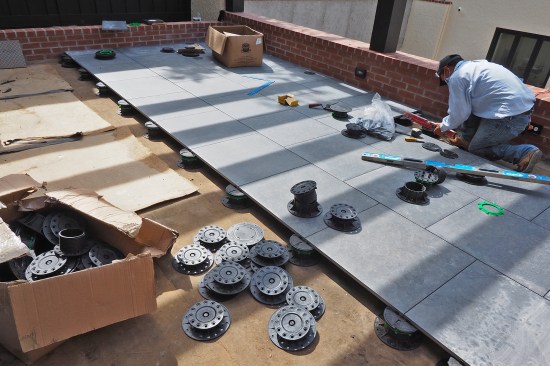
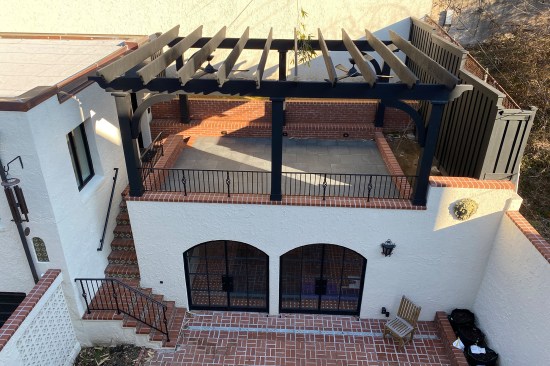
The completed upper patio with pergola.
Photos by Doug Horgan; illustration by Tim Healey


