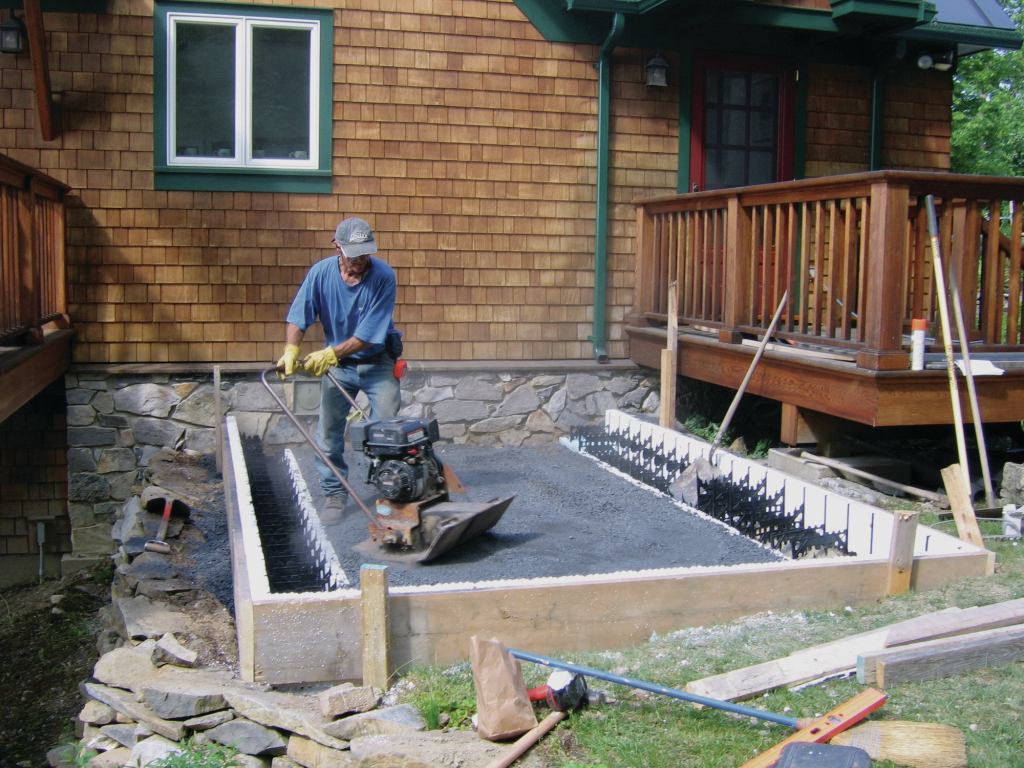
I poured my first frost-protected shallow foundation (FPSF) in 1976. At the time, I was building affordable houses in mid-coast Maine, and a carpenter suggested we could eliminate the cost of a full foundation and the attendant excavation by using a foundation system pioneered in Scandinavia. We called it a “Swedish slab,” although the technique actually originated in Norway (see The FPSF Principle sidebar).
Related Articles
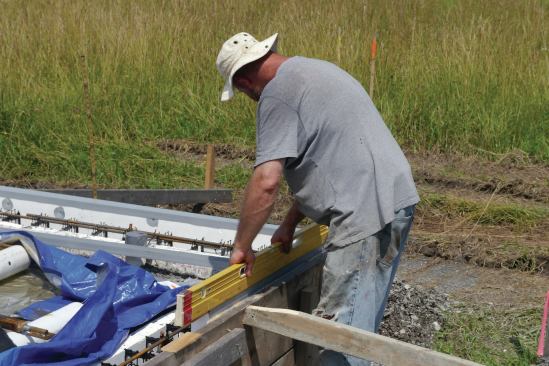
That particular frost-protected shallow foundation contributed to a “super-insulated” house. Keep in mind that in the mid-’70s, a super-insulated house was framed with 2x6s and had R-19 walls and R-30 ceilings, which today wouldn’t meet Vermont’s basic residential building standards. Our slab-edge insulation was 1 inch of rigid foam secured with Ramset fasteners and covered with 1/2-inch pressure-treated plywood.
Since then, I’ve refined my approach and have built outbuildings, additions, and a house using this foundation style. The current interest in Passive House design—which encourages the use of slab-on-grade foundations—has brought renewed attention to this method.
A Happy Marriage
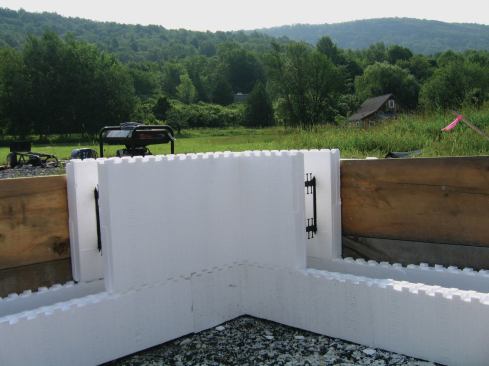
The biggest change I’ve made over the years has been to wed the FPSF technique to the use of insulated concrete forms (ICFs). This is now my favorite way to lower foundation costs. ICFs lend themselves to a variety of FPSF approaches. They can be used as concrete forms when shaping a turned-down (or “thickened-curb”) concrete slab, or they can be stacked two (or more) courses high to create a crawlspace.
Sizing and Placing Insulation
Depending on where you live in the U.S., the amount of insulation needed to prevent the ground beneath the foundation from heaving will vary. The insulation thickness and its placement is correlated to the 100-year Air Freezing Index (search Climatic Data for Frost Protected Shallow Foundations). This article focuses on heated buildings, which in some locations need only vertical insulation, while in other locations must also have horizontal insulation. (Unheated buildings are a different animal; horizontal insulation must be installed under the entire building at the footing elevation and must extend beyond the building’s perimeter, with even more insulation added at the building’s corners.)
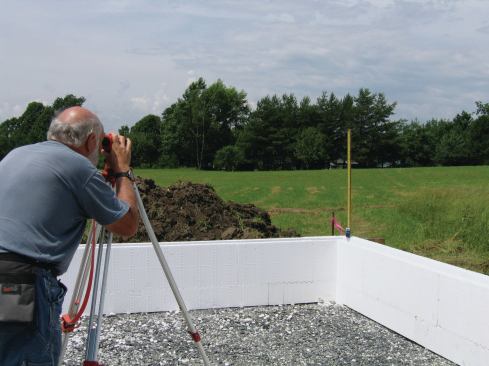
ICFs provide vertical insulation and eliminate the need to apply rigid foam to the slab edge. The formulas to calculate the amount of insulation needed are easy to follow (for details, see “Calculating FPSF Insulation Requirements“). The projects in this article, which were all built in northern New England, required vertical insulation with a minimum R-value of 5.7 (easily met with the typical ICF wall thickness of 2 1/2 inches) and a minimum ground cover of 12 inches. Horizontal insulation could have been added as a margin of safety but was not required to meet the design criteria, as the Air Freezing Index was below 2,250—the threshold for requiring horizontal insulation.
As good as this system is, poor drainage will undermine your results. You need to remove moisture to prevent frost formation. Perimeter drainage is necessary and the grade should slope away from the building.
Lee McGinley
Self-aligning nubs keep the blocks in place.
Finding the Right ICF Product
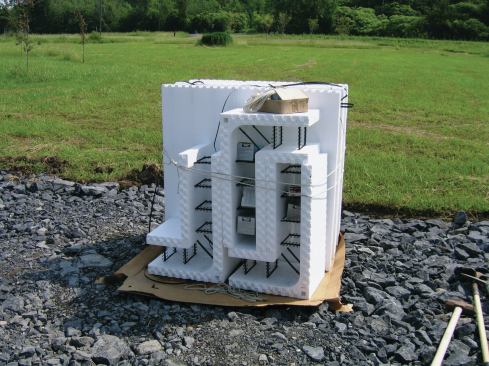
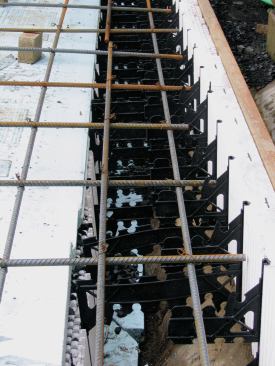
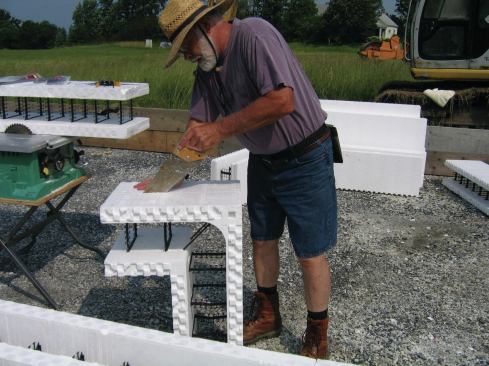
ICFs are made of expanded polystyrene—the same material as foam coffee cups—by several manufacturers that seem to have settled on a standard height of 16 inches and a standard length of 48 inches. Once poured, the ICF forms typically create concrete cores of 6, 8, or 10 inches and have foam wall thicknesses of 2 or 2 1/2 inches, yielding R-22. In addition to straight blocks, corner blocks (45° and 90°), brick ledges, and taper tops are available. Some manufacturers offer knocked-down components that are assembled on site; some offer both knock-down and fixed-dimension varieties. Most manufacturers’ blocks are reversible top and bottom. For example, a corner block can be flipped over to create a left or right corner. Self-aligning nubs keep the blocks in place.
Search online for “insulated concrete blocks” and you’ll discover many manufacturers and instructional videos. Since you’ll need to install both horizontal and vertical rebar, pay close attention to the manufacturers’ sizing and spacing specs.
Slab on Grade
We recently used ICF forms on a challenging job: The homeowners wanted a heated outdoor exercise pool that could be used all year. The twist: It was located in Northern Vermont.
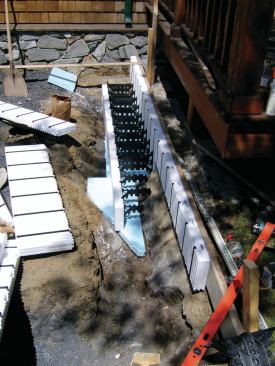
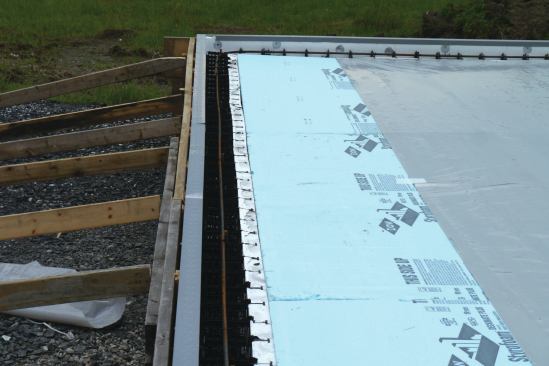
Because parts of the foundation would have to conform to irregular ledge exposed in the excavation, we chose a snap-together ICF form. This allowed us to cut the outer and inner panels separately to fit the contour before we snapped the two panels together with plastic ties.
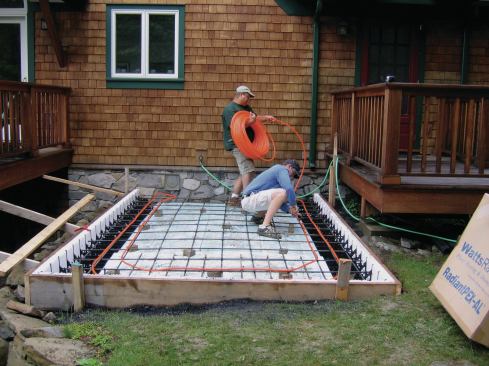
We cut the inner panels lower to create a turned-down curb around the perimeter. A 1-foot-by-1-foot rebar grid supported the heavy weight of the pool; vertical rebar couldn’t be used because of the ledge below. We installed radiant-heat tubing that was connected to a separate zone on the boiler just before the pour.
The result: Despite the pool’s northern location on the shore of Lake Champlain and the fact that the pool is used during all but the month of February, the homeowners have experienced no recordable year-over-year increase in propane costs for heating—a testament to the high insulation value of the foam forms and the sub-slab insulation.
Sloping Site
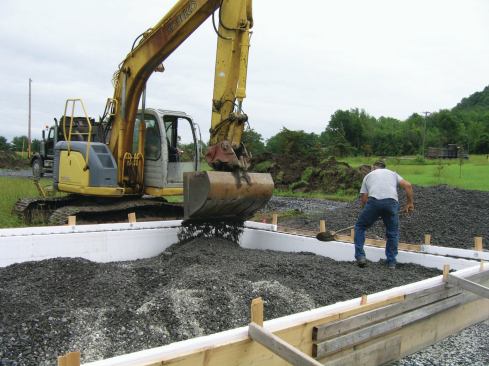
A less challenging job than the pool permitted a straightforward solution, but it required extra work in building the forms to brace the ICFs. The site sloped 15 inches in 24 feet, so we did minimal excavation and laid down 6 inches of mixed stone with some fines before forming up with two courses of 2x12s.
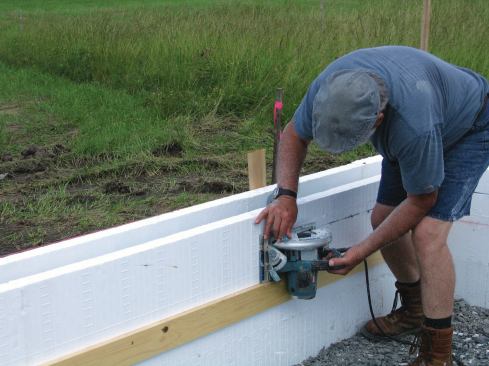
The blocks we used (rewardwalls.com) were 16 inches high and the bottom course was ripped to 8 inches high, yielding—with a full block on top—an overall height of 24 inches. We cut off the nubs on the outside edge of the top course before capping it with 2 1/2-inch lightweight channel to make screeding easier.
Unlike the forms for the pool slab, these came completely assembled, so I stacked both courses before shooting elevations and cutting away the inside of the form to create a thickened curb. We spaced 36-inch vertical #4 rebar at 4 feet on-center and drove it into the ground; we placed horizontal rebar in the bottom and top courses and snapped it into the plastic walers. Zip ties secured the vertical rebar to the horizontal rebar.
Because the outbuilding that would top the slab would be heated, we placed 2 inches of rigid insulation over compacted mixed stone with fines before pouring the concrete. We laid 10-mil Viper VaporCheck) on top of the foam and taped the seams to control moisture migration into the building.
Before backfilling, we ran a 4-inch perimeter drain around the slab. To meet the minimum 12-inch below-grade cover required for an FPSF in our area, we backfilled against the forms on three sides to within 10 inches of the bottom of the siding, which was enough to provide splash protection from rain. The fourth side would be used for storing garden tractors, so we backfilled against it with crushed rock.
While we were forming up and placing the blocks, heavy rains washed away some of the base material, which made for a challenging situation. Next time we’ll follow our standard procedure of speccing 3/4-inch crushed stone under the forms. Under the slab, the mixed stone with fines worked well, as it created a smoother surface before the rigid insulation was placed. For a house, I might consider pouring a thin footer before laying up the blocks, just thick enough to provide a level base—particularly if the house has a complex footprint. I would insist on a footer if I was uncertain of the excavator’s skill at providing a level, compacted surface.
Be careful with mechanical tamping of the sub-slab fill. If you get too close to the forms, the tamping can force the forms outward, causing unwanted deflection. I recommend using a hand tamper when working within 12 inches of the forms.
On both projects described here, I applied FlexCoat to the forms after the pour and before backfilling. This is a flexible brush-grade acrylic coating that protects the foam from UV degradation. It comes premixed and pre-colored.
Tim Healey
Crawlspace Foundations
The FPSF and ICF combo can be adapted to crawlspaces. Follow the design parameters for an FPSF and stack the ICFs to a comfortable crawling or working height below the floor system. You’ll need a footer, too.
Tim Healey
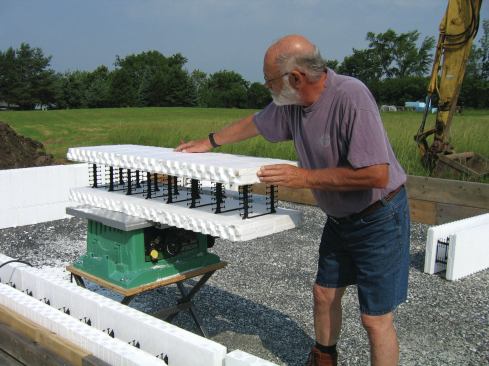
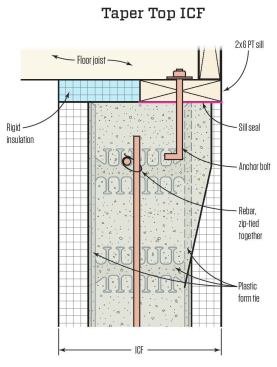
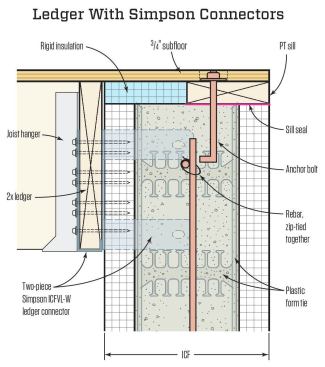
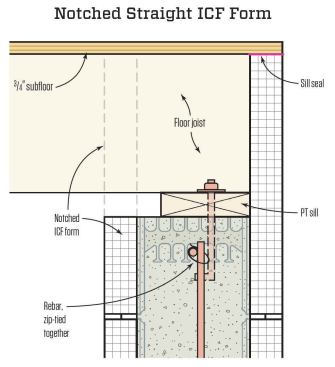
The first-floor deck can be built atop the forms (see Taper Top ICF illustration top left; click here for a larger version), or you can fasten a ledger to the ICFs using Simpson Strong-Tie’s ledger connection system (see illustration below left; click here for a larger version). Or, I typically notch the forms (see illustration, further below at left; click here for a larger version ) and drop the floor system to be partially inside them, running the joists out to cover the concrete core and leaving just the outer wall of foam. This eliminates the difficult-to-seal seam at the concrete-wall-to-wood-framing transition and allows me to visually lower the house on the site. It also results in one less step to get into the house.
Tim Healey
Significant Cost Savings
Individual ICF forms can be expensive—about $22 each in my area—but the savings are dramatic compared with the type of foundation system you’re replacing. For example, on my new house we experienced a high water table, so I used a modified FPSF for a crawlspace and excavated an average of 16 inches over 1,752 square feet with a 4-foot overdig, removing about 86 cubic yards of material. Had I poured a full foundation, about 552 cubic yards would have had to be removed, which would also have cost more to haul away. For my FPSF, the excavator wrapped up his work in two hours; for a full foundation, he would have dug all day. In addition, a full foundation would have required backfilling against it with drainage stone, an expense we avoided by using the FPSF. And an FPSF foundation uses one-third of the concrete, another significant savings.
To deal with the high water table, I covered the entire excavated area with 6 inches of 2- to 3-inch crushed rock to promote drainage, and ran two drainage lines to daylight. A 1-inch top dressing of fines protects the VaporCheck from puncture. For extra insurance against frost, I ran 2 inches of extruded polystyrene sloped horizontally away from the house before backfilling.


