We started by removing cabinets and appliances, then cut back a …
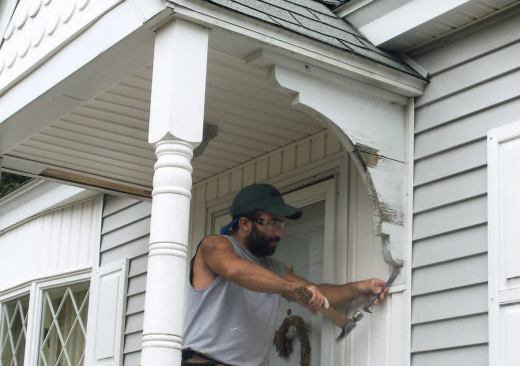

The wooden brackets on this front porch had seen better days.


Installing a Flush Flitch-Plate Beam
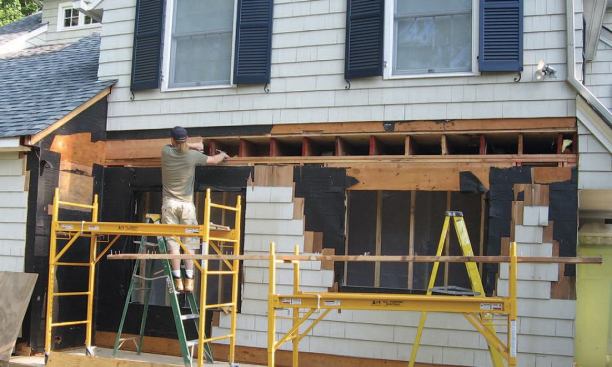
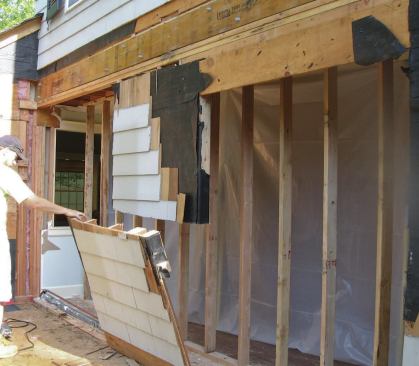
by Rob Corbo My small construction company builds a lot of bump-outs and similar additions. One of the biggest challenges on these projects is the tie-in, where we connect the existing house to the addition. A recent 6-foot-by-20-foot kitchen bump-out was no exception: Not only did we have to be spot-on with our floor elevation, but we also had to remove an entire end wall on the house and support the second-floor loads with a full-width flush-framed flitch-plate beam. This 19 1„2-foot-long beam consisted of a 5„8-inch-by-9-inch steel plate sandwiched between two 1 3„4-inch-by-9 1„2-inch microlams, so it would have been very heavy and risky to install in one piece. Instead, we assembled the beam in place, one component at a time.
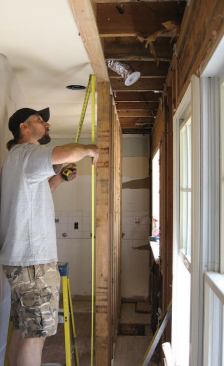
We started by removing cabinets and appliances, then cut back a 2-foot width of ceiling drywall so that we could build a temporary studwall to support the second-floor framing over the kitchen. Next, we took out the windows, leaving as much of the framing intact as we could, then removed the rim joist and exposed the ends of the second-floor joists.
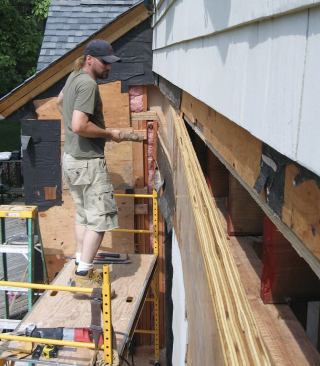
Because the fully assembled beam would measure 4 1„8 inches thick (1 3„4-inch microlam + 5„8-inch steel plate + 1 3„4-inch microlam), we had to cut back the ends of the floor joists 2 5„8 inches to accommodate the additional thickness. Rather than cut all the joists at once, we cut back just four at a time, starting at one end of the wall. With most of the floor system still supported by the wall framing, this gave us a little extra peace of mind as we angled the microlam into place and used our sledgehammer to pound it tight against the joist ends.
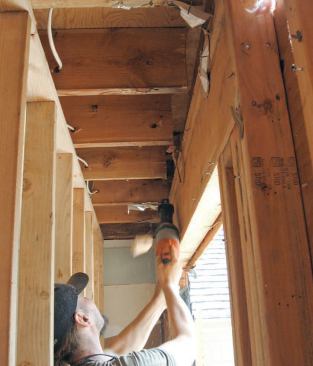
After nailing off the ends of the first few joists through the microlam, we moved on to the next set of joists, repeating the process until the first microlam was installed. Because the fit was tight, we occasionally had to run our reciprocating saw in between the top of the microlam and the subfloor to gain an additional 1„8 inch of wiggle room.
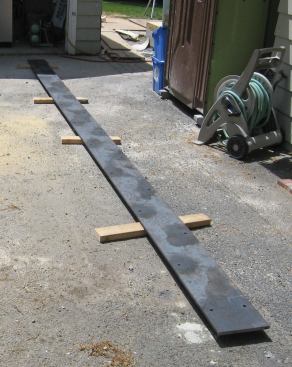
Next we installed the steel plate. Since it was 1„2 inch narrower than our microlams, we weren’t worried about the fit. But it weighed 383 pounds, so my partner Danny DoCouto and I used the rungs on our stepladders and scaffolding to lift it slowly, one side at a time. We shimmed the steel flush with the top of the microlam and wedged it in place with scrap 2x4s to make sure it didn’t tip forward, then drilled out the bolt holes in the microlam behind it. Even though we were using 1„2-inch bolts, we had specified 9„16-inch-diameter holes in the steel, which made bolt installation a bit easier.
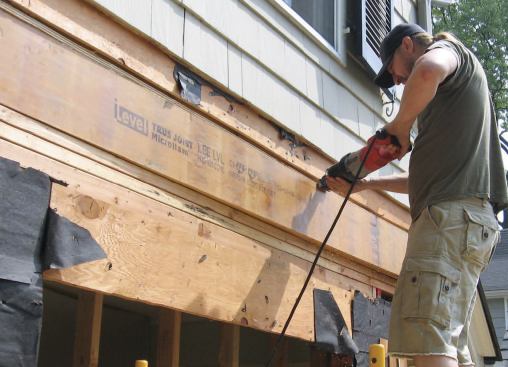
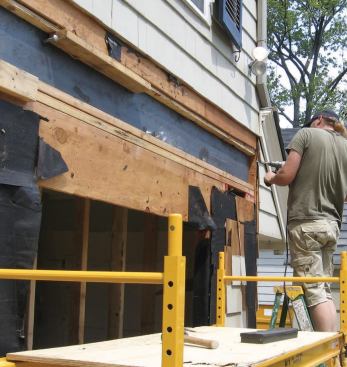
The second microlam went in easily, since the first one had led the way. We tacked it in place, then returned to the kitchen to drill the bolt holes, using the holes in the first microlam as a guide. After hammering the bolts through both microlams and the steel and securing them with washers and nuts, we installed our joist hangers and then removed the remaining existing wall below the new beam. We left the temporary studwall in place until we had finished framing up the corners under the ends of the beam.
Rob Corbo is a building contractor in Elizabeth, N.J.
Rotproof Brackets
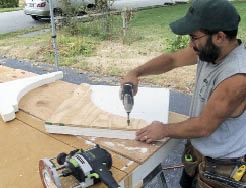
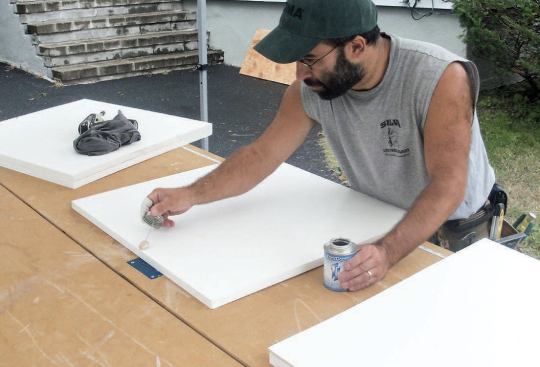
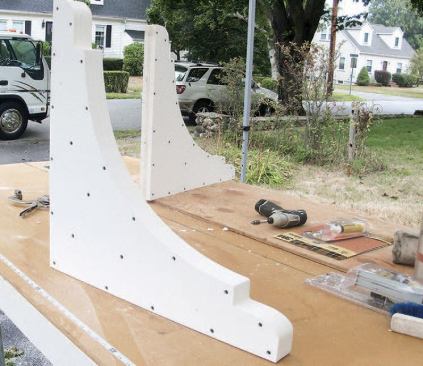
by Emmanuel Silva The wooden brackets on this front porch had seen better days. They weren’t structural, so I wanted to replace them with a material that wouldn’t rot again: cellular PVC. After carefully removing the brackets, we used one of them as a template, first tracing its profile onto a scrap of plywood, then cutting it out with a jigsaw and sanding it smooth. Next we cut two 2-by-4-foot pieces out of 3„4-inch PVC sheet stock. The original brackets were about 1 1„2 inches thick, but I wanted the replacements to be a little thicker, so I added a piece of 3„8-inch PVC in between, then glued the three layers together with Trim Tight (trimtight.com) PVC glue. To clamp the pieces together as the cement cured, I also drove exterior screws in from one side.
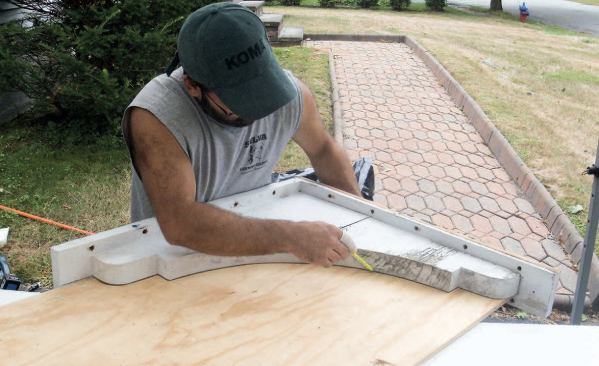
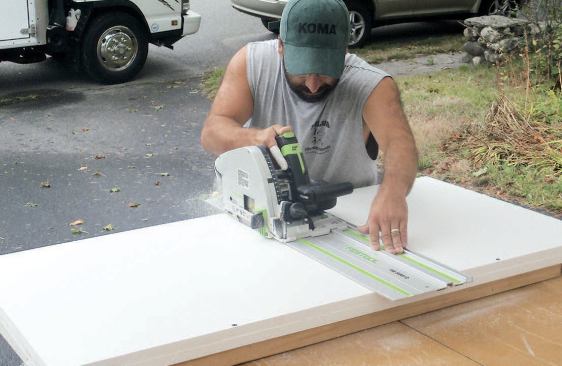
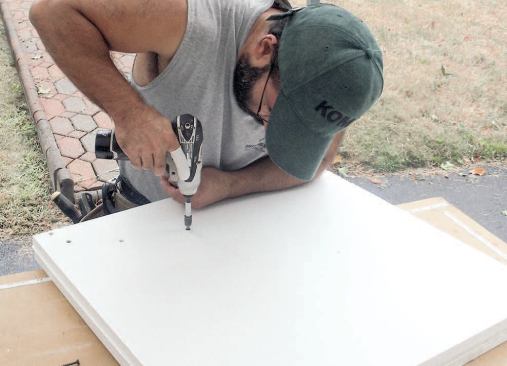
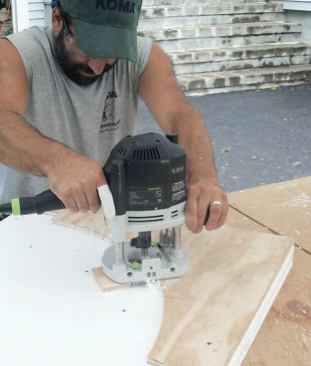
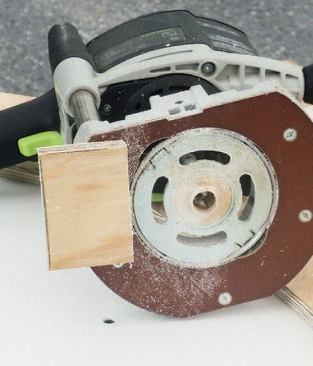
After attaching the template to the PVC blank (6), I quickly routed the profile in two passes (7). A small scrap of plywood hot-glued to the base helped the router stay square to the template (8). We finished up the edges with light sanding.
6.
7.
8.
We filled the screw holes (9) with Bond&Fill (bondfill.com), a filler designed to work with all the available brands of PVC trim. We let it set up for about 15 minutes, then sanded it smooth, leaving the screw holes invisible.
9.
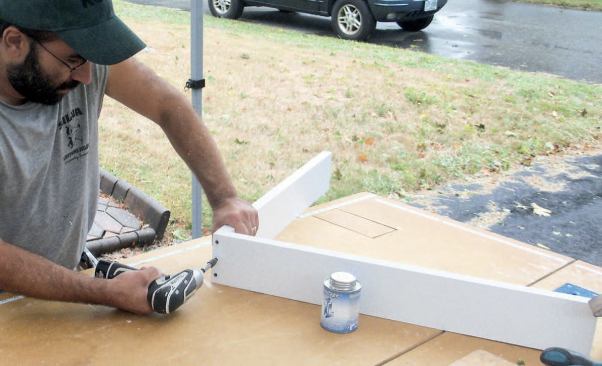
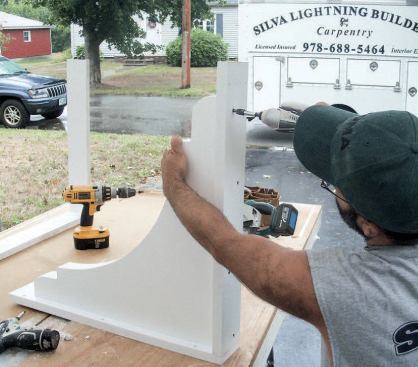
Next we cut two pieces of 5/4 PVC stock to match the original bracket’s 90-degree backer (10). We predrilled holes for attaching to the house, then glued (11) and screwed (12) the brackets to the corner pieces.
10.
11.
12.
13.
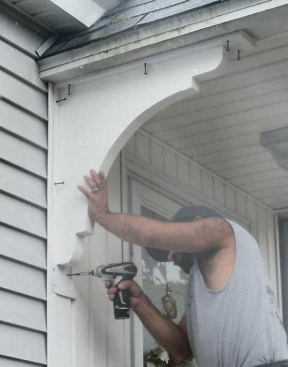
After protecting the sheathing with Vycor flashing tape, we installed the new brackets (13). They fit perfectly; having the screws already in their holes made for an easy installation. Finally we cut plugs from the PVC scraps, glued them in place, and sanded them smooth. The brackets look like they’ve been there for years, which was our goal.
Emmanuel Silva owns Silva Lightning Builders, a remodeling company in North Andover, Mass.


