
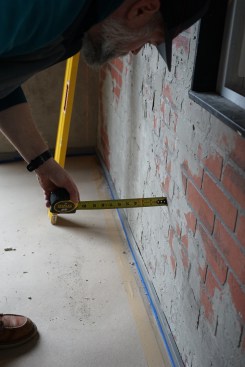
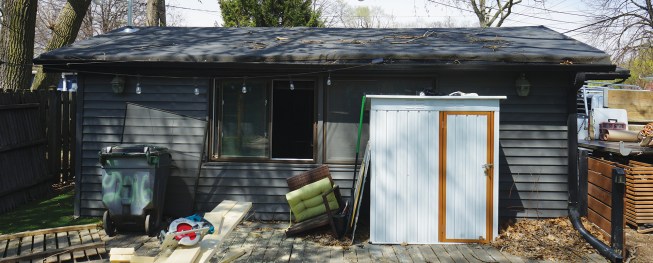
On a recent job, we were called in to repair a garage that had been converted to the primary bedroom of a home near Chicago. It was visually apparent that the roof had some deficiencies. The ridge had a substantial sag, which in turn pushed the exterior wall out of plumb upward of 3 1/2 inches at its worst location.
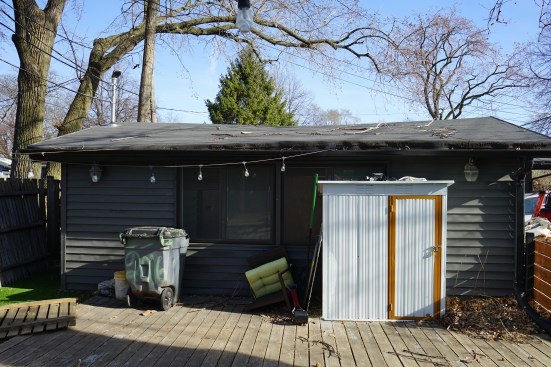
Before. The structural problems of a small primary bedroom addition were immediately apparent to the author. From the exterior the sagging roof is plainly visible.
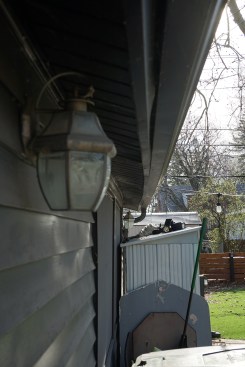
The bearing walls had been pushed out of plumb, causing the top plate to bow outward.
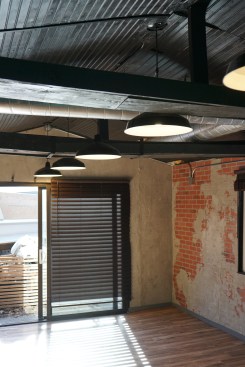
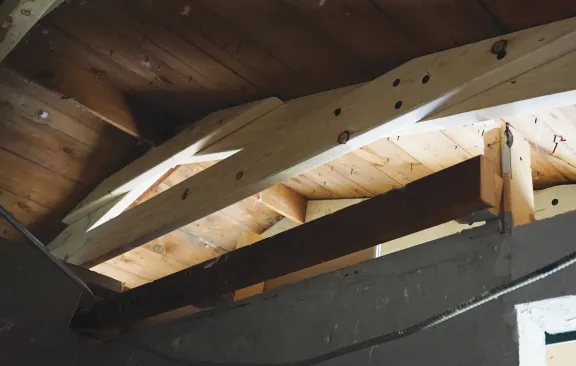
The cathedral ceiling had only widely spaced ties that were boxed-in to look massive but were more cosmetic than structural.
The roof structure was insulated and had been finished with wood paneling. It also included widely spaced tie beams that were more cosmetic than structural. Cathedral ceiling areas like this one require a structural ridge beam to support the roof loads, or adequate rafter ties or ceiling joists to resist the outward thrust of the roof loads. This building lacked both.
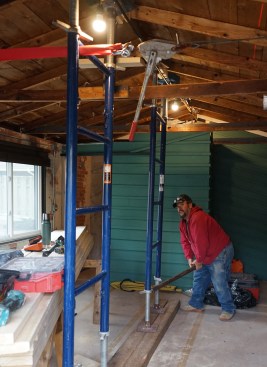
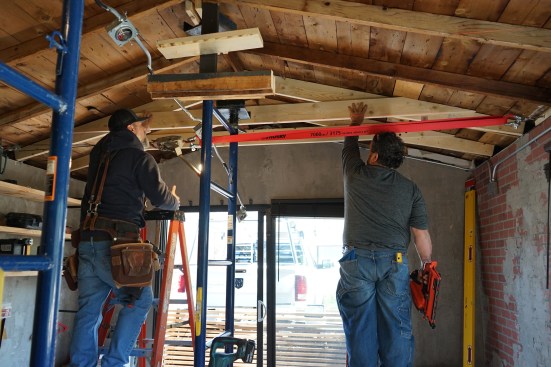
Jacking Up the Roof
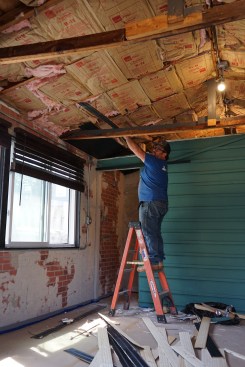
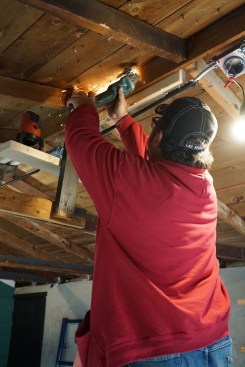

The crew begins by demolishing the ceiling.
A true ridge beam should not be confused with a ridge board, which is not a structural member and functions only to make installing rafters easier during construction. A true ridge beam must be sized appropriately to support the roof loads and have a clear load path that transfers the loads through columns to a solid foundation. On top of a poorly designed ridge and inadequate ties, the roof rafters on this building were only 2x4s, which are greatly undersized for this part of the country.
Our job was to bring this home’s primary bedroom to a structurally sound state. Working with a local engineer, we determined the most cost-effective approach was reinforcing the 2×4 rafters with modified 2x6s and adding rafter ties along with intermittent collar ties.
We started the repair work by temporarily reinforcing the existing ridge board to support our shoring. We then mounted eye hooks to the top plates at the bowed wall section and, using a come-along to pull the wall inward and our shoring to lift the ridge upward, we were able to make significant improvements in the ridge sag and the wall bow (to view photos of the process, click on the slide show “Jacking Up the Roof”).
Repairing the Framing

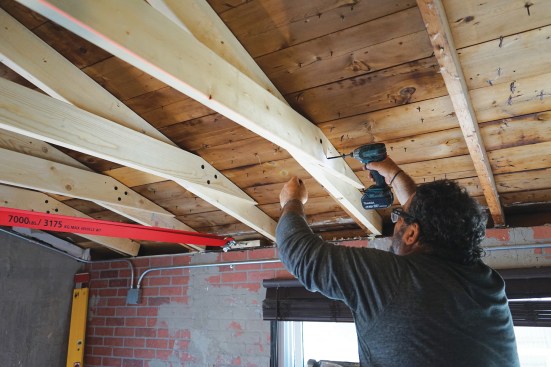
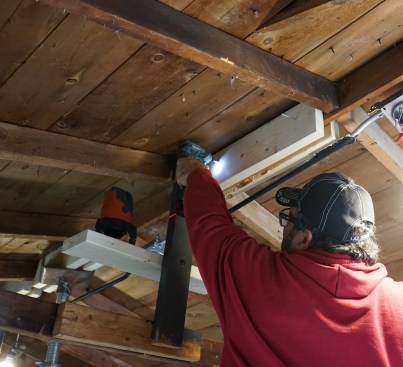
Toby Bonilla installs 2×6 sisters to the existing 2×4 rafters.
Once we had everything where we wanted it, we sistered new members to the rafters, then locked everything in with 2×6 rafter ties, using a laser to define their elevation. To maximize headroom, we set the rafter ties at the top of the lower third of the rafter elevation (the “1/3 rule”). We also installed collar ties just below the ridge board on every other rafter-and-tie assembly to help hold each structural assembly together (to see photos of the process and the final results, click on the slide show “Repairing the Framing”).
Photos by Jake Lewandowski


