
Air-sealing a flat attic and upgrading the insulation with a blanket of blown cellulose is bread-and-butter work for weatherization contractor Matt Damon and his company, Penobscot Home Performance, based in Bucksport, Maine. Among the many air leakage points Damon and his crews commonly encounter in an older Maine house is the open chase around the brick chimney. Earlier this year, JLC visited one of the company’s jobs to see lead weatherization technician Chris Jerome seal up a chimney chase.
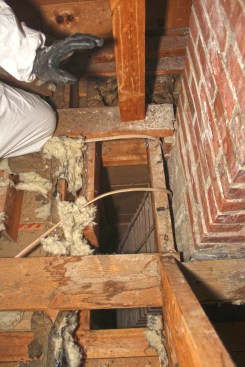
The chimney chase in this older attic communicated directly with the home’s living space and basement below.
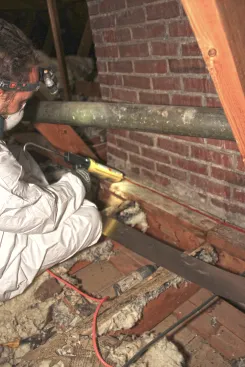
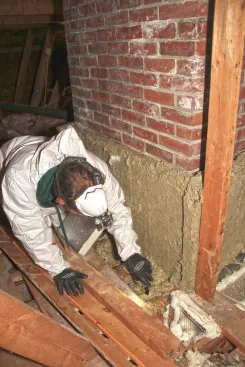
Craftsman Chris Jerome first laid a bead of high-temperature sealant on the masonry.
Then used 26-gauge metal to bridge the gap between the masonry and the surrounding wood framing.
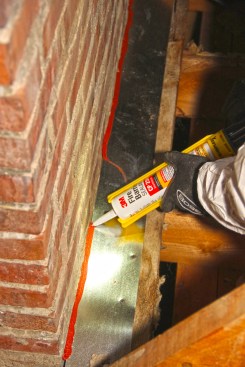
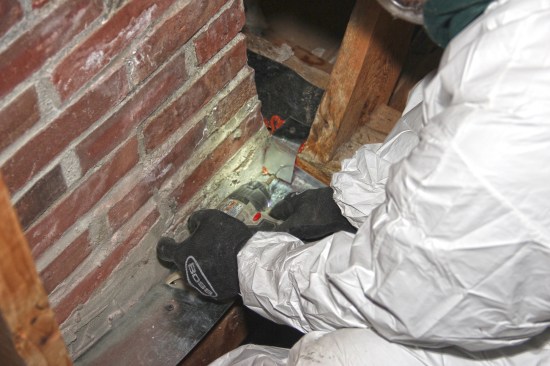
Jerome sealed the edges of the metal to the brick with sealant.
“Sealing penetrations in an attic is one of the most cost-effective weatherization measures,” Damon told JLC. “These holes can cause both comfort issues and high fuel use. It’s like leaving a window open year-round.”
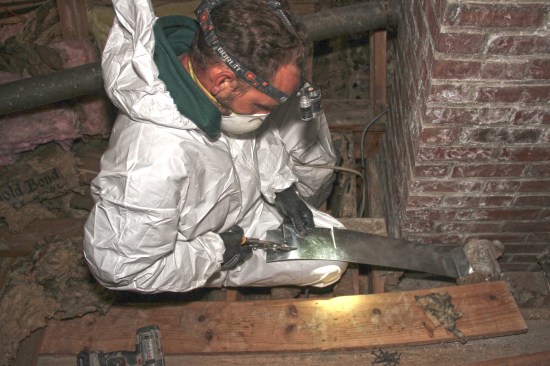
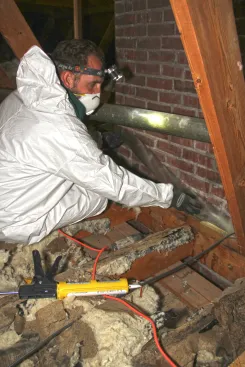
Fitting the metal to the irregular masonry was challenging.
Framing required some ingenuity and care.
Code requires any material in contact with a masonry chimney to be noncombustible. Older codes and traditional practice also respected this rule, which is the reason that the open gaps between the attic framing and the chimney exist in the first place. To block the air pathway, the technician cut 26-gauge metal flashing to fit over the gaps and sealed the joints between the metal and the masonry chimney and the wood framing using high-temperature caulk (in this example, 3M Fire Barrier Sealant).
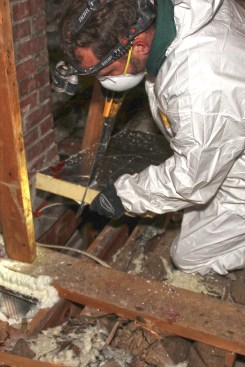
Some larger gaps weren’t in direct contact with the masonry.
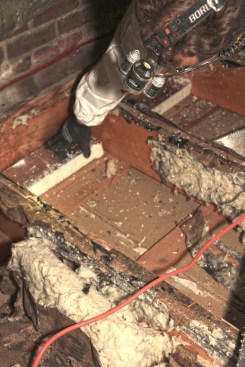
They were blocked up using foil-faced rigid foam insulation.

And sealed to the framing at the edges with one-component gun foam
For large gaps that were more than 2 inches from the chimney, Jerome cut pieces of foil-faced polyiso foam and sealed them to the structure using one-part expanding adhesive foam sealant.
After the air-sealing work was complete, including wiring, vent, and plumbing penetrations throughout the attic, the attic received an R-60 blanket of blown cellulose insulation. That material is not allowed to contact the masonry chimney, so after blocking the bypass, Jerome fit pieces of 2-inch Roxul mineral-wool insulation around the chimney to isolate the masonry from the cellulose.
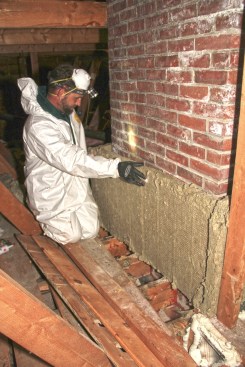
Once the air seal was accomplished, Jerome installed a Roxul mineral-woolinsulation barrier around the chimney.
This isolated the masonry from an R-60 blanket of cellulose insulation that was blown in place after all the airsealing measures were implemented.
This attic also received a rebuilt access hatch with rigid foam insulation and weather stripping (see “A Site-Built Insulated Attic Hatch,” June/17). After $1,400 worth of state and local rebates, the total cost to the homeowner was $5,300. Before the work, Damon tested the house at 4,270 CFM50 with a blower door; after sealing up the attic, that number had dropped to 2,800 CFM50. “A 35% reduction is pretty good for an attic-only weatherization project,” said Damon.


