Gary Striegler
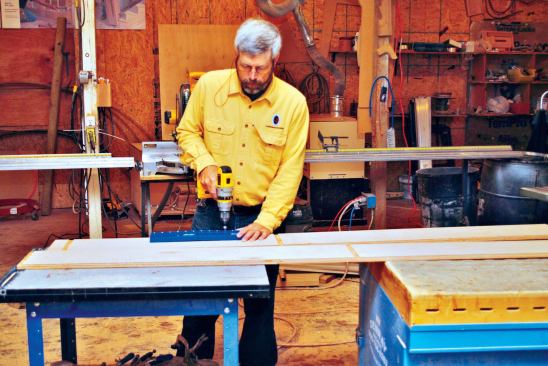
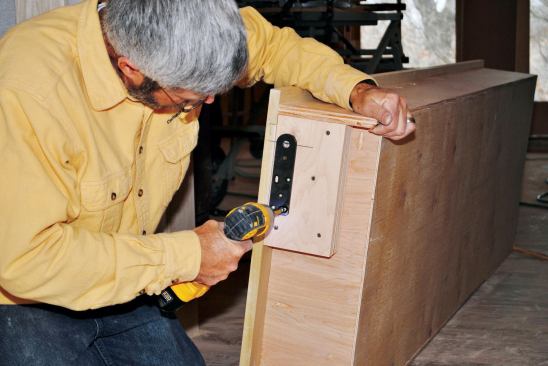
Shelf-pin holes are drilled in the sides of the cabinet case wit…
Recently I built a home for clients who had a large dining room hutch. The hutch would only fit along one wall of the room, but the plans called for a closet door on that wall. As much as they loved their furniture, they just couldn’t give up the closet.
As a compromise, we located the closet access in the entrance hallway. But adding a door in the most public part of the house wasn’t the most visually appealing solution. So we decided to build a pivoting cabinet that would serve as a door. In our past attempts to create hidden spaces, after a lot of fussing, the cabinets would only work well enough for occasional use. But this closet would be used a lot and it would be very visible, so I needed to build a pivoting cabinet that looked great and worked well.
The key was finding the right hinge mechanisms. I decided to try the InvisiDoor Hinge Kit from Custom Service Hardware, which I had seen at several trade shows. The kit consists of two pairs of plates—one for the top of the cabinet and one for the bottom—that work for either an in-swing or an out-swing cabinet. For this project, I needed an out-swing configuration.
Building the Cabinet
Because of its conspicuous location, I wanted this door to look like a built-in display cabinet, so I designed it with a recessed panel on the bottom half and adjustable shelves above. I made the cabinet case and fixed dividing shelf from 3/4-inch plywood, running the sides a couple of inches past the bottom per the InvisiDoor instructions. For the adjustable shelves in the display area, I drilled rows of shelf-pin holes on both sides using a Kreg shelf-pin jig.
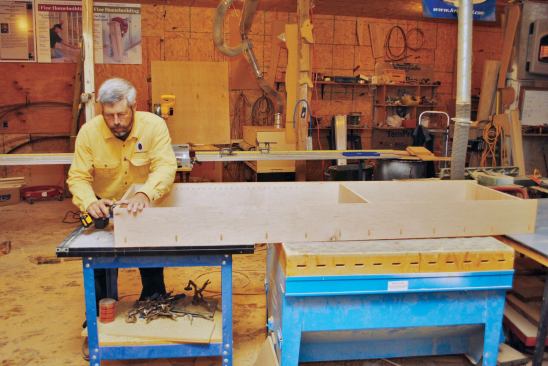
After gluing and screwing together the case, I made a simple stile-and-rail face frame, fastening it to the case with glue and pocket screws. A strong connection here is imperative because the face frame has to double as a door handle.
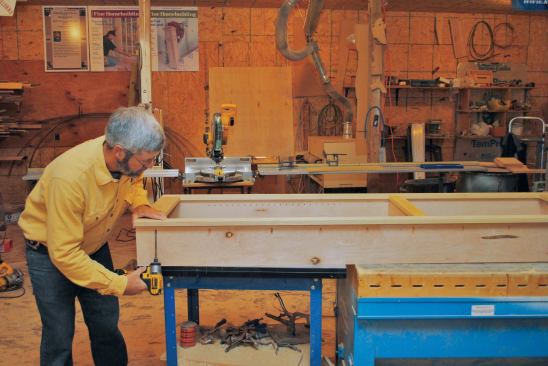
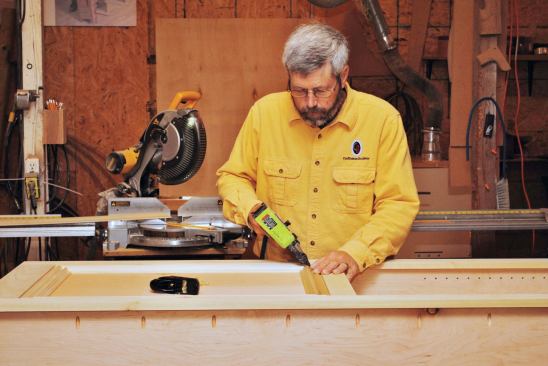
I glued and fastened a piece of finish plywood behind the bottom face frame to make the decorative recessed panel and also glued 1/4-inch plywood on the back of the case. These two pieces of plywood gave the cabinet the rigidity needed to keep it from racking as it swung open. To complete the recessed panel on the front of the case, I added a frame of decorative molding inside the face frame.
Hinges and Hardware
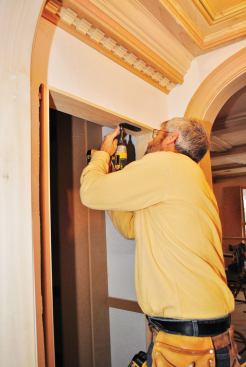
Following the InvisiDoor instructions, I screwed the plates to the head jamb and to the floor using the slotted holes in the hinge plates, which allow for tweaking a cabinet’s position once it has been hung. The floor plate has a pivot pin and the bottom plate on the cabinet has a hole that fits over the pin. At the top, the jamb plate has a threaded opening that accepts an Allen-head cap screw that threads through a hole in the top plate of the cabinet and acts as a top pin.
We needed to pad out the plate on the bottom of the cabinet with two layers of 3/4-inch plywood to give us proper clearance between the cabinet and the floor. Once the plates were in place, it was easy to swing the cabinet into place and secure it with the cap screw.
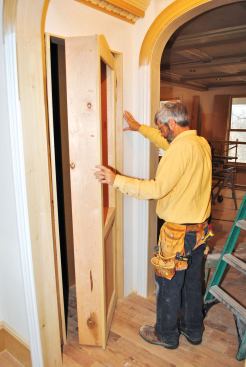
We then tested to see that the cabinet swung open easily and made sure that the gap between the cabinet and the opening was consistent all around. We tweaked the position of the cabinet slightly by moving plates in the slotted holes. When we were happy with the fit, we drove permanent screws into the non-slotted holes. Last, we installed the InvisiDoor adjustable support foot, which supports the cabinet and keeps it in place when closed.
Using Trim as a Doorstop
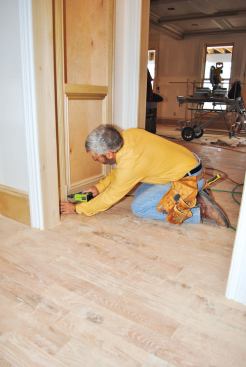
The cabinet was about 8 inches deep, so it needed more clearance on the latch side than you’d need for an ordinary door. We decided to use the door casings to cover the gap, fastening the pilaster trim and plinth block to the wall on the hinge side, and to the cabinet on the “latch side”, where they would not only cover the gap between the door and the frame, but also act as stops for the door.
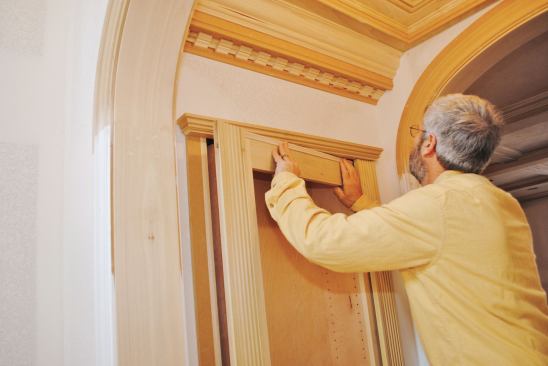
For the built-up head trim, I started with flat stock thick enough and long enough to project about 1/4 inch beyond the pilasters in both dimensions. I wrapped it with panel mold and added a top cap. The thickness of the trim hid most of the gap at the top, and I added a thin strip to the cabinet to cover the rest. At the cabinet bottom, I coped a relief path in the plinth block on the hinge side so the cabinet door could open without binding on the base molding.
By the time the painter was through, the cabinet looked amazing and worked as well as it looked. Our client liked the look so much, in fact, that he asked us to build a mirror frame that matched the style on the opposite wall.
Gary Striegler is president of Craftsman Builders, in Fayetteville, Ark.craftsmanbuildersnwa.com


