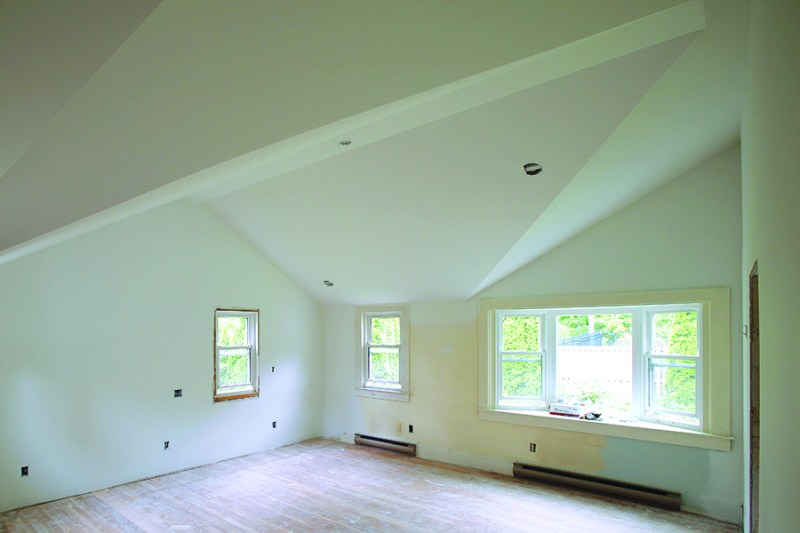
As a remodeler, I consider troubleshooting part of my job. And if some sort of trouble—such as a leaky roof—isn’t the reason for a remodeling project in the first place, it’s usually lurking nearby. On a recent primary-suite remodel, the client’s request was simple enough: Turn a flat ceiling in the bedroom into a vaulted one.
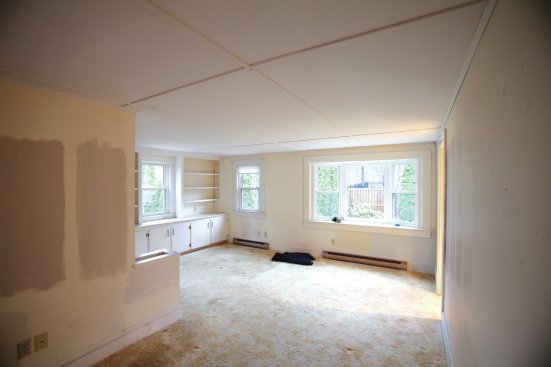
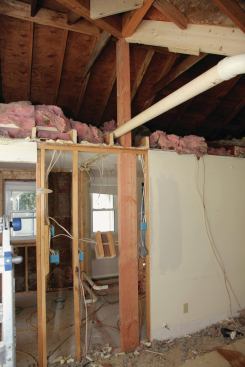
Before
My strategy was to install a structural ridge and rafters below the existing roof, which would create the vaulted ceiling and give me space to add insulation at the same time. The bedroom sat at the intersection of two perpendicular volumes (an ell had been created at one point in the home’s history). There was no attic access, so I couldn’t inspect the existing roof framing. Consequently, my plans were contingent on the condition of that framing. But I figured, how bad could it be?
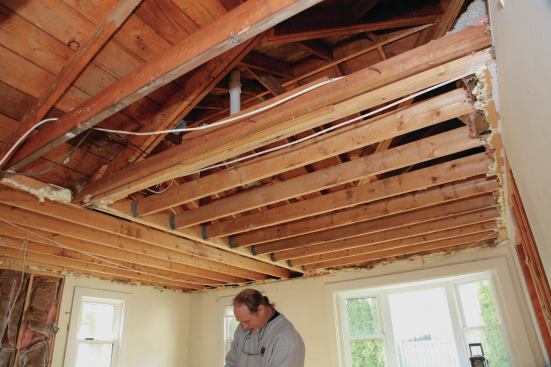
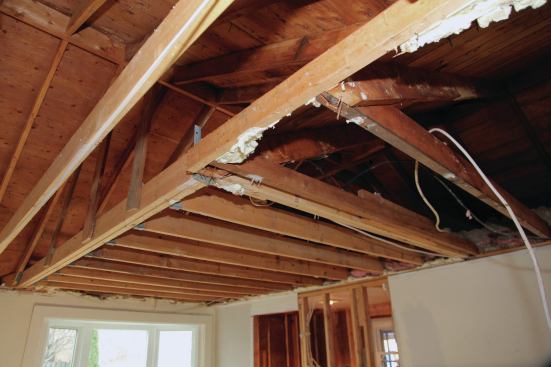
Luckily, the owners understood that the plans couldn’t be finalized until the demo had been finished and I had evaluated the roof framing. As the insulation fell away and the existing framing was exposed, the trouble mentioned earlier found us. When the addition had been built, a structural valley had been added to just one side. The valley framing on the other side was a hybrid, with a structural valley meeting a doubled rafter, and a “California valley”—with one roof resting on the other—continuing the rest of the way. The builder had then suspended the ceiling-joist support beam from the rafters above using vertical 1x6s. The problem was compounded by the fact that both ridges were non-structural. These techniques were right out of the Rube Goldberg school of home building.
In my predecessor’s defense, the doubled rafters carrying the point load of the roof on that side landed on a built-up corner of the bedroom closet, which served as a post. But removal of that closet was part of the remodel, so we needed to add a new structural valley on that side. After cleaning up the demo mess, I called in my framing contractor and devised a solution. Building a second “roof” as we had originally planned would interfere with the new valley, so instead we decided to replace the existing ridge board with a ridge beam and let the underside of the rafters become our vaulted ceiling.

Roe Osborn
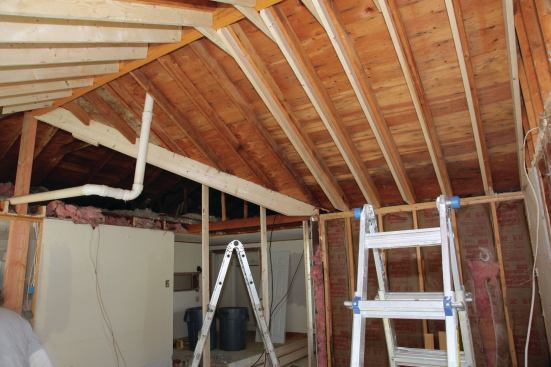
As the insulation fell away and the existing framing was exposed…
The framers inserted a post to support the existing triple 2×8 valley as well as the new structural ridge. They continued the post down through the wall framing below, and down into the crawlspace, where we poured a footing to pick up the point load. The framers also removed the section of original roof framing that continued under the roof of the addition; this exposed the entire length of the valley from below.
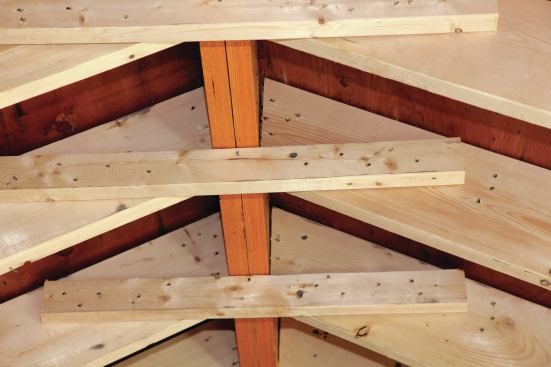
Next they removed the non-structural ridge board with a reciprocating saw, cutting back the rafters enough to fit in doubled 9 1/2-inch LVLs. They left the old ceiling joists in place to help stabilize the roof until the new ridge beam was in place.
The LVLs for the new ridge were lagged together using Timberlok screws, and the interior end of the ridge was cut at an angle on both sides to fit between the valley rafters. When the ridge was slipped into position, it was fastened to the original valley rafter via long Timberloks and temporarily fastened to the old 2×6 rafters until the post could be built to support it at the gable end.
With the roof supported, all the original ceiling joists were taken out and the old roof at the valley supported temporarily with vertical 2x4s until a new double 2×10 valley was in place between the ridge and the inside corner of the ell.
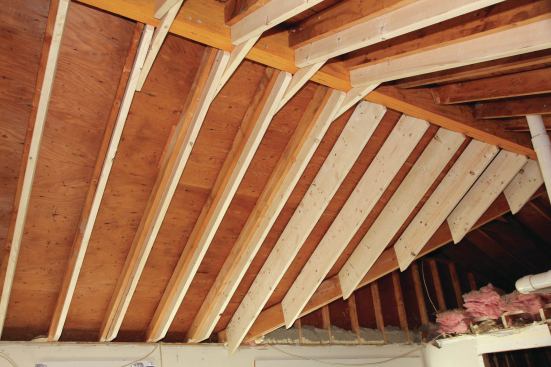
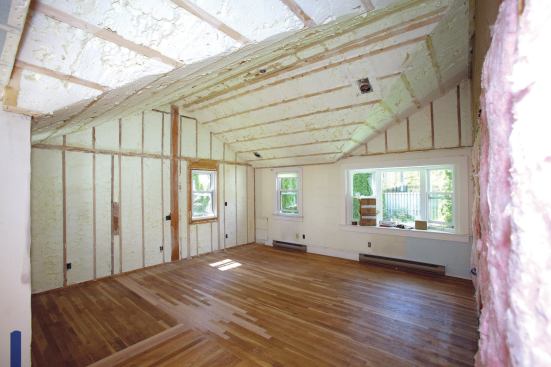
My goal was to keep the original unvented roof intact, so for insulation, we decided to use 10 inches of spray foam to give us the required ceiling R-value without venting. To get enough depth, 2×10 rafters were sistered onto each of the original 2×6 rafters, using framing nails and Timberloks. Jack rafters were either sistered or added as needed along both valleys. To deal with uplift issues without opening up the roof, 2×4 collar ties were used to join each pair of rafters. The ties gave the ceiling a flat section at the top, but the clients were fine with that compromise, and it gave the electricians a level place to mount the ceiling fan.
With all the new rafters in place and both ends of the ridge supported on posts, the crew ran furring strips over the whole ceiling and filled in the framing above the bathroom walls and over the flat ceiling. Insulation and drywall followed closely after the plumbing and electrical work, and I came in with my crew afterward to finish off the project.
In the end, we took care of the trouble that had reared its head, and not only gave the clients the vaulted bedroom ceiling that they wanted but addressed some questionable roof framing at the same time.


