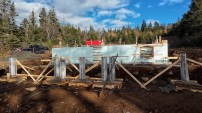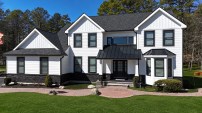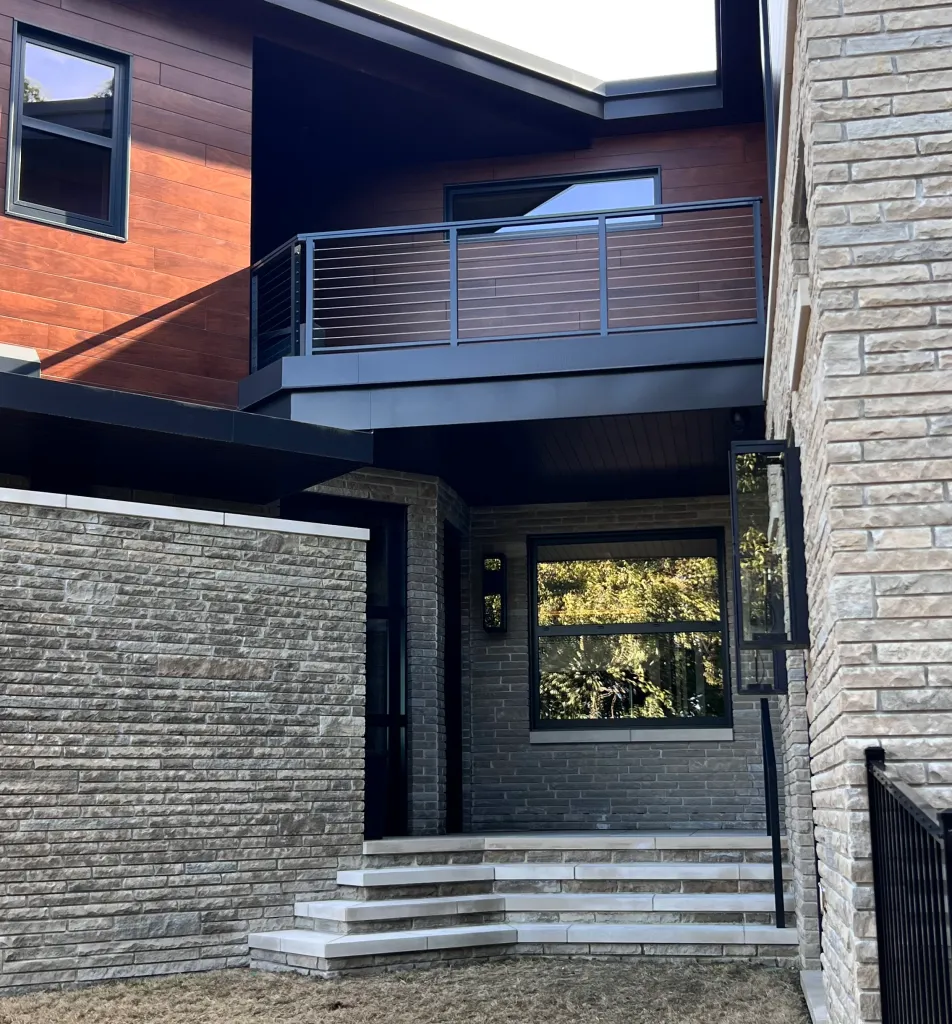
On a recent new construction project near Virginia Beach, the plans included three separate second-story porches located almost entirely over finished space.
During design development, the architect had originally specified glass railings that were sleek, aligned well with the home’s modern aesthetic, and allowed for unobstructed views of the waterfront. However, after discussing with the clients the need to frequently clean the glass in a coastal environment, they chose cable railings instead.
The architect also called for a very clean fascia detail along the perimeter of the porches, which we had to decide how to approach. It’s common in our area for decks over living spaces to have a pitched membrane roof sloping toward the outside with the deck on sleepers installed level and a small space behind the fascia to allow for water to flow out. However, we have seen on other projects with this drainage strategy that water constantly flowing over the side created a “crusty” buildup in that space from dirt and debris. This creates frequent maintenance issues that we wanted to avoid.
Knowing the high expectations for a project of this caliber, we collaborated with the architect and our roofer to design curbed roof areas for each porch. Water would flow to a center drain, eliminating the need for drainage along the porch edges.
Selecting a Railing System
As I dove into the details for the available off-the-shelf cable railing systems and had some back and forth with the clients reviewing photos of different style installations, we quickly realized we needed help. We decided to bring in a local railing fabricator who we’ve worked with for years to build the rails. His deep experience doing cable railing was a better fit than us trying to do this in-house.
One of the details that we wanted to avoid was having a visible mounting plate on the deck surface. Many systems have a standard “bolt down” baseplate attached to the bottom of their posts. The clients objected to photos of this style of railing; they were looking for a more refined look.
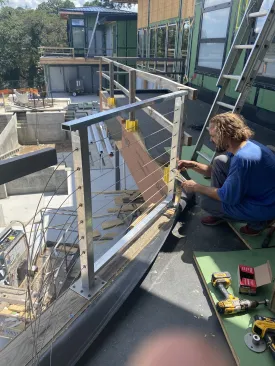
The railing specialist mocked up a section to test whether the fasteners from Nill Building Solutions would work as intended.
After a little research, I found Nill Building Solutions (nillbuildingsolutions.com), a company that offers a range of building components that provide robust methods for sealing out the elements. Specifically, they offer a guardrail mounting system that uses stainless-steel plates that connect to special stainless-steel threaded rods with slots to allow the cables to pass through them. When the rod is tightened with a nut, it creates a compression connection that stiffens each guard post, with minimal penetration through the roofing membrane.
In the high-end building market, aesthetics is as important to clients as keeping water out of the building is for us. We had to find something with a clean, aesthetically pleasing attachment that we could also reliably flash to keep water out over the long term.
Before committing to this system, we needed to make sure our fabricator was on board with installing it—he had expressed skepticism about how well the rods would work to create a safe and sturdy railing. Nill Building Solutions generously sent us some sample plates, connectors, and rods, which we used to create a mockup that proved to be remarkably rigid. Feeling confident to move forward with this system, we finalized our post layouts and ordered the needed materials.
.
Click to enlarge image below
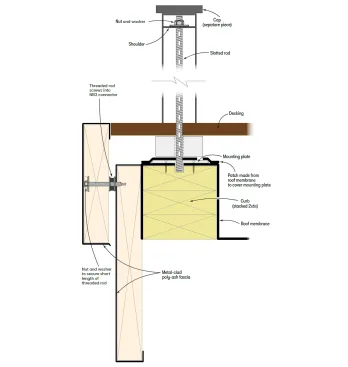
Guard Post Mounting System
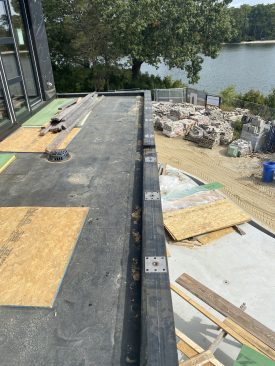
The stainless-steel baseplates attach to the curb over the roof membrane (we were using EPDM, but the same would apply to TPO, bitumen, or the like). Before the roofing membrane and plates went down, however, we needed to mark out our guard-post layout and drill a 1 ¼-inch recess into the curb at each post location to allow space for a threaded connector that accepts the rod. After the membrane was installed over the curb, we then marked our post layouts prior to securing the baseplates with 2 7/8-inch Headlok screws.
Once the baseplates were secured, the roofers came back to install a “patch” over each plate. We then cut a ¾-inch hole in the center of each baseplate into which we inserted the NB3TBD threaded “port”—the connector that the threaded rod screws into. It’s important to make sure that sealant is applied around the port as each one is installed.
Decking System
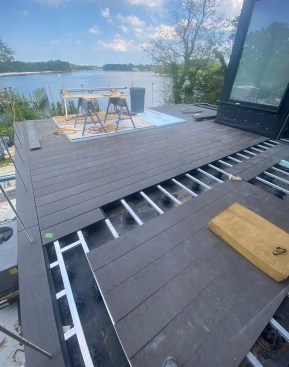
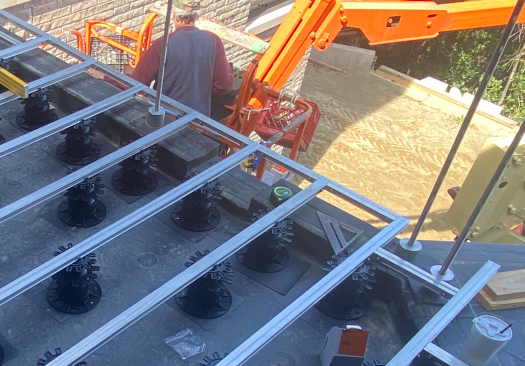
The deck itself needed to be planned and executed in conjunction with the railing. We selected a system from Eurotech that uses pedestals to support an aluminum substructure that supports the decking. This system proved very easy to install. The pedestals allowed for lots of flexibility to accommodate the slope of the roof deck and the step up for the curb. The aluminum rails mate seamlessly with the pedestals and make for a dead-flat surface that feels exceptionally stiff.
One additional part we needed from Nill was a custom stainless bushing, or spacer, that we used to make up the difference between the curb height and the decking height. After we verified the desired elevation of the finished decking at the doors, we erected the Eurotech substructure. This substructure cantilevers over the curb and the bushing provides support beneath each guard post between the cantilevered decking and the top of the curb. Having this solid support ensures good bearing for each post and allowed us to tighten the posts down without distorting the deck boards. With that solid base, we were able to get good compression when we tightened down the nut at the top of each threaded rod (where the stiffness of the posts comes from).
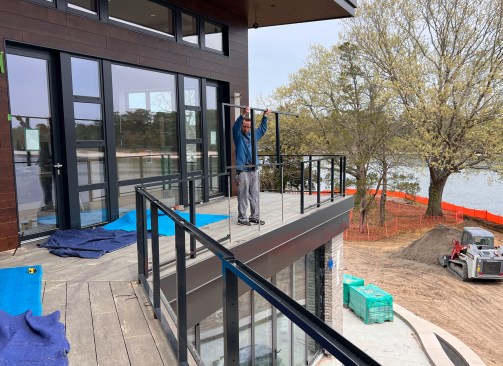
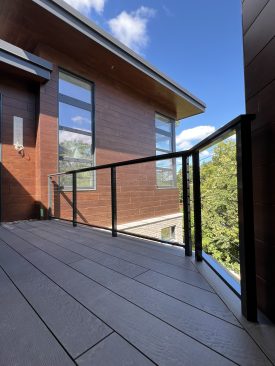
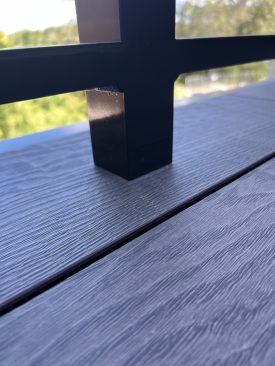
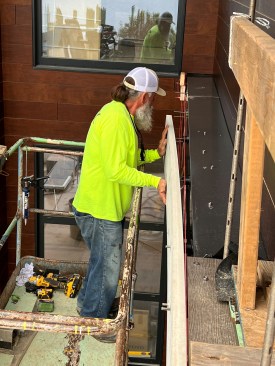
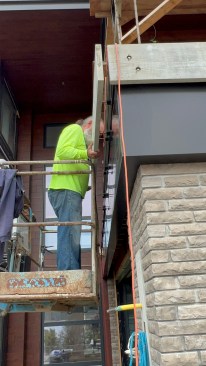
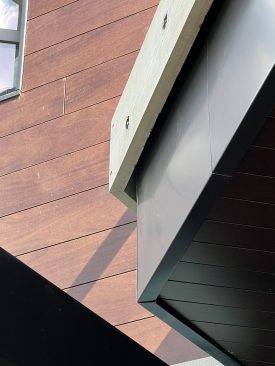
Building code required a scupper in the curb opposite the center…
Once all of the rods were in place and the decking installed, our fabricator returned to take final measurements for each section of railing while also checking for any minor height discrepancies. Those slight inconsistencies were handled by adding or subtracting material at the bottom of each aluminum post to ensure that the bottom and top rails ended up aligned straight and level.
Finish Railing
The rails were designed in sections, with each section having a bottom rail and a top subrail, which will be capped with a finished top rail. Each section was slipped over two posts and tightened down before the finished top rail was added. This finished rail was slightly wider than the posts and the subrail, providing a graspable surface that also tied each rail section together.
A big advantage of this system is it can be removed down the road to re-powder-coat the post wraps and railings. Building in a coastal environment, we’re aware of how quickly metals corrode, and we’re always looking for ways to restore these materials in the future. A powder-coated aluminum product is better than a lot of metals but it’s not immune to corrosion. Eventually we’ll have to address this for our client. It would be no small task to un-install the railings and re-string new cables but at least none of the decking would need to be touched.
Drainable Fascia
One thing we hadn’t planned for is a code requirement that a deck or porch with a perimeter curb and center drain must have a scupper to allow water to escape should the drain ever become clogged. This serves as a backup, or fail-safe, to prevent water from entering the house. The bottom of our door rough openings are below the top of the decking to achieve a flush look, so flooding could occur if the drains clogged. Our plumbers brought this to our attention when they came to connect the internal drains. Luckily, we weren’t too far into the process to come up with a solution. We were able to cut a recess in the curb near each drain, which we lined with EPDM to create the required scupper.
The last piece of the puzzle was figuring out how to hide the scuppers, as no one wanted see the openings or have a notched fascia. We solved this by creating a separation between two fascia layers that surrounded each porch. The wider, inner layer could be notched and the outer layer could remain solid and cover the notch while water drained away between them (and likely, the drains wouldn’t clog often, so the crusty buildup wouldn’t be an issue). I had learned from studying the Nill Building Solutions catalog that they offer a part that allowed us to create a watertight standoff between the two fascia layers.
This part (NB3) has a lag screw on one end with a circular plate around which you apply a bead of silicone before installing it to create a water-sealed connection. The face of the connector has a ½-inch threaded port. We connected short pieces of stainless-steel threaded rod into each port, added a nut to act as a spacer, and attached the outer fascia board with countersunk holes that we pre-drilled before applying.
For the fascia material, we opted to use TruExterior (formerly known as Boral), a poly-ash trim board. Since we would be wrapping each fascia in metal, we needed a substrate material for both that wouldn’t react with aluminum the way treated lumber can, and we didn’t want to use ordinary lumber in case water ever did infiltrate the aluminum wrap.
We installed the outer fascia flush with the top of the deck board to cover the edge of the deck boards (and eliminate the need for a solid-edge board). When viewed from the ground, this retained the look for the all-black fascia—an important architectural statement on this house.