We install tile in many Cape Cod beach cottages that began life as uninsulated summer places. With this particular cottage, the owners had just completed a winterizing project to make it ready for year-round occupancy. Part of the project had been converting a screened-in porch to a three-season porch. They had replaced the screens with storm windows and now wanted to tile over the old decking to seal the floor against winter drafts.
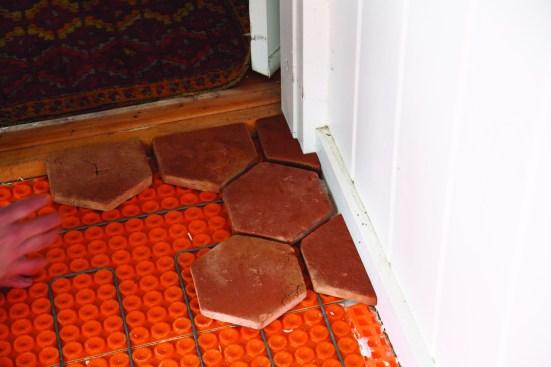
Although the porch floor was solid, it was uneven and not level—pretty common for these homes. The clients chose a rustic terra-cotta tile to hide the unevenness and give the floor an old-world look. The hexagonal terra-cotta tiles for this floor came presealed at the factory, but they still had a rough hand-made look and would hide the unevenness of the floor and stand up to sandy feet in the summertime.
The existing porch floor was standard treated 5/4 bullnose planking that I covered with 1/2-inch plywood. Because of the seasonal temperature changes that the floor would be exposed to, I opted to install an uncoupling membrane to make it stress-crack resistant. I chose Schluter System’s Ditra-Heat, which provided an uncoupling membrane along with electric in-floor warmth. Insulating fabric on the back of the membrane would provide a thermal break.
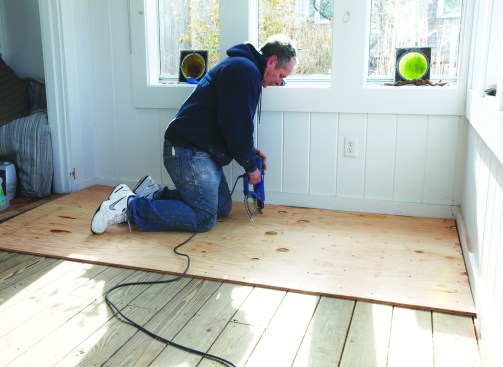
The author installs 1/2-inch plywood to reinforce the existing floor, then covers it with a layer of modified thinset.
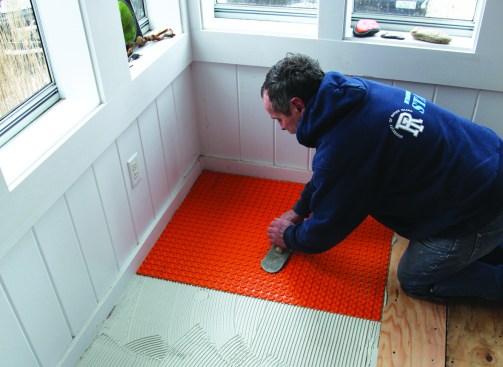
To embed the sheets of uncoupling membrane in the thinset, he applies pressure with a wooden float.
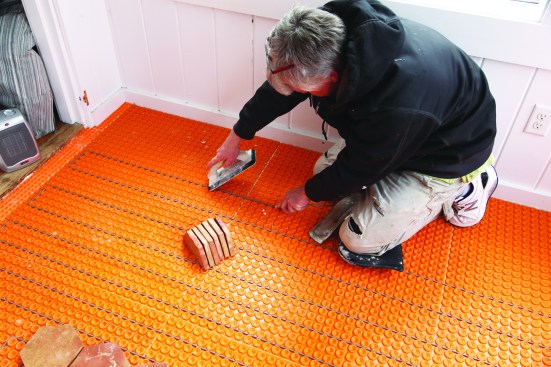
Wire for the Ditra- Heat system snaps into the raised studs on the membrane.

After testing the continuity of the heat mat and setting the sensors, the electrician wires the system to the house panel.
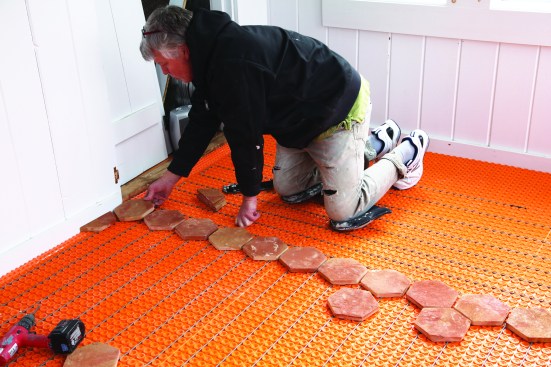
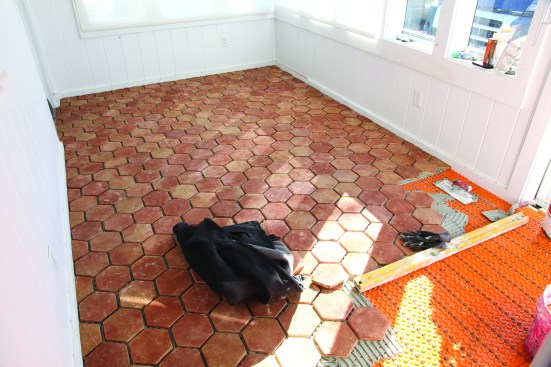
A crew member does a dry layout across the floor, adjusting the grout joints for an even layout.
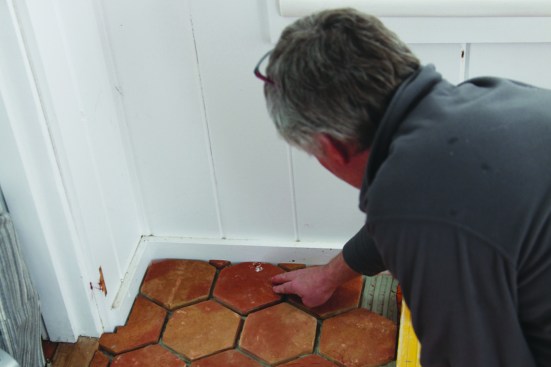
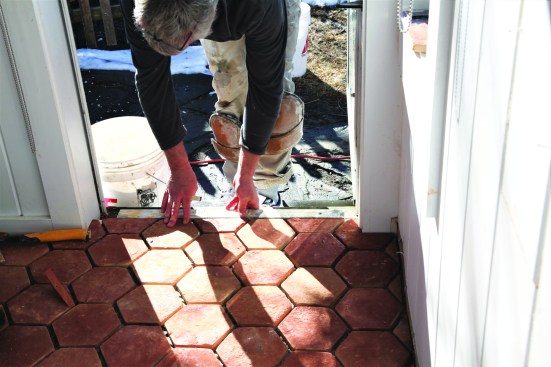
To set the starting point for the installation, he scribes the tiles that will be installed at the main doorway into the house.
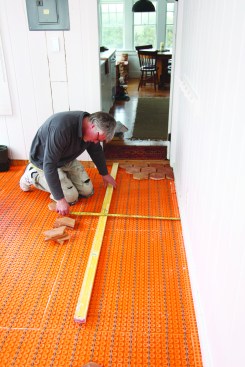
Before installing the tile, he measures from the wall to keep his installation guide—a long level—parallel with the wall.
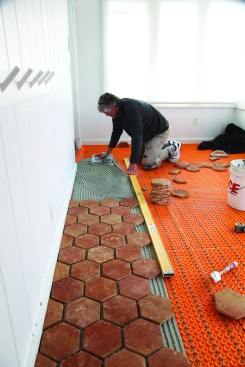
After spreading unmodified thinset with a 3/8-inch notched trowel, a crew member installs the tile using the level as a straightedge against the outermost course.
In the corner, he scribes and cuts the jamb profile at a closet doorway.
All cuts are made with a wet saw. Switching to a shorter straightedge, he works his way back across the room.
A short strip of wood aligns the last tiles at the entry door. A threshold will be installed later to protect the tile at the entry.
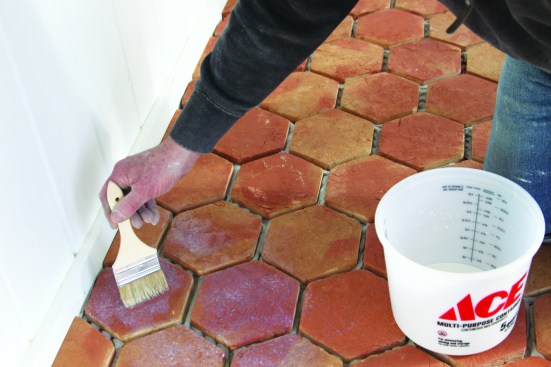
Even though the tile was presealed, the author applies waterbased sealant before grouting.
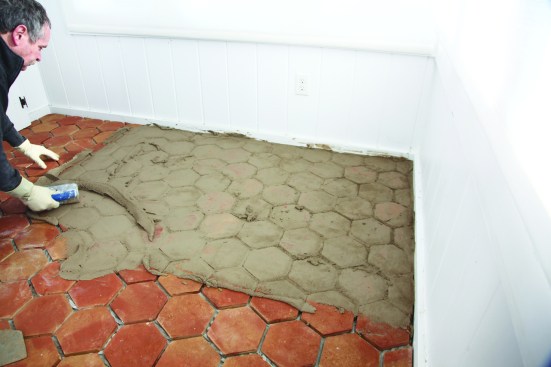
He fills the joints in the usual way, grouting about 20 square feet at a time.
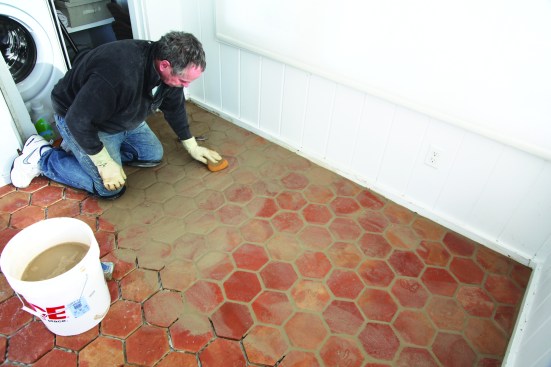
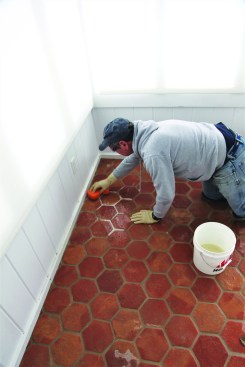
When the grout has set, he wipes the floor down twice with a sponge and water, starting with a fresh bucket of clean water each time. Because of the rough finish on the terra-cotta tiles, he doesn’t try to remove all of the grout haze at this point.
After letting the grout cure for a few days, the author cleans the remaining grout haze from the rough surface of the terra-cotta with a muriatic acid wash, which he uses only in extreme cases such as this. To protect his skin and eyes, the author wears heavy-duty gloves and safety glasses. After dampening the tile with clean water, he wipes a 10:1 water-to-acid solution over the tile, causing the grout areas to foam white as the acid cleans the residue from the tile.

Working with the acid solution in a small area, he thoroughly soaks the tile with fresh clean water, letting the water puddle on the tile to neutralize any residual acid before he soaks up the solution and wipes off the tile with a clean sponge. He later returned and sealed the whole floor.


