The wall tile for the walk-in shower was white subway tile. Tile layout should always be based on the most visual aspect of the shower, which in this case was an awning window. We centered the layout on the window and set the level of the courses so there would be a full tile at the back of the shower seat. The height of the shower seat set the height of the tile courses. The layout for adjacent walls was taken directly from the back wall, and a story pole was instrumental in determining the side-to-side layout.
Horizontal Layout
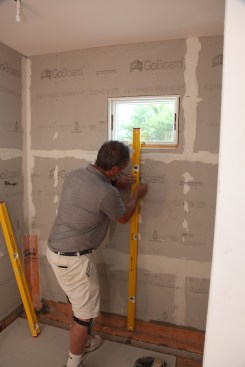
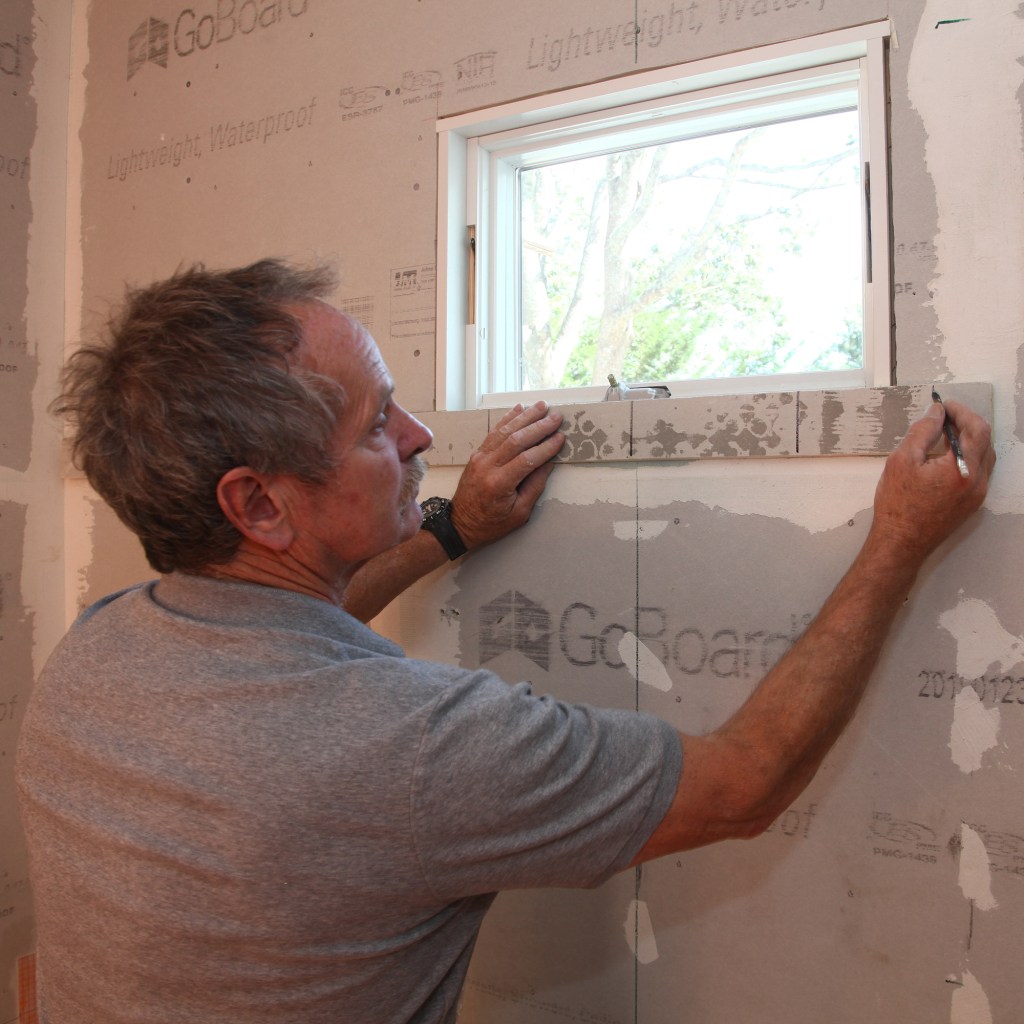
The strongest visual element in the shower is the window with the niche centered below it. So the side to side layout for the tile is taken from the center of the window. Here I drew a plumb line down from the center of the window for one of the primary layout lines.

To check the horizontal layout I made a story board from a wall board scrap. I set the story board on the layout line and check to see where the layout falls beside the window.
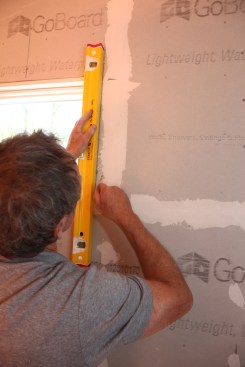
After marking the layout next to the window, I draw a plumb line along the side of the window to help guide the tile installation at that point.


