


I loosened the clapboard siding around the door, removing any th…
A client recently asked me to replace the elaborate trim around the front door of her older home. The door and door jambs were in good shape, but the trim had deteriorated on account of inadequate flashing and sealing. The project also created a great opportunity to make sure the door was weathered-in properly at the same time.
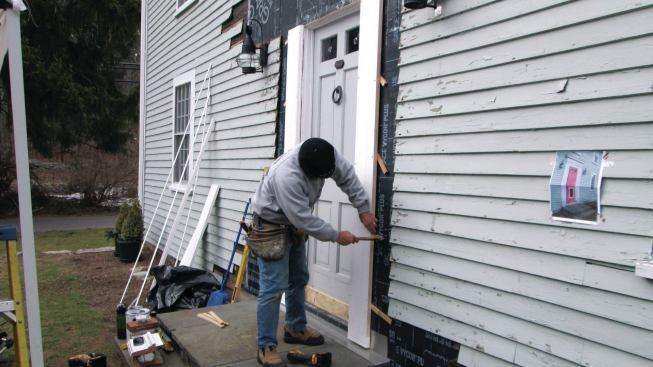
The original trim consisted of wide, layered casings with plinths and capitals that mimicked columns, and a classic built-up entablature above the door. I suggested replacing it all with PVC—wood requires more attention to detail during installation to achieve the best results—but the client insisted on wood to match the other trim on the house. To replicate the original as closely as possible, I photographed the details on the trim before I removed it and used the photos as a reference during the installation.
Prepping the wall
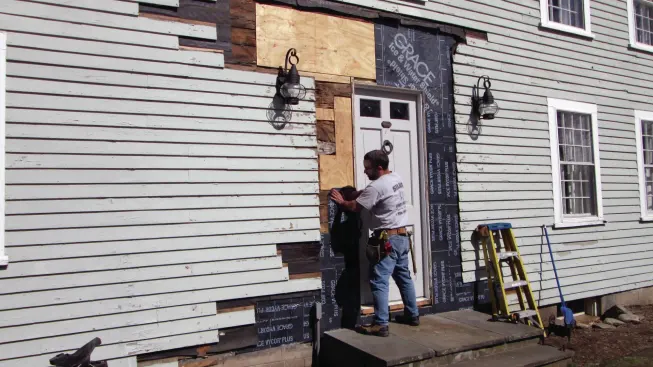
I began by removing the existing trim and setting aside the small detail sections that I needed to replicate. I loosened the clapboard siding around the door, removing any that had cracked or rotted, and patching in pieces of new sheathing where the old had to be replaced. I refastened the original sheathing where needed and covered all the exposed sheathing with self-adhering membrane, interlocking it with the existing felt-paper weather barrier using flashing tape.
Side casing goes on first
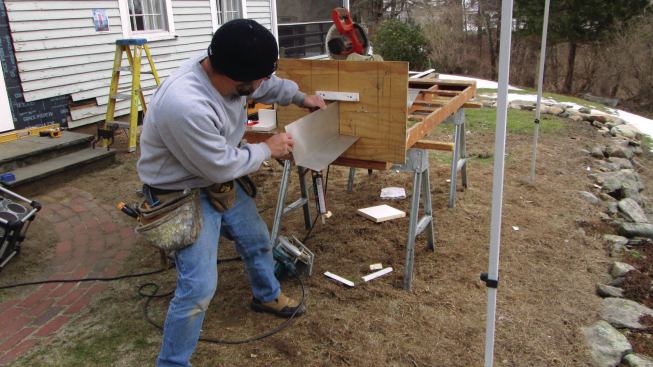
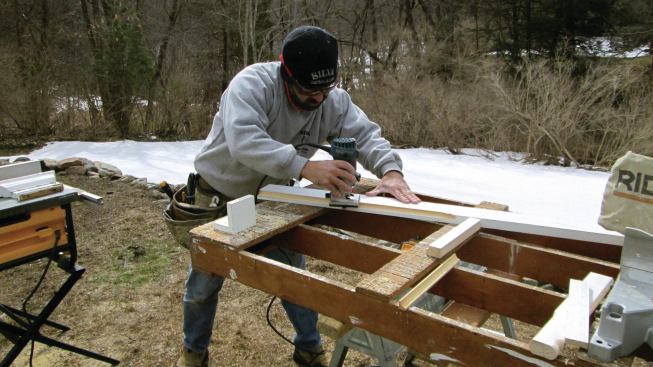
I removed the old door threshold and installed an aluminum flashing pan that I had formed with a home-made jig. I covered the sill of the door frame with the pan and sealed it in place with self-adhering membrane. I then turned my attention to the trim details, cutting and installing the side casings first. Because they were quite wide, I made them in three pieces: an inside section that attached directly to the door jamb, an outside section that butted into the siding and extended up to the cornice, and a third piece that overlaid the first two to mimic a supporting column. I ripped each of these sections to width from 5/4 stock and routed an ogee on the edge of the inside sections where they would be attached to the jambs. For all the trim, I pre-primed the pieces before using a high-quality paintable caulk at every wood-to-wood connection.
I held the trim about 1/2 inch off the side of the house with blocking strips for drainage and air circulation and fastened it in place with countersunk stainless-steel screws. I’ve gotten better results attaching trim this way and plugging the screw holes, than relying on nails and putty. I typically wait until all the pieces are in and then plug the holes as I prep for painting. The second and third side pieces were installed next followed by the head casing.
Adding the capitals and plinths
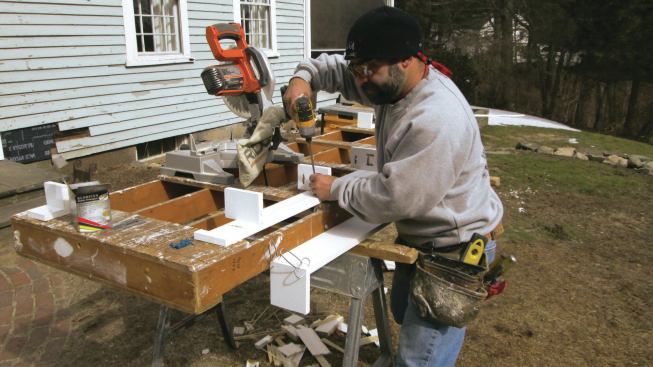
The first ornamental pieces to be installed were the plinths (at the bottom of the columns) and the capitals (at the top). This decorative molding can be made in a mill shop, but that can take weeks and add a lot to the budget. Because these profiles were pretty simple, I just routed the edges, using bearing-guided bits. With the original capitals and plinths at hand, I was able to closely match them.
Each capital consisted of five pieces, which I primed and then glued and tacked together on the workbench before caulking and screwing the assembly in place. The plinths were also made of five pieces: three for the base block and two for the decorative layers on top. I installed the bases first and then each top layer as a single piece. Once the moldings and casings were installed, I sealed all the joints with latex/silicone caulk.
Recreating the entablature
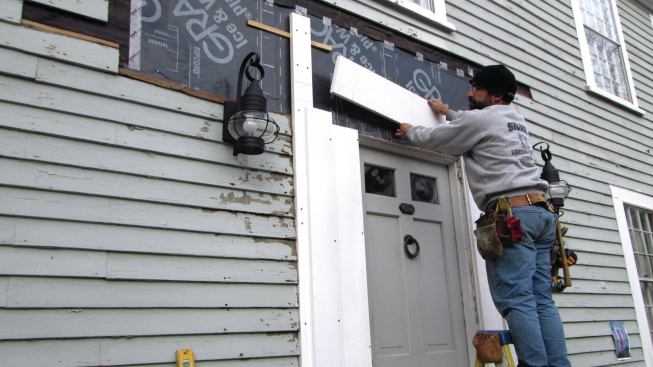
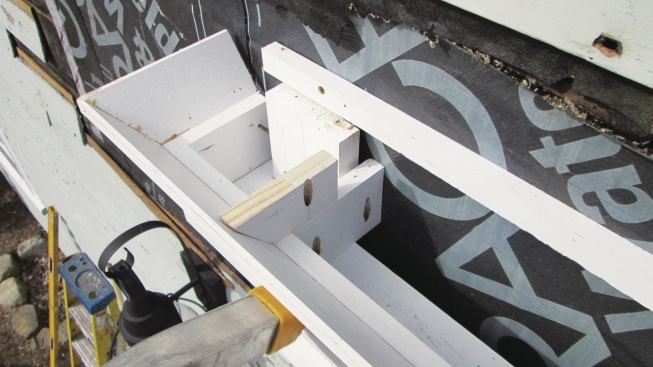
Next I built the entablature, or ornamentation, over the door. The outside pieces of the side casings formed the sides of the entablature; layout lines on the casings aligned the sections of trim as they went in. I pre-assembled all the moldings as “kits” at my workbench, starting with the architrave—a simple flat board with molding—which I placed on top of the capitals.
Above that would go the frieze, but first I built the cornice—the top part of the entablature. This consisted of a soffit that rested on another band of molding defining the top of the frieze section. I built the soffit at my workbench in two pieces: a bottom part with attachment blocks and a fascia that wrapped around it. The bottom part fit around the tops of the side casings and attached to the wall with pocket screws. The fascia then screwed to the blocks.
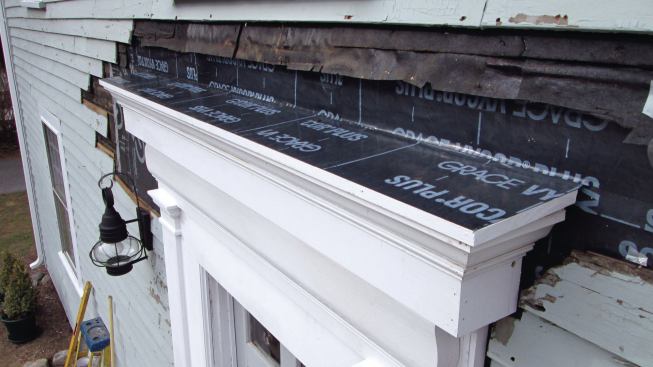
A band of crown molding—with angled blocks reinforcing it from inside—topped off the cornice. A cleat installed above the cornice created a slight pitch for the cornice cap so that it could shed water.
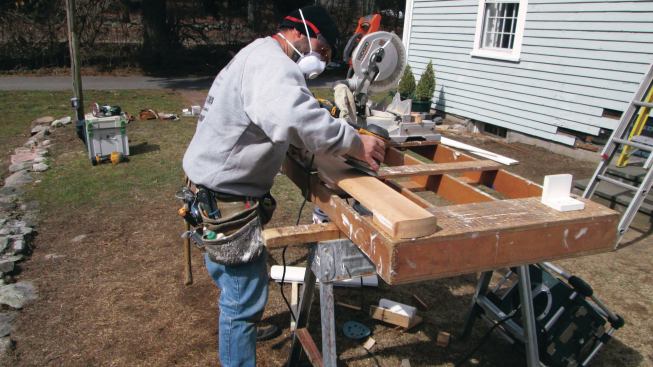
The final piece of the entablature was the frieze board, which I made from 5/4 stock with blocking at the ends to make it sit proud of the molding below. The frieze had a simple curved face and slight curves at the ends, which I created with a jigsaw and a disc sander.
Finishing up
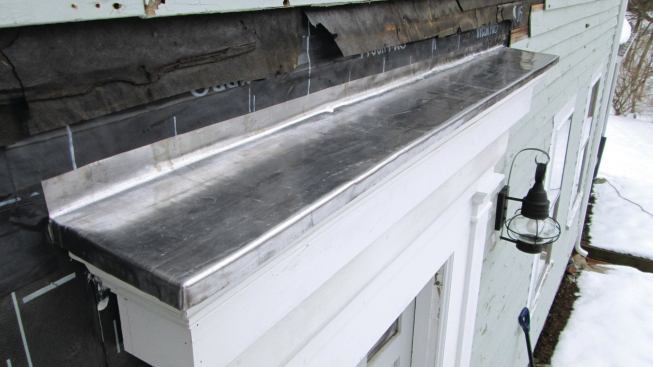
I topped the cornice cap with a layer of self-adhering flashing that slipped under the building paper above the door. I also added a layer of lead flashing over the whole thing and sealed it against the wall with flashing tape.
With the trim around the door finished, I installed a natural oak threshold with an apron below. I had put off this step to keep the threshold from getting scuffed during construction. Next I filled in the siding around the door, caulking the sides to the casing and leaving the appropriate drainage space between the siding above the door and the cornice cap. Once I had plugged the screw holes and filled the nail holes in the trim, it was ready for the final coats of paint.
For a finishing touch, I built a copy of the original beadboard storm door out of cedar and painted it bright red. Installed on wrought iron hinges, the colorful door completes the restoration of this classic entry.


