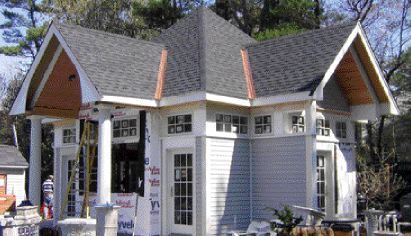
My small remodeling company specializes in renovation, but we occasionally take on new construction, like the architect-designed pool house shown here. One of the keys to working successfully with an architect is to build the project exactly as drawn. On this job, I noted that the framing plan showed no collar ties, cables, or other means of bracing for the full cathedral hip roof covering the pool house. This wasn’t an oversight, but was intended to create an expansive interior space.
Still, with my background in architectural engineering, I recognized a structural challenge. Instead of taking the obvious route and persuading the client to accept a few ties in the final design, we decided to find another way to frame the roof to resist the outward thrust of the hips and the tendency of the rafters to sag under a snow load.
Steel to the Rescue
Ultimately, we decided to use the four main building corners to lock the hips in position. We reasoned that as long as the corners couldn’t move or separate, neither could the hips. But, rather than expect the sidewall sheathing, overlapping top plates, and framing nails to hold the corners together against the thrust of the hips, we opted to use custom-made steel L-braces on the top plates to reinforce the framing.
A local steel fabricator made the brackets, based on a plywood pattern I gave him to copy. We used 1/4-by- 4-inch steel plate to make the 5-by- 5-foot L-bracket arms. At the corners of each L are two rectangles of steel, welded on diagonally to form a saddle that catches the ends of the hip rafters. The saddles have a 3 5/8-inch spread, giving us a little slack so we didn’t have to fight the doubled LVL hips into place.
The brackets were drilled with 3/8-inch-diameter holes for lag-bolting to the plate, and the saddles were drilled to receive two 1/2-inch through-bolts to secure the hip rafters.
Four L-brackets custom-welded from 1/4-inch steel plate reinforce the corners of the building against the outward thrust of the double-LVL hip rafters. The saddle at the corner of each bracket is pre-drilled for a 1/2-inch bolt. The brackets were sandwiched between the top plates; lag screws hold the assembly together.


