- Q. Can you explain the best way to unlock vinyl siding panels? We often run into vinyl when building an addition or cutting a new window opening, and would like to know how to remove and replace panels without destroying half a wall’s worth.
A.Mark Katuzney responds: Whenever I am called to a job to remove and replace vinyl siding, I follow these general steps:
I begin by looking over the job and figuring out which panels need to be removed. Rule of thumb: Always remove one course more than needed.
1 of 6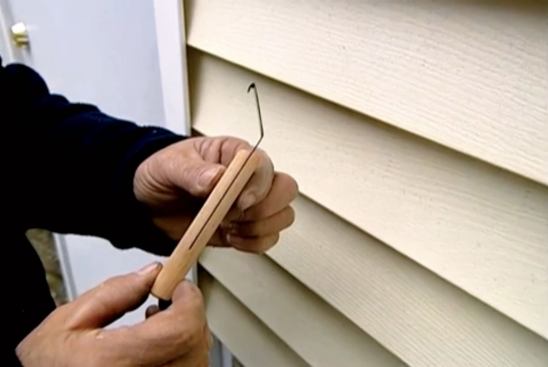
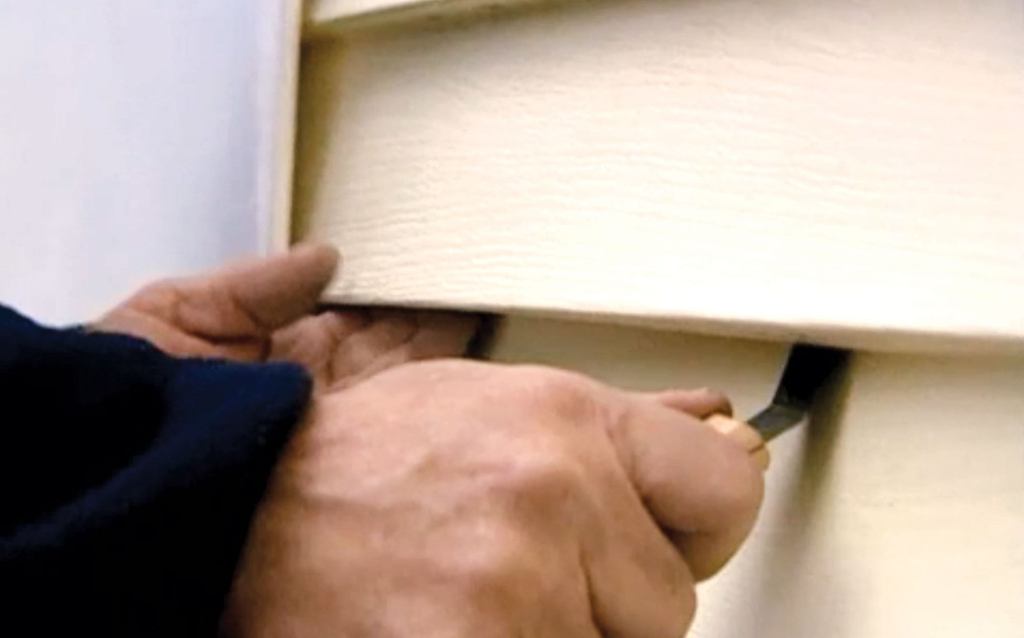
Pull down and across to unlock it.
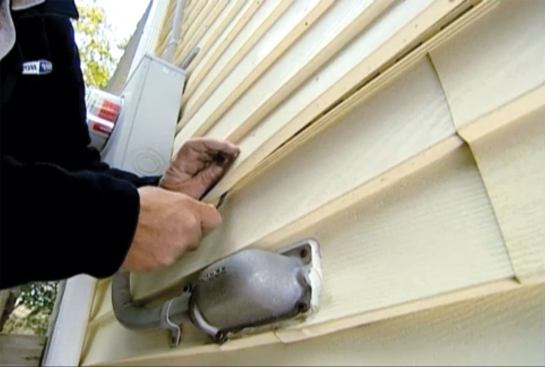
Starting from the weakest or loosest end of the panels I need to remove, I separate one course from the rest of the siding. While you can do this with the claw of a hammer, I recommend the “zip tool” (available from any vinyl siding supplier), which looks like a butter knife with a hook on one end.
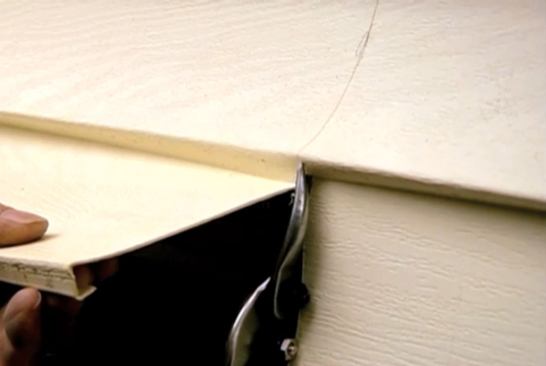
With this tool, you pry gently at the end of a panel, hook the lock, and pull down. The panel will come “unzipped” as you slide the hook along the lock.
To replace siding panels after the work is all done, follow these guidelines:
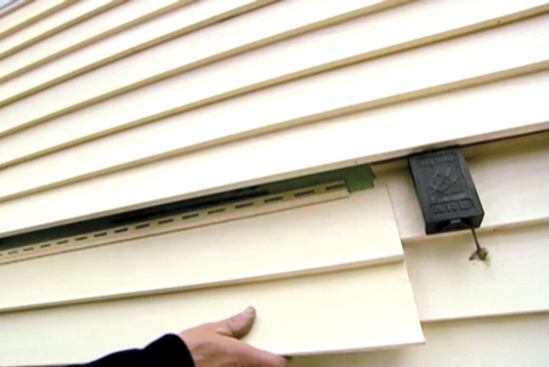
Pay attention to the original butt lines and spacing. Lay up your panels and nail them in place. Make sure you don’t over-nail. The siding should be able to move under the head of the nail, so it can expand and contract with changes in temperature. If you pinch the panel tight, preventing it from moving, it will buckle.
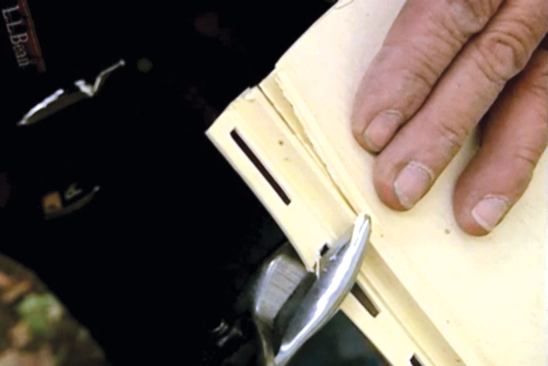
Once you’ve installed the last course, close the seam by pulling down on the lock above with the zip tool in one hand, while gently pushing against the lock with your other hand.
Mark J. Katuzney is owner of Mar-Kay Siding and Roofing Co. in Yalesville, Conn.
Q&A: Removing Vinyl Siding
2 MIN READ