During many years as a restoration contractor, I bet I’ve replaced over a mile of rotten porch floorboards. Because their ends are directly exposed to the weather, these planks may be the most vulnerable parts of an old house. In most cases, what I’m ripping out is not original old-growth flooring — which is extremely durable if it’s not badly neglected — but modern replacements that were installed with little or no pretreatment. Today’s fast-growth lumber has very little natural resistance to rot, so it’s vital that you completely seal the boards before they’re installed.
There are a variety of alternative flooring products on the market — synthetic materials as well as chemically treated wood — that claim to be immune to rot. Unfortunately many of them have had serious problems with expansion and contraction when exposed to real world conditions. So when I have to replace floorboards, I use the best-quality exterior-grade tongue-and-groove lumber I can find. In the Northeast, where I live, my local lumberyard stocks vertical-grain fir, which is dimensionally stable and somewhat rot-resistant. When ordering material, I make sure the boards are a few inches too long so I have the option to cut them to length after they’re installed.
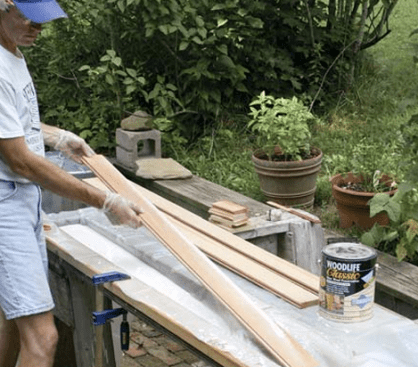
To treat replacement floorboards, the authors soaks them in Woodlife in a tub created from scrap 2x4s and 6-mil poly.
To make my floorboards as impermeable as possible, I coat them with a clear, paintable wood preservative such as Woodlife Classic (rustoleum.com). Instead of using a brush, I apply this treatment by soaking the boards for a minute or two in a makeshift dip tank made from scrap 2x4s and 6-mil poly. Then I set them aside to dry for at least 24 hours. The following day, I use a brush or a sprayer to coat all surfaces (especially end grain) with a high-quality exterior primer.
Installation is straightforward. I blind-nail the floor boards into the joists by driving 8-penny galvanized finish nails at a 45-degree angle starting at the back of the tongue; to prevent the tongue from splitting I predrill every nail hole. The tongue is particularly vulnerable to rot, especially if water seeps in around the nail holes, so after the nails are set, I run a bead of caulk over the full length of the tongue to provide an extra level of protection.

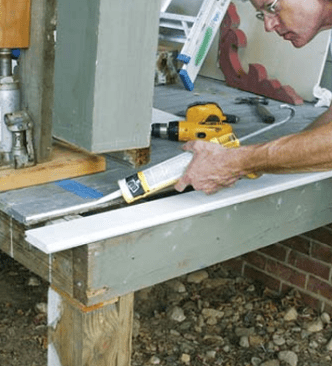
When installing new floor boards, the author predrills for blind…
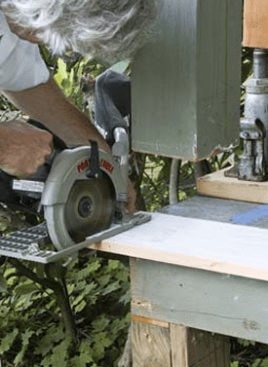
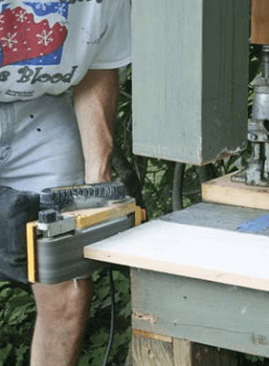
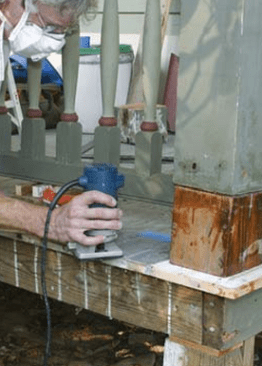
After all of the floorboards are in place, I snap a chalk line, trim the floorboards to length with a circular saw, then fine-tune the cut with a belt sander. Before I put away the sander, I run it across the front edge of the existing flooring to remove the old paint and expose the end grain. I do this in preparation for the final phase of my process: ensuring that the end grain — new as well as old — is completely sealed. Without this extra step, the end grain will drink up water like a straw. Paint alone provides temporary protection at best.
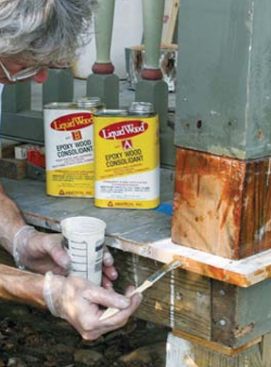
One popular solution to this problem is to glue a piece of half-round molding onto the front edge of the floorboards — which is fine as long as the molding doesn’t get beaten up by foot traffic. I prefer to round the top edge of the flooring with a 3/16-inch roundover bit, then seal the end grain using an epoxy consolidant from Abatron (uccoatings.com), System Three (systemthree.com), or one of the other epoxy manufacturers.
After the consolidant dries, the end grain takes on a rock-hard consistency that’s impervious to moisture but holds paint very well.
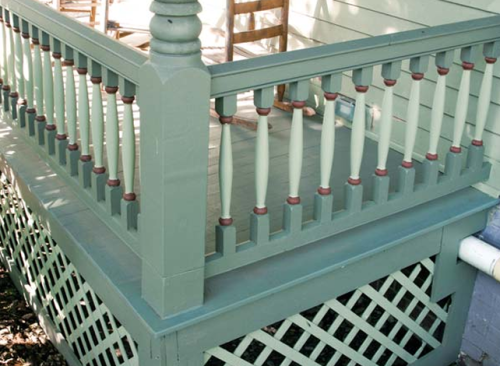
In addition to longevity, the upside of this admittedly labor-intensive process is that it makes for a very stable floor — you won’t see wide cracks opening and closing due to changes in temperature and humidity. And from a contractor’s point of view, my strategy isn’t as inefficient as it might seem: Over the years, I’ve typically had floorboards delivered to my shop well ahead of time. Then if a helper is caught up or a job gets get rained out, someone can be dipping or priming floorboards during what would otherwise be downtime.