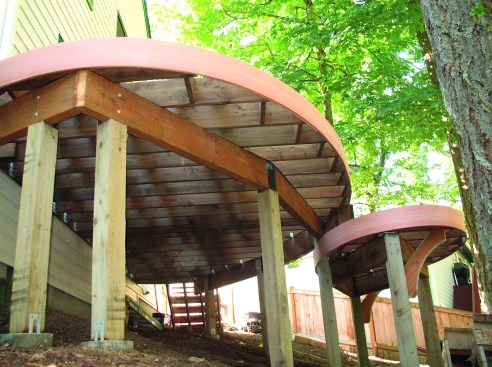

For this redwood deck, I had to shape two ovals (1), the larger roughly 12×26, the smaller, 6×10.
To describe the elliptical shapes, I used the “pins and string” method (mathopenref.com/constellipse1.html). First I found the two foci of the upper oval and put a screw at each of those points. Then I ran a 26-foot-long 1⁄8-inch steel cable (string was too stretchy) between the screws (2). While pulling the cable taut to the perimeter of the deck, I slid my pencil along it to mark the oval outline on the joists. I followed the same process, with a 10-foot cable, for the smaller deck.
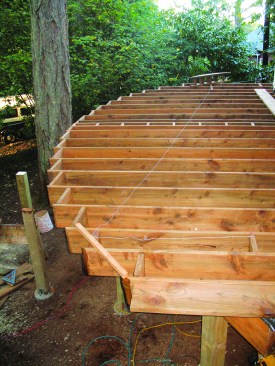
After I installed blocking between the joist ends, I cut the joists along my marks, adjusting the angle of the saw’s footplate to match the changing curve. I painted the cut ends (pressure-treated Doug fir) with a preservative.
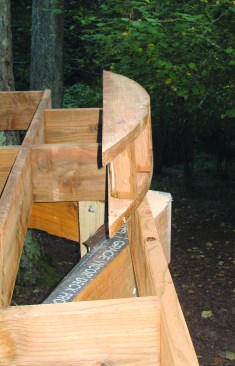
The “ends” of the ellipse were shaped from 2x10s, placed on the support beam, and screwed to the outermost joists (3).
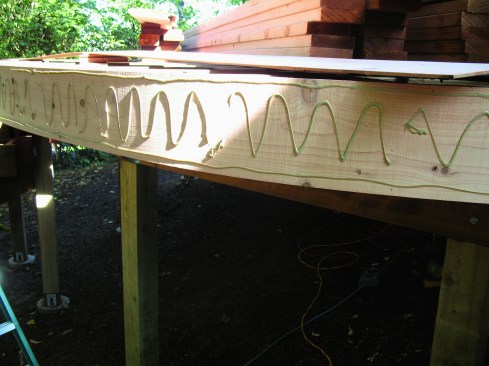
Construction adhesive and 2-inch finish nails affix the laminated fascia to the joists. Each of the three plies of 1⁄4-inch-by-10-inch redwood was glued, clamped, and nailed off (4). The two innermost layers are lower quality, with open knotholes and rub marks, but the outer one is nearly clear. I kept the compressor pressure very low so the nails didn’t shoot right through the thin wood.
The top of the laminated fascia is flashed to keep water from getting between the plies and shortening its lifespan (5). I won’t run any screws into it when I install the decking, for the same reason.


