[Editor’s note: This is the second of a three-part series on installing deck ledgers. Part 1 took a close look at attachment details, while part two explains how to install leakproof flashing. Part 3 will address lateral load connections.]
The walls behind the ledgers on nearly every old deck I’ve repaired or replaced in the past 15 years have had some level of water damage due to the ledger cap flashing leaking or poor installation of the flashing. Often, sections of wall sheathing were rotted, and sometimes, the house rim joist was severely decayed. Luckily, in the latter cases, the owners had noticed that something was wrong and had us inspect the decks before they collapsed.
There’s no one “right” way to flash a deck ledger. While the International Residential Code addresses ledger flashing, it does so with a performance standard. Rather than providing prescriptive details, the IRC describes the required outcome.
The ledger-flashing requirement is found in footnote “a” under Table R507.9.1.3(1) in the 2018 IRC: “Ledgers shall be flashed in accordance with Section R703.4 to prevent water from contacting the house band joist.” The code doesn’t provide an illustration for how to detail the flashing. The only other information in Section R703.4 is that a “… corrosion-resistant flashing shall be applied shingle-fashion in a manner to prevent entry of water into the wall cavity or penetration of water to the building structural framing components.” The code also notes that self-adhered and fluid-applied membranes shall comply with certain standards, but leaves it to you and your code official to decide how to design and install a ledger-flashing system suitable for your climate.
In dry climates, a simple metal or plastic cap flashing may be adequate to prevent water from contacting the band joist. But in wet climates, and especially where wind-driven rain is common, a more complex flashing system may be needed. I take a belt-and-suspenders approach and add an extra insurance layer. The material cost is negligible in the overall cost of a new deck, and on an average-sized deck, it takes only about an hour to assemble.
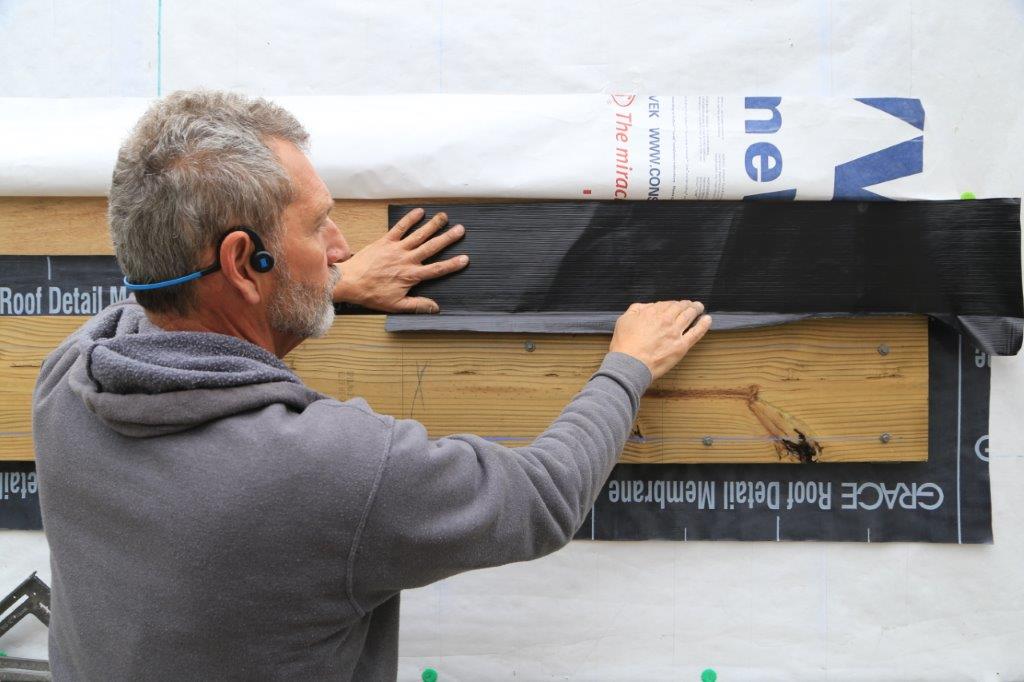
I use a three-layer system (see the slide shows). First, I apply a sheet of self-adhering, self-sealing membrane to the wall before installing the ledger over the membrane. Then I apply “pre-flashing”—a strip of self-adhering membrane that laps over the top of the ledger and extends up the wall. I finish up the flashing installation with L-shaped metal or plastic cap flashing.


