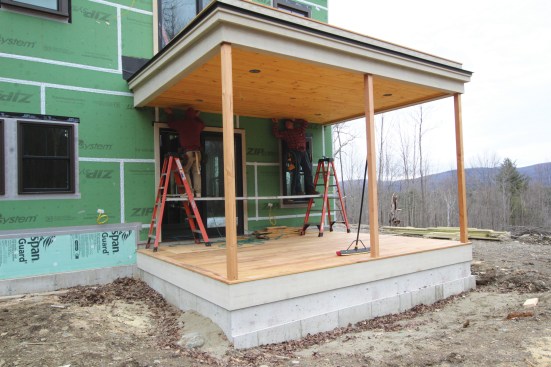
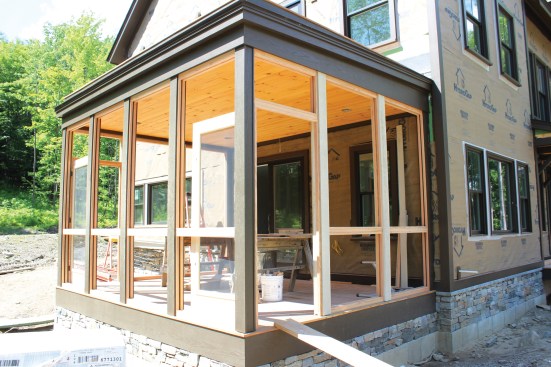
Sometimes, a screened porch is an afterthought, a conversion of an open porch or a deck in an attempt to extract a little more outdoor living during the warmer months while keeping sun, rain, and bugs at bay. In this case, though, the screened porch was part of the original design of a 6,000-square-foot rural Vermont home and was completed simultaneously with the rest of the project. In addition to the three-season porch off the home’s dining room on the lower level, there’s a rooftop deck off the second-story master bedroom, above.
Foundation and Framing
Instead of being supported by piers, like most decks and porches, this deck bears on a poured concrete stem-wall foundation. It was formed with a shallow shelf to help support veneer fieldstone cladding that matches the foundation detail used on the rest of the house.
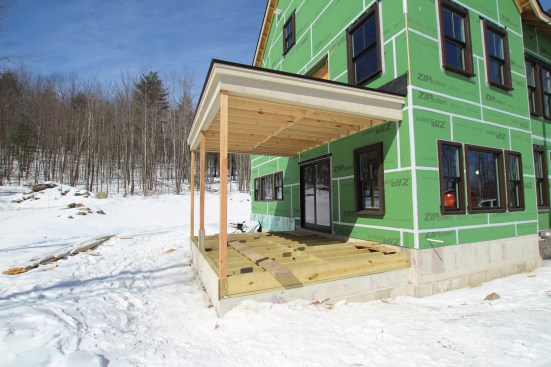
The screened porch was conventionally framed like a deck with pressure-treated lumber, but supported by a poured concrete stem-wall foundation rather than posts or piers.
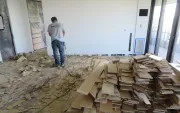
Unlike the rest of the house, though, there’s no insulated slab on top of the stem wall; instead, we installed an interior perimeter drain on top of the footing that runs out through the foundation to daylight, wrapped the drain with filter paper, and backfilled with sand and gravel. We left at least a foot of clearance between the top of the gravel and the bottom of the pressure-treated (PT) deck framing for air to circulate; any water that enters the porch and drains through the gaps between the decking has an escape route through the foundation drain.
The 12-foot-by-15-foot porch deck is framed conventionally with 2×10 PT lumber, with solid blocking installed midspan. We hung the joists from a PT ledger fastened to the home’s concrete stem wall with wedge anchors; at the other end, the joists bear on the mudsill capping the porch stem wall. Because of this foundation detail, which blocks insects and other pests from making a home beneath the deck framing, there was no need to apply any screening to the bottoms of the joists.
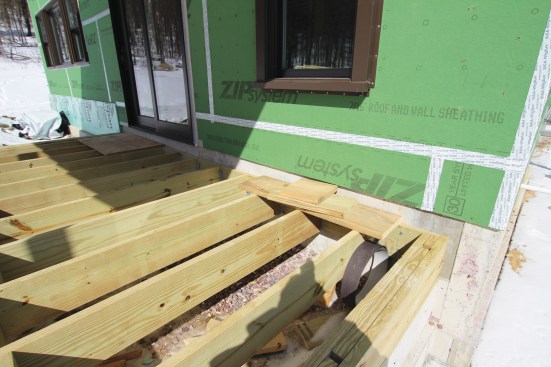
The deck joists were hung from a PT ledger that was bolted to the home’s concrete foundation with wedge anchors.
We framed the porch roof with 2×10 ceiling joists, setting them level to create a flat ceiling. To give the roof deck a shallow 1/4-inch-per-foot slope for drainage, we applied tapered rippings to the tops of the joists before installing the sheathing. Then the roofers installed rigid foam cover boards and rolled out an EPDM roof membrane, turning the membrane up the wall by about 16 inches.
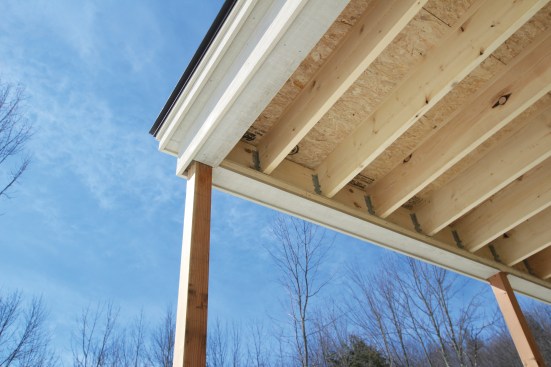
To create the proper slope for the roof deck, tapered rippings were added to the ceiling joists.
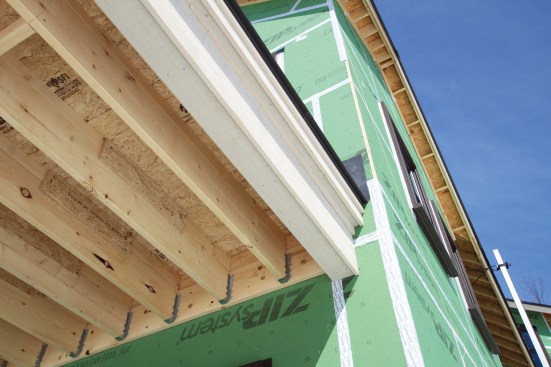
Because it would be protected with a waterproof membrane, the roof was framed with standard SPF lumber.
We didn’t want the deck on top of the roof to be pitched, though, so we ripped PT 2-by stock to create tapered sleepers with the same pitch that we had added to the ceiling joists, but installed them in reverse to create a flat roof deck. Before laying the sleepers on top of the roof membrane, we applied contact cement to their bottoms and laminated them with narrow EPDM strips to protect the roof membrane.
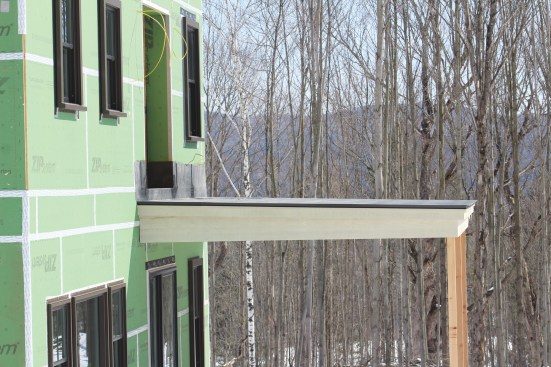
The EPDM roof membrane was applied over rigid foam cover boards. To create a flat deck, sleepers with a reverse taper will be added to the assembly before the roof decking is installed.
Decking
The homeowners selected decking that had been milled from black locust for the screened porch and upper-level deck, as well as for a number of the house’s other porches and decks. This decking was sourced directly from the supplier, Robi Decking, which claims that black locust—a fast-growing, naturally rot-resistant North American hardwood—is a more sustainable alternative to slower-growing tropical hardwood decking.
This was our first encounter with this type of decking, which we found to be a little challenging to work with. One issue that we had with the 5/4×6 decking is that it arrived from the supplier in random lengths, with a considerable percentage of shorter 5- and 6-foot lengths in the mix. In addition, the Select & Better grading seemed to vary considerably, and we had to sort through the pile to mix and match boards that had reasonably consistent grain, knots, and coloring. These two factors contributed to a larger than average amount of waste.
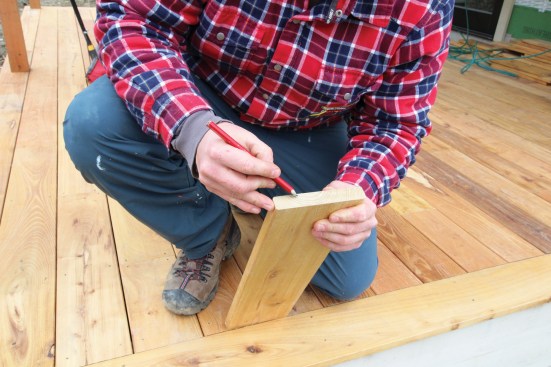
Known more as a “fence post” wood because of its strength and rot-resistance, black locust can also be milled into decking.
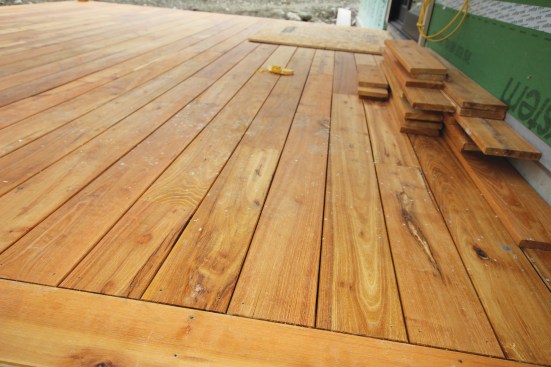
Black locust decking features a prominent grain and golden color, which will eventually develop a silvery gray patina.
We prefinished the decking on all four sides with Robi’s proprietary recommended low-VOC penetrating oil finish, using the oil to treat cut ends as we installed the decking on both the lower screened porch and on the upper-level deck. Grooved decking for use with hidden fasteners is available, but we installed square-edge boards, face-fastening the decking and picture-frame border to the framing with stainless steel screws. To allow for swelling of the kiln-dried boards after exposure to weather, we followed the manufacturer’s gapping recommendations.
Trim Details
We trimmed the porch with Boral TruExterior poly-ash trim, opting to expose the side with the wood-grain pattern rather than the smooth side. It’s rated for ground contact, making it a good fit for the fascia trim that is in close contact with the stone veneer applied to the stem-wall foundation.
The porch fascia, posts, and eaves were trimmed with Boral TruExterior trim, which is made with fly-ash, a coal combustion by-product, mixed with polymers.
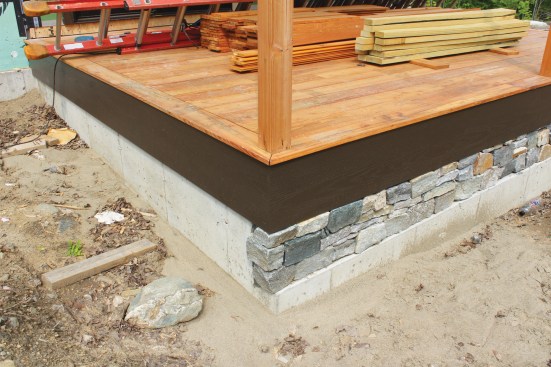
The porch foundation received a fieldstone veneer finish to match the house foundation.
After we finished trimming the porch and the electrician roughed-in the wiring for the ceiling lighting, we blind-nailed prefinished 1×6 tongue-and-groove knotty pine ceiling boards to the joists. Because the owners have no plans to ever convert the space to four-season use, the ceiling is uninsulated.
Screen Details
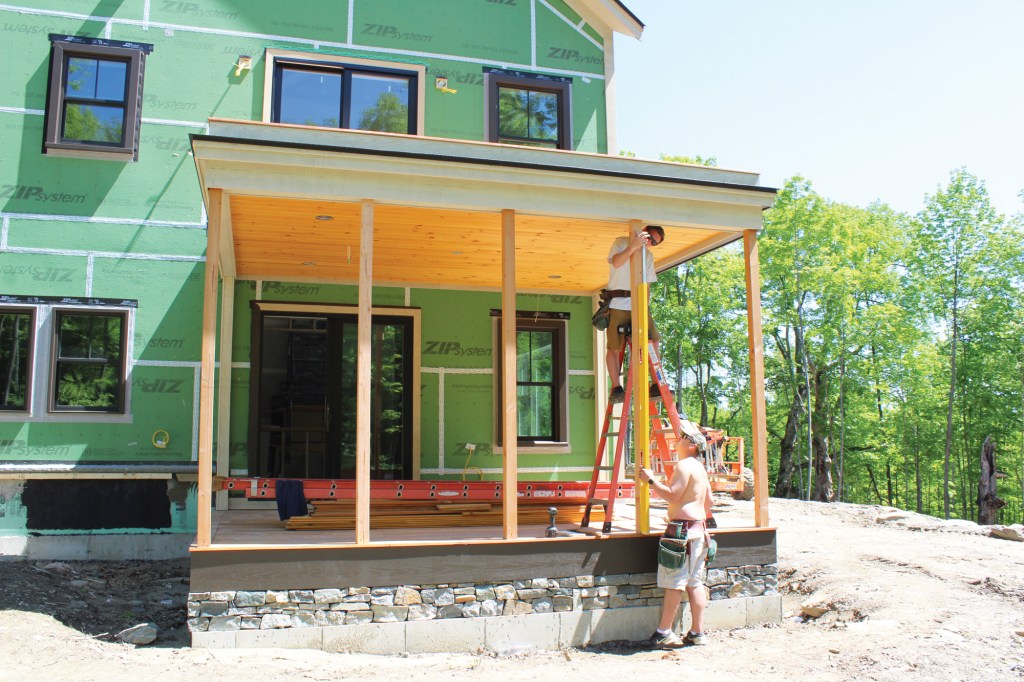
To frame the openings for the screen panels and the porch’s two doors, we added six more 4×4 western-red-cedar posts to the three that were already supporting the roof system. We spaced and plumbed these posts carefully to frame square, equally sized openings. Then we added red cedar 2x4s between the posts at a typical rail height of 36 inches. At the door openings, the 2x4s were installed at header height. On the interior and exterior, we clad the posts with 1×6 Boral trim.
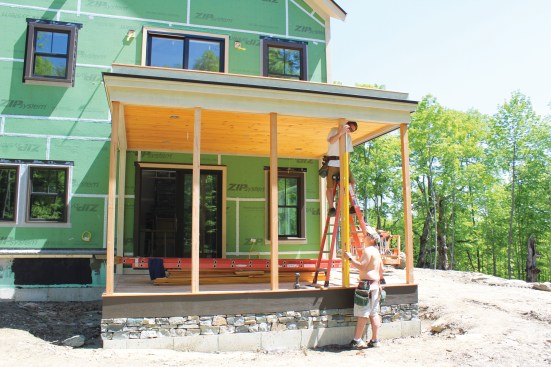
Additional 4×4 posts were installed to frame the openings for the screen panels and doors.
Prior to screen installation, the Boral trim was painted to match the trim on the rest of the house.
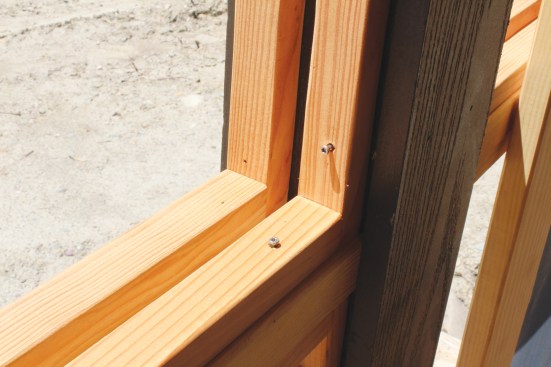
Fixed (on the exterior) and removable (on the interior) red-cedar stops were added to the openings in preparation for the aluminum screen panels.
The interior trim was finished to match the exterior trim.
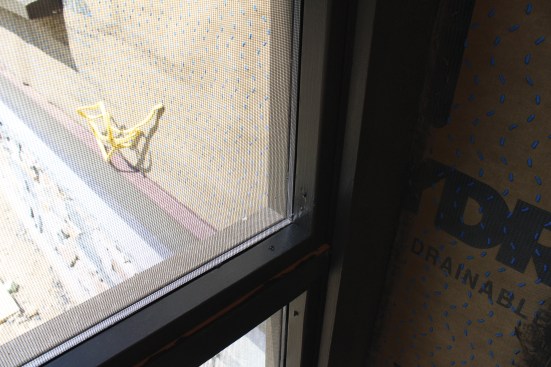
To prep the openings for the aluminum-framed screen panels, which would be fabricated off site, we ripped 1 1/2-inch-by-1 1/2-inch stops from clear 2-by red cedar stock, easing the edges of the stops with a round-over bit mounted in a router and sanding them smooth. After cutting the stops to length, we nailed off the exterior stops and loosely screwed the interior stops to the openings with stainless steel trim screws. Then we left the porch in the hands of the painters, who applied a dark finish to all of the porch trim to match that on the house. Later, after most of the work on the house was completed and the risk of damage was minimal, the screen fabricator returned to install the screens.
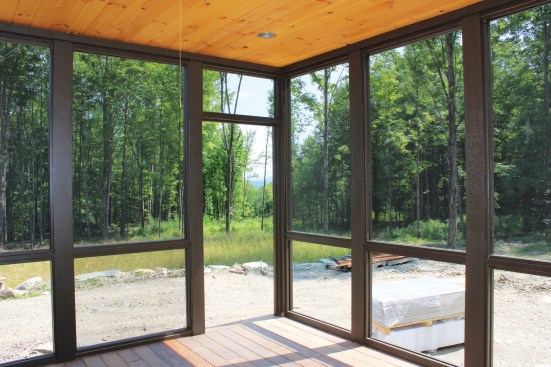
In a Vermont home surrounded by woods and meadows, a screen porch is essential for keeping bugs at bay during the summer months.
Rooftop Deck
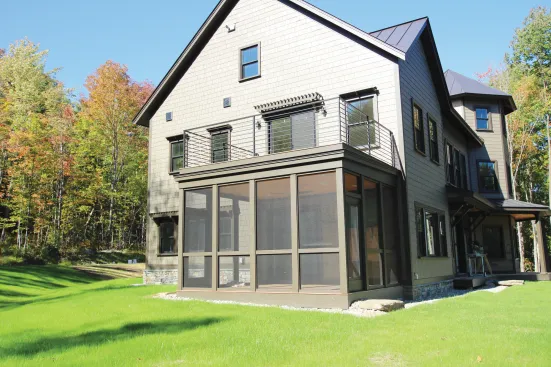
The rooftop deck has a custom-fabricated iron railing with a dark finish to match the home’s color scheme.
After we had wrapped up the siding work on the house, a crew returned with a manlift and the parts to complete the assembly of the iron railing on the upper deck. They had already custom-fabricated and painted the front and side panels off site, so all they had to do was lift the panels onto the roof, bolt them in place, weld the corners together and grind them smooth, and then touch them up with paint. ❖
Photos by Tim Healey.