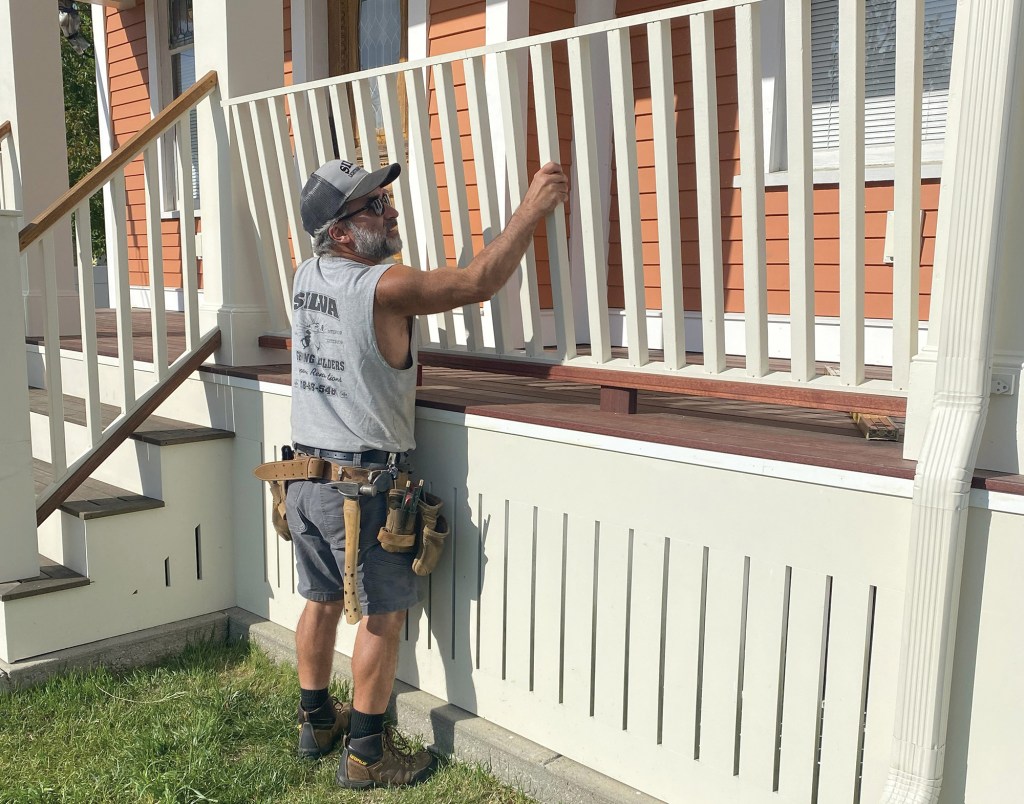
Front porches are an important architectural element on the older housing stock where I work just north of Boston, and I’ve restored a lot of them over the years. Most of the time, the restoration doesn’t have to be historically accurate, but I like to try to match the porch’s basic style and materials while fixing its problems and bringing it up to code, and I like to incorporate details that will help the porch last a long time. In this article, I’ll describe the details that I used to build a durable, traditional-looking wood railing.
Materials
Earlier in the project, I had reframed the porch featured in this article and replaced the original fir flooring with a type of mahogany called red balau. To match the decking, I selected straight 6-foot and 8-foot lengths of s4s 2×4 red balau at my lumberyard to use for the top and bottom rails. This lumber, which currently costs about $6.35 per lineal foot for 2×4 stock, is comparable to ipe in terms of durability.
I planned to paint the balusters to match the trim on the house and chose to use clear red cedar rather than fir. Both hold paint well, and the cost is similar (about $4.60 for a 1 3/8-inch-by-1 3/8-inch-by-36-inch red cedar baluster at my lumberyard, a bit more expensive than fir), but the railing detail I planned to use involved nailing and screwing into the ends of the balusters, which would probably split a fir baluster without a lot of careful predrilling. It’s much easier to drive a nail or screw into the end grain of a red cedar baluster.
I opted to fasten the tops and bottoms of the balusters to PVC nailers, creating railing sections that would in turn be fastened with screws to the top and bottom rails to complete the balustrade.
On-Site Millwork
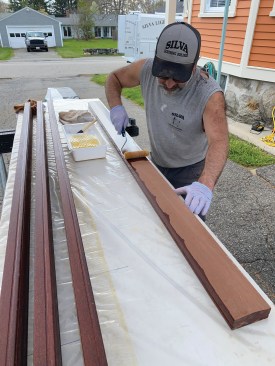
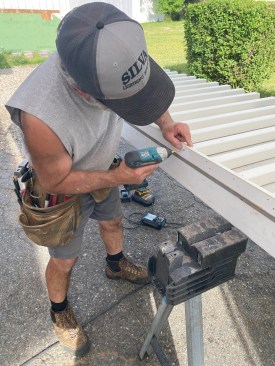
I don’t have the luxury of a dedicated shop, so I choose tools and equipment that let me set up a portable shop in my clients’ driveways or garages. In addition to the worktables that I’ve described in previous JLC articles (see “Two-in-One Worktable,” Jan/Feb 2024 and “The Ultimate Site-Built Worktable,” May/18), one of my most valuable pieces of equipment is a 10×10 pop-up tent, which provides welcome shade when the weather is hot and protection for me and my tools in all but the heaviest downpours. I use it almost daily, so it has earned a permanent place in my box truck.
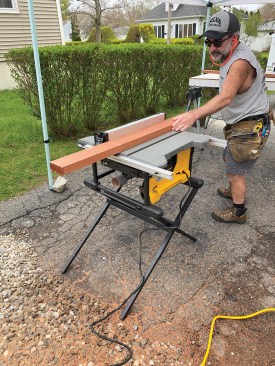


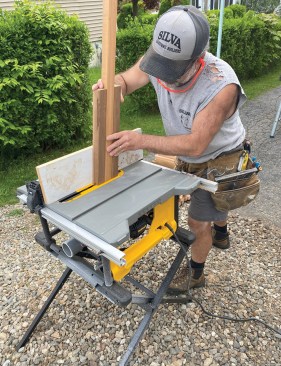

The author first ripped a pair of kerfs in the undersides of the…
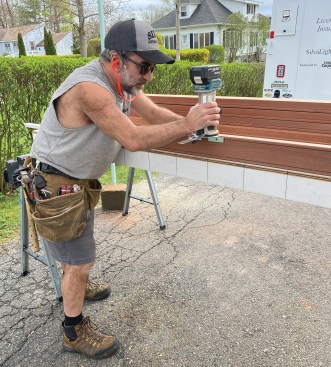
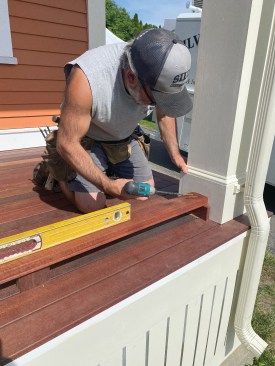
Rails. I started by ripping a pair of kerfs about 1/4 inch deep and 1/2 inch in from each edge along the underside of my rail stock. Then I used a router with a cove bit to make 3/8-inch-wide by 1/4-inch-deep notches along each side of the rails to break the surface tension of rainwater flowing off the rail and allow it to drip off. Mostly, the notches serve as shadow lines in the rails, but on the stair handrail—which has a similar profile but is ripped to 2 1/4 inches wide—the notches improve graspability, which my building inspector appreciates.
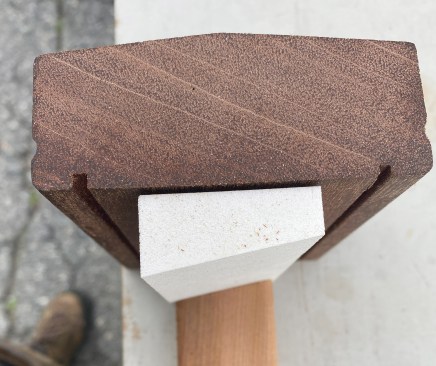
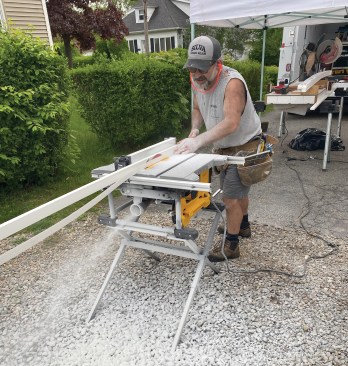
Along the tops of the rails, I ripped shallow, 5-degree bevels, first with one rail edge facing down and then with the other rail edge facing down, centering the V-profile that the bevel cuts made. This railing profile is similar to one that most lumberyards in my area have been stocking for years, typically in fir, and is intended to shed water away from the top of the rail, as shown in the slideshow above.
On the bottom rails, I cut steeper, 15-degree bevels, setting my fence so that the cuts would leave a flat area along the center of the rail for the baluster nailer.
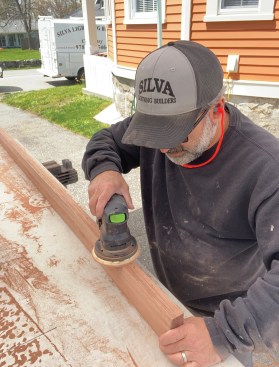
After milling the rails, I sanded them with 100-grit paper to remove the kerf marks and the waxy coating that this lumber seems to have and open up the grain. Then, to all edges of the rails, I rolled on two coats of Penofin penetrating oil finish for hardwoods in a transparent natural tone, the same finish used on the decking. One of the keys to a long-lasting porch is to prefinish all the components prior to assembling and installing them. Before applying any finishes, I like to cover my worktables with plastic to keep them clean.
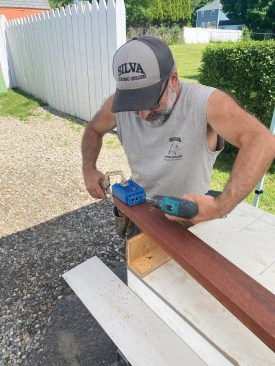
Balusters. Before cutting any more stock, I made a pair of mock-ups for the porch railings—one for the bottom rail and one for the top rail—to make sure everything would fit properly and look right. I wanted the total rail height to equal 36 inches, with a 2 3/4-inch gap between the bottom rail and the decking.
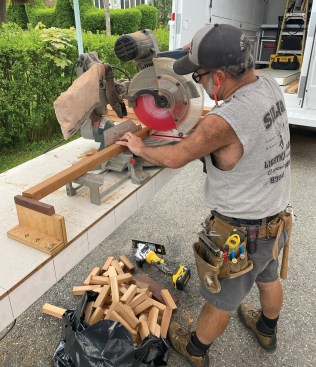
I cut one end of all the balusters to a 12-degree angle, orienting them so that any curved ones would face in the same direction and front to back. Then I set up a stop block before cutting the other end of the balusters, to ensure that they all would be the same length. The 12-degree angle at both the tops and the bottoms of the balusters allows water to drain quickly out of the assembly and away from the porch and prevents water from pooling around the baluster’s end grain.
To enhance drainage, I also cut 1/4-inch-wide by 1/4-inch-deep slots in the ends of the balusters. To safely make the slots, I screwed a pair of baluster offcuts to a scrap 1-by with a gap between them sized to snugly hold a baluster in place. The slots are wider than a saw kerf, so I had to make two passes through the table saw to add up to the 1/4-inch-wide slot.
I primed the balusters on all four sides and on the ends with Zinsser Bin shellac-based primer, rolling the primer on three sides and placing the balusters on a ladder to let them dry before flipping them over and coating the fourth side. Then I rolled on two coats of Benjamin Moore Regal Select in a low-lustre finish to match the trim color on the house. Not everyone likes to prime and paint balusters before assembling a railing, but I find that it’s easier this way and—more importantly—is the best way to seal up those end cuts.
Nailers. To make the nailers that hold the balusters in place, I ripped some 1-by PVC stock to 1 5/8 inches wide, so that there would be about a 1/8-inch reveal between the edges of the nailers and the balusters. I also needed to match the angle that I had cut on the ends of the balusters, so I then set up my saw to rip a 12-degree bevel on the PVC nailers.
As anyone who has worked with PVC knows, the dust sticks to everything. Setting up dust collection can help, but when I work outside, I don’t always have a shop vacuum with me, and it’s usually just as easy to sweep up everything afterward rather than fuss with hoses. But one thing I’ve found is that—dust collection or not—PVC dust needs to be blown off occasionally so that it doesn’t build up and solidify around the saw arbor. The problem seems to be worse in cordless tools, as I’ve found that a corded saw doesn’t build up as much of the static charge that attracts the dust in the first place.
Assembly
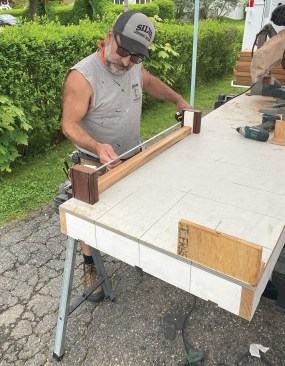
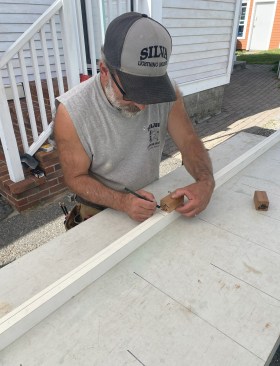
I used a cedar clapboard as a story pole to accurately measure the rail sections. It’s important to get a snug fit, and a clapboard is light and easy to hold while I’m working solo and recording measurements.
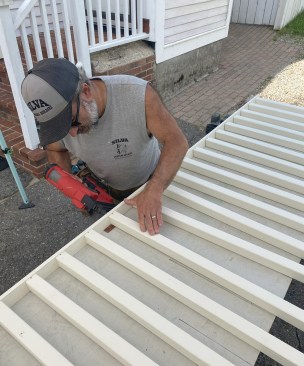
Marking the layout from the centers of the upper and lower naile…
After cutting the nailers to length, I set each pair up on my worktable to lay out the balusters, starting from the center and working toward the ends with a spacer block to mark the baluster locations so that there would be a 3-inch-wide gap between balusters (by code, the space between balusters must be less than 4 inches). Having a long, flat surface at a comfortable height to work on made layout and guardrail assembly easy.
To secure the balusters to the nailers, I tacked them in place with 1 1/2-inch-long 18-gauge galvanized nails driven through the nailers and into the balusters, one pair at the top and one pair at the bottom of each baluster. Then I drove two coated U2 1 1/2-inch trim screws through the nailers and into each end of the balusters. Here is where my choice of red cedar vs. fir balusters paid off, as I’m sure that driving so many fasteners into the end grain of fir balusters would have resulted in a lot of splitting and cracked pieces.
Installation
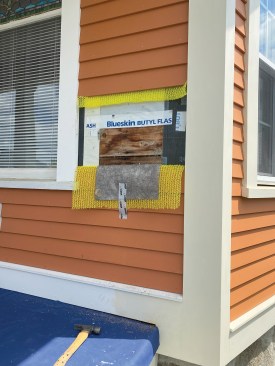
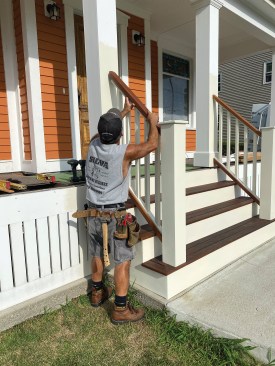
Instead of using mounting blocks to fasten the rails to the walls, I wanted to fasten the ends of the rails through the cedar clapboard siding and directly to the framing. To do this, I had to do a little “surgery” to open up the wall and install blocking, because I was unsure about the condition of the sheathing and wall framing in the mounting locations.
After installing the blocking, I closed up the opening and reinstalled the siding. Then I used a multi-tool to cut out the opening in the siding after marking the rail profile.
I knew that the PVC columns had been accurately installed and everything was square where the rails are fastened to the columns, but that isn’t always the case. To help support the railing, I screwed mahogany blocks to the underside of the bottom rails before installing them.
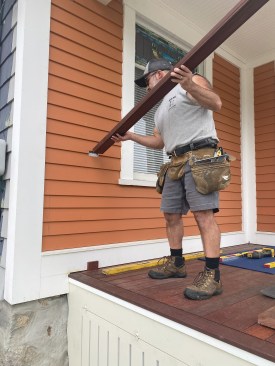
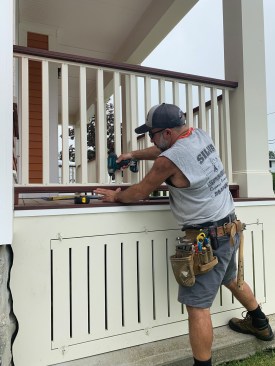
I used pocket screws to join the rails to the walls and the columns. While Kreg makes exterior pocket screws, the ones that I had weren’t long enough to penetrate through the wall sheathing into the blocking or through the PVC column wraps into the PT posts. So I substituted 3 1/8-inch-long U2 Universal construction #25 torque head screws, which have a similar head.
After installing the rails, I added the rail sections to the assembly, using 1 1/4-inch-long U2 trim screws to fasten the nailers to the mahogany rails. First, though, I predrilled shallow oversized 1/4-inch-diameter holes in the nailers spaced every other baluster apart. These holes are sized to fit Starborn Pro Plug system trim plugs, which I use to fill the holes. I trim the plugs flush with a sharp razor blade, so that they don’t need to be sanded afterward.
To finish up, I masked off the railings and brushed on a touch-up coat of paint onto the nailers to erase layout marks.
Photos by Emanuel Silva.


