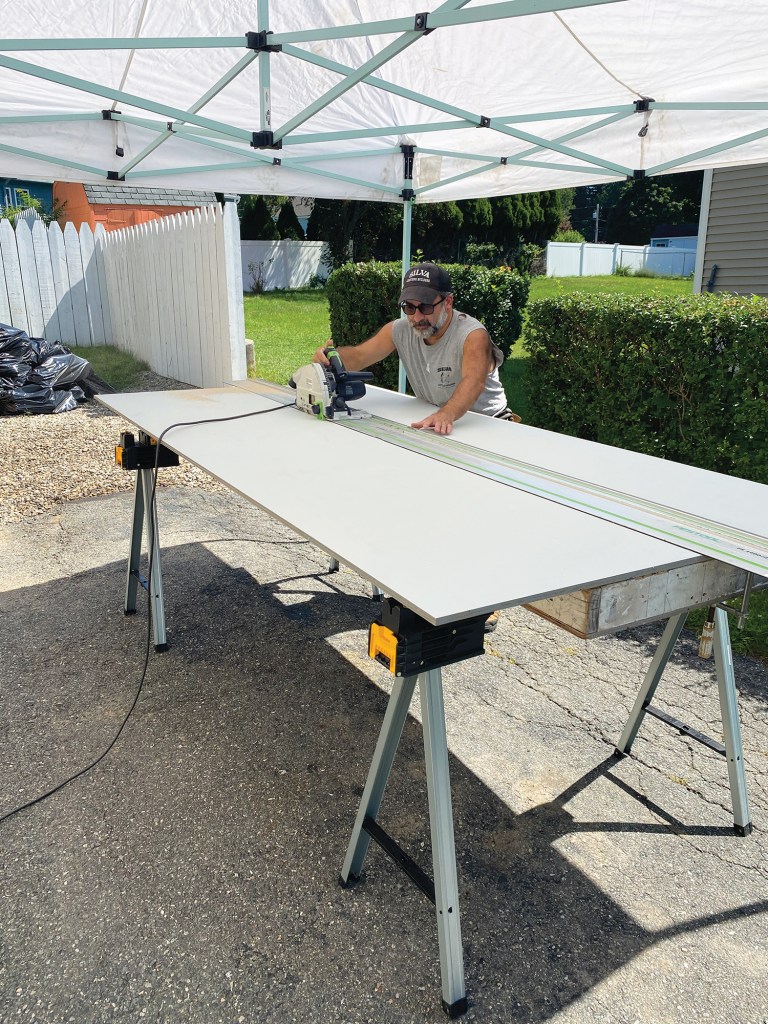
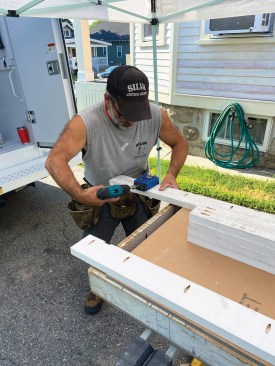
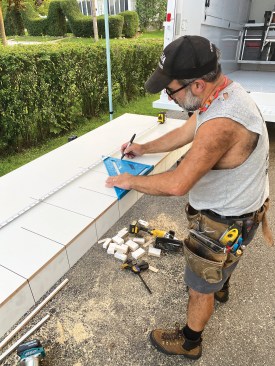
One of my most useful jobsite tools is the easy-to-build worktable described in this article; in the above photo, I’m supporting a full sheet of MDO on one of my older worktables as I rip it in half to make two new tables. I’ve made several variations on the basic design over the years as I’ve fine-tuned its features. For example, my first worktables were simple frames, some with plywood tops and some without; a top skin provides a useful work surface, but it’s easier to make rips and cross-cuts on an open frame without damaging it. My current model incorporates both features and can be flipped to either side depending on the task at hand.
1
of 12
Emanuel Silva
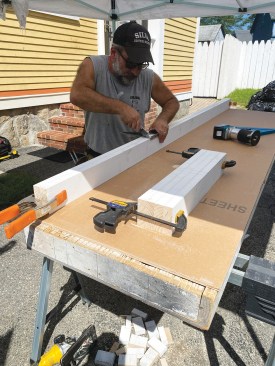
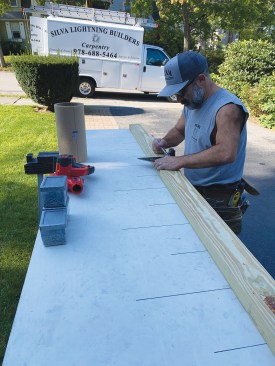
I made the frames out of three 16-foot lengths of primed 5/4×4 s…
I made the frames out of three 16-foot lengths of primed 5/4×4 stock, cutting all of the pieces for both tables to length at the same time. Before assembling the frames, I clamped the four long stiles (two for each table) and eight shorter rails (two end rails and two intermediate rails per table) together and laid out the locations for approximately 1 1/2-inch-wide slots in the edges of the stiles and rails. By simply aligning my cut line with the slots, I can make cuts either along or across the frame without making saw kerfs in it. Of course, eventually the edges of the frame will be riddled with saw kerfs, but as long as they aren’t too deep, they won’t affect the frame’s integrity.
Emanuel Silva
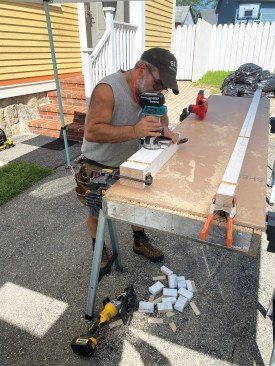
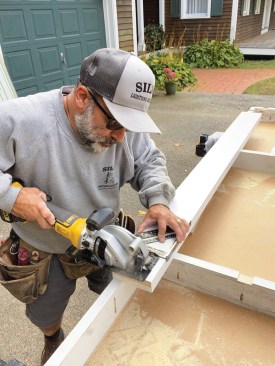
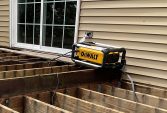
I used a router with a straight bit to make the slots 1/2 inch d…
I used a router with a straight bit to make the slots 1/2 inch deep, first scoring the layout lines with a utility knife to prevent blowing out the edges of the 5/4 stock.
Emanuel Silva
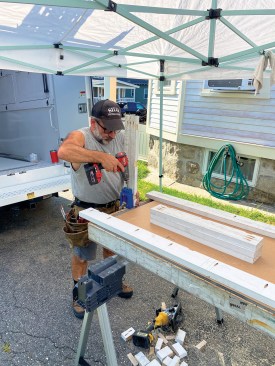
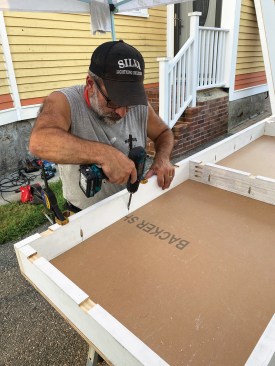
I prefer to use exterior-grade pocket screws because I think the…
I prefer to use exterior-grade pocket screws because I think they make a stronger connection. Probably a pair of screws at each joint is adequate, but I added a third one for a little extra strength. I didn’t bother using glue, but you could.
Emanuel Silva
I used a Kreg portable pocket-hole jig to make the holes, for bo…
I used a Kreg portable pocket-hole jig to make the holes, for both the stile-to-rail connections and the connections between the frame and the MDO top skin.
Emanuel Silva
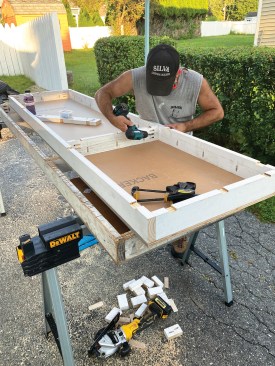
I assembled the frame with 1 1/2-inch-long, exterior-grade, coar…
I assembled the frame with 1 1/2-inch-long, exterior-grade, coarse-thread Kreg screws.
Another photo of assembling the frame
Emanuel Silva
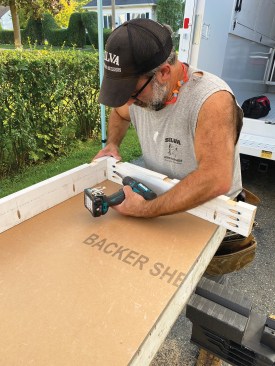
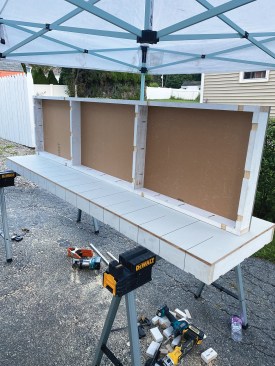
I placed the frame on top of the MDO skin so that the edges were…
I placed the frame on top of the MDO skin so that the edges were aligned. I used shorter, 3/4-inch-long pan-head screws to fasten the frame and top skin together. The shorter screws are needed to avoid penetrating through the 1/2-inch-thick sheet stock, and require a Kreg Micro-Pocket drill guide for drilling the pocket holes.
Emanuel Silva
Then I flipped the table over and marked layout lines on the top…
Then I flipped the table over and marked layout lines on the top skin with a Sharpie permanent marker every 6 inches on-center. On the 1-foot intervals, I extended the lines the full height of my layout square; in between, I drew the lines only 6 inches long.
Emanuel Silva
I also extended the lines onto the sides of the table, making it…
I also extended the lines onto the sides of the table, making it possible to read them even when the table is covered.
Emanuel Silva
Emanuel Silva
I can use the table right side up …
Emanuel Silva
… or flipped over.
You can make the frames out of whatever material you have on hand, but I like to use primed 5/4×4 stock, cutting all of the pieces for both tables to length at the same time (click on the slide show to see the process). After assembling the frames, I cut sheet goods to size and fasten the tops to the frames. Again, if you have a full sheet of plywood on hand or some plywood rippings, you can use those; for the worktables shown here, I ripped a full sheet of 1/2-inch MDO in half, making it possible to assemble two 24-inch-wide tables at the same time. MDO is more expensive than standard plywood, but it’s rugged and stands up well to weather. I usually cut a few inches off the ends of the ripped panels to make the tables a little shorter than 8 feet so that they will fit more easily in the back of my box truck.
For a minimal investment in time and materials, you can build a couple of worktables that are easy to transport to and from the jobsite, and that you’ll find yourself using nearly every day.