John Carroll
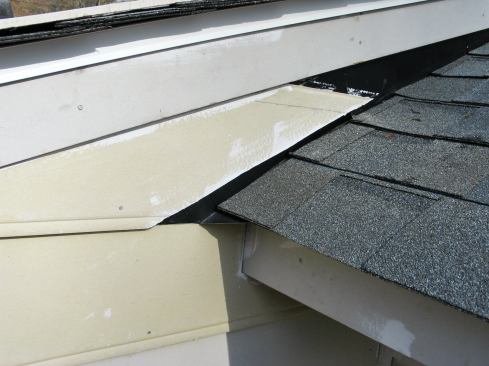
The bottom piece of flashing (painted gray) ran out over the fac…
Roof/wall intersections are tricky. To be truly effective, the step flashing has to be integrated with both the roofing and the siding. Since the roof can’t be completed before the siding, either a single person has to install both the siding and the roofing, or the sider and the roofer have to work together to make sure the flashing is properly installed.
Many builders use plastic or metal kick-out flashings at the base of long roof sections to direct large volumes of water running down the roof away from the siding below. I find these flashings ugly and easily broken, however, so I try to avoid them. Instead — particularly for short roofs that are more protected from the weather — I use a low-profile flashing detail that directs water to the front face of the siding, where it does no harm as it flows down the building.
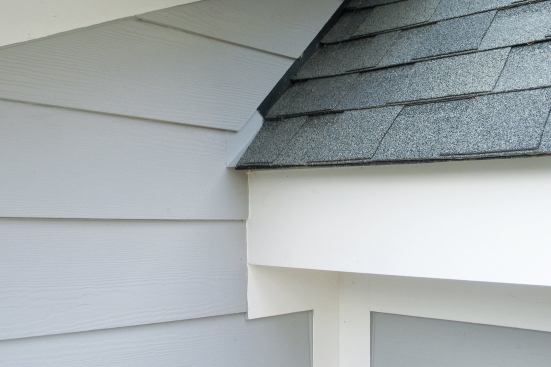
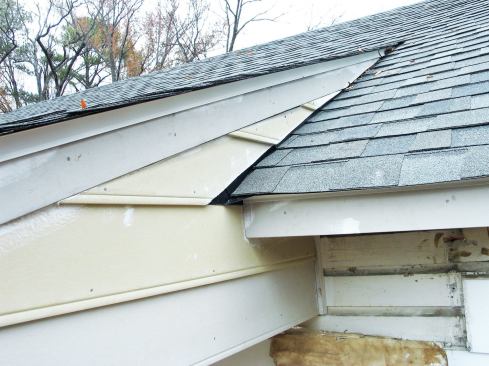
The specific approach I use depends on how the lap siding courses align with the intersecting roof. On a job I recently completed, for instance, the bottom edge of the first piece of siding that overlapped the flashing was just a couple of inches above the bottom edge of the roof. This is a little higher than ideal but quite acceptable, and the bottom piece of flashing (painted gray) ran out over the face of the siding.
On another job, the siding courses didn’t work out quite as well, so I was faced with a decision as I installed the siding. If I put in another piece of siding, about 6 inches of the first piece of step flashing would be exposed. But if I put in the flashing before the next piece of siding, I would have to finagle it so that the flashing extended down past the bottom edge of the roof. I chose this second course of action as I wove the siding, flashing, and roof shingles together (click on the slide show for details).
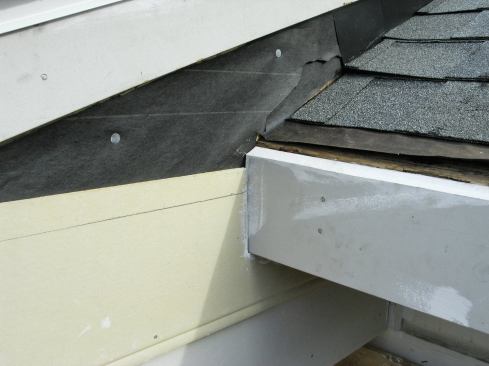
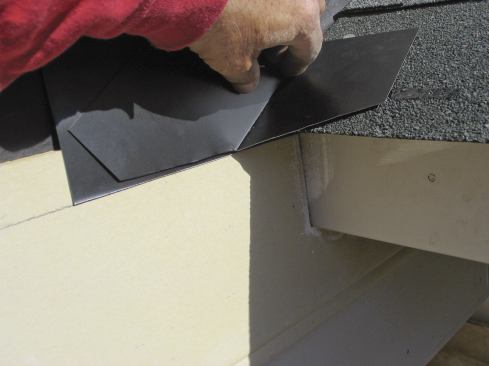
First, I marked the location of the next course of siding on the underlying course with a pencil line. Then I installed a rectangular piece of aluminum flashing so that it covered the top edge of the siding and extended down to the pencil line. I also installed the drip edge on the lower edge of the roof deck, and the starter course of roof shingles over the drip edge.
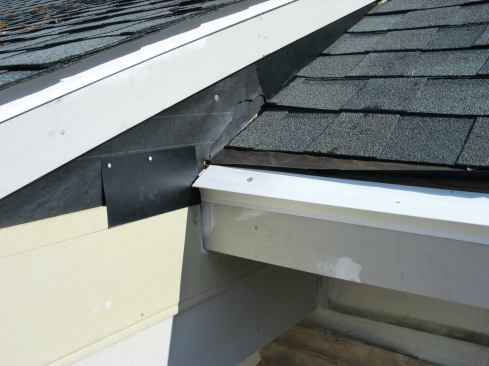
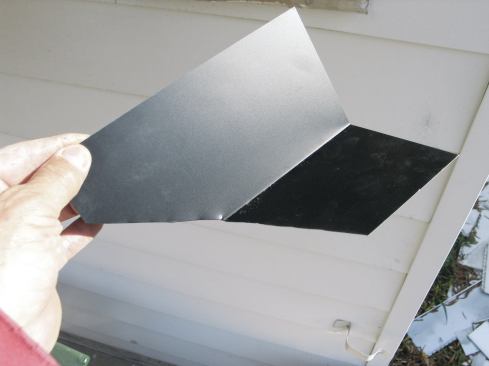
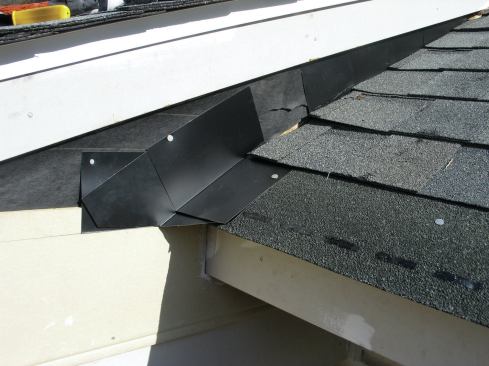
Next, I cut a piece of step flashing at an angle that followed the line marking the bottom of the next piece of siding. After installing this custom-cut piece on top of the starter course of shingles, I installed my first full piece of step flashing so that it extended down to the bottom of the starter course.
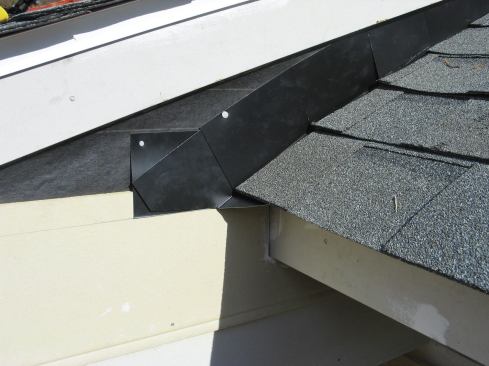
After nailing down the first course of shingles over the starter course (the upper shingle courses had already been installed but not flashed), I slipped in the remaining step flashings. When I installed the final two courses of siding, I left a proper gap between the siding and the shingles so that water running down the step flashing would flow unobstructed off the roof.
John Carroll is a builder in Durham, N.C.


