Michael Byrne
Before installing the mortar bed, survey the topography of the s…
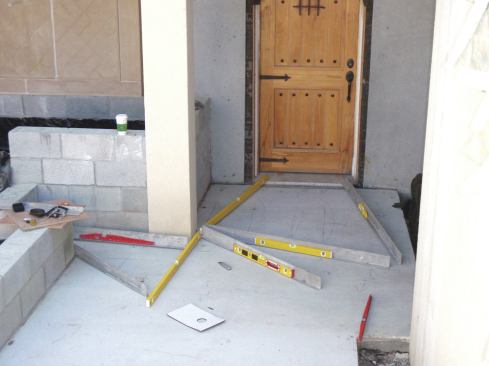
Correcting minor discrepancies in a concrete slab for tile is part of my job. But if the surface is inches out of whack and slopes in the wrong direction, that’s a whole other story. When my friend Bob asked me to tile the courtyard of his retirement home to eliminate the puddles and dress it up, I could tell at a glance that the slab was cracked and sloped toward a low spot at the entry door. Excess rainwater drained from this “birdbath” undesirably into an adjacent flowerbed. The next lowest spot was just inside the gate at the opposite side of the courtyard, and humps and valleys crisscrossed the rest of the area.
In the past, I’ve had builders downplay such problems, telling me to just “add a little more thinset” in the low areas. But with that approach, some parts of this slab would have required more than 3 1/2 inches of thinset to achieve the proper slope—less than ideal because the compressive and cohesive strength of thinset drops significantly when applied in a layer thicker than 3/8 inch. So before I could tile Bob’s courtyard, I had to deal with slab cracks, fix the irregular surface, and create a proper slope for drainage.
Surveying the existing slab
Bob’s place is on the South Carolina coast, where temperatures regularly soar above 90°F and can evaporate moisture out of cementitious materials such as mortar and thinset, halting proper hydration and ruining their effectiveness. These conditions are not ideal for workers either. So I erected a frame of steel tubing (designed for use as a temporary carport) and covered it with tarps to protect the work area as well as the worker.
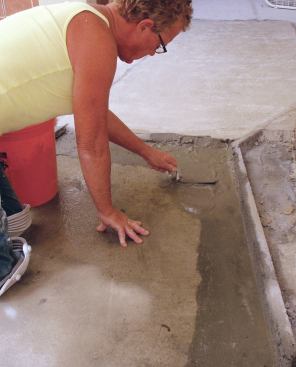
The first step to installing the mortar bed was to survey the topography of the slab. I did this using straightedges and levels, beginning at the gate, where the courtyard’s lowest point needed to be, and working my way “up-slope” toward the entry door. I could have used a single laser for the survey, but I’ve found it difficult to keep track of which areas of a slab are too high or too low when using one. Straightedges and levels give me a better read of a slab’s surface.
The survey revealed that the drop from the entry door to the gate wasn’t nearly large enough to provide the standard 1/4-inch-in-10-feet slope called for by the tile industry; in fact, it was barely enough of a drop for a 1/8-inch slope. So I opted for a nearly level surface for about 3 feet out from the door. From there, I could plot a slope of 3/16 inch in 10 feet down to the gate.
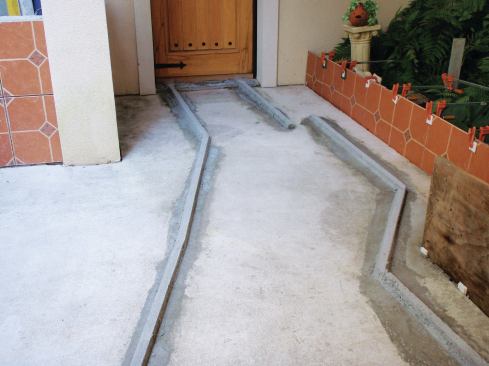
To help channel rainwater away from the sides of the courtyard—and away from Bob’s flower gardens—I decided to create a swale in the mortar bed along the left side of the walking path as you approach the entry door. I put the low axis of the swale about a foot from the center of the path. The survey helped me to determine the location and the height of the mortar screeds that I would make to set the slope of the mortar bed, as well as to form the drainage swale.
Forming the MortaR Screeds
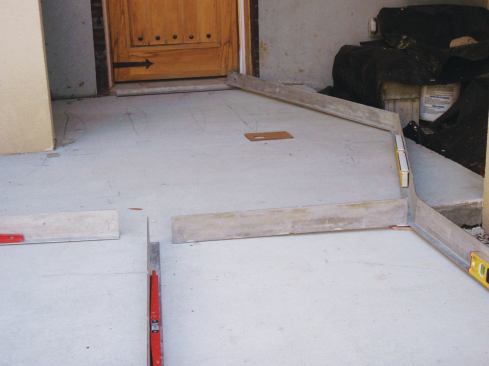
As their name implies, mortar screeds guide the straightedges used to screed or strike off mortar at the desired height. On this project, three more-or-less-parallel screeds were required: one for the low axis of the swale (called the “gutter”) and two positioned outboard of the gutter, each running from the end of the slab near the entry door to the opposite end at the gate.
Because the floor in front of the entry door was to be almost flat, I needed only two mortar screeds for that area. Then, where the mortar bed would begin to slope, I angled the left-hand screed toward the gate to become the gutter screed and added a third screed to its left. I kept the two outboard screeds as far away from the gutter screed as possible to maintain the greatest accuracy in the sloped part of the floor while creating a swale to channel water runoff.
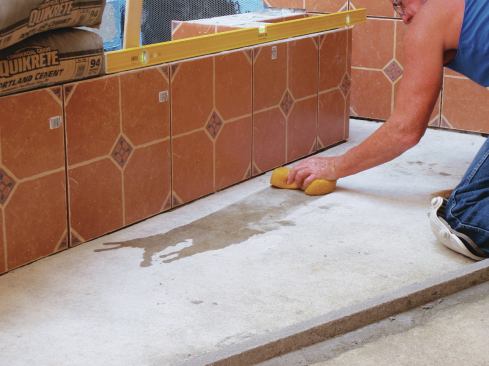
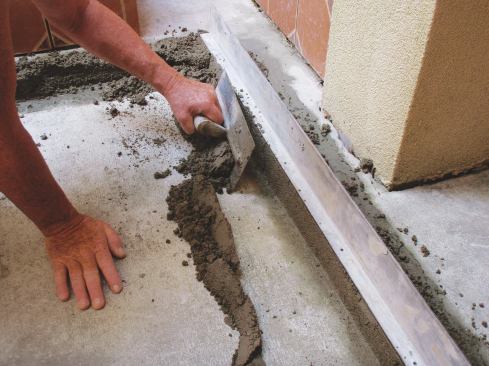
Aside from setting and maintaining the desired slope, forming the mortar screeds was fairly straightforward. After sweeping all the grit off the slab, I sponged the area with clean water to remove any lingering dust and to dampen the slab. A completely dry slab would have sucked moisture from the adhesive layer and reduced (or completely negated) the adhesive bond. Next, I troweled on a thin coating of Portland cement slurry to create an adhesive layer. Immediately after, while that layer was still wet and sticky, I piled on a stiff mortar mixture along the line where I wanted to place the screed. This mixture—four parts sand to one part cement—needs to have just enough water added so that the sand and cement combine, but not so much that it is too loose to be compacted. A mixture such as that used to lay bricks, for instance, would be too wet.
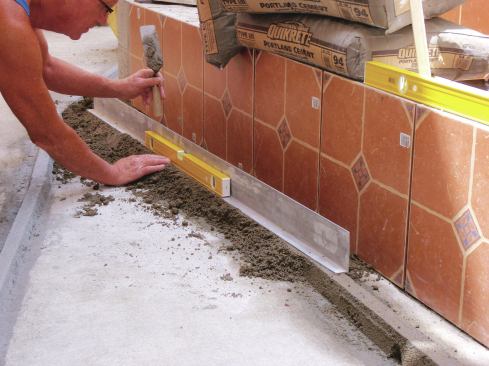
To ensure that the screeds would be strong enough to resist the forces generated by floating a mortar bed, the mortar for the screeds had to be densely compacted. To do that, I placed a straightedge and level on top of the pile of loose mortar and tapped down on the straightedge until the mortar was at the correct height and slope, compacting it at the same time. I trimmed away the loose mortar to make a better bonding surface for the bed mortar. To advance the screed, I rested one end of a 6-foot-long straightedge on the previously formed screed, and then tapped the other end down until it was at the proper slope.
After the screeds for one section are formed, some installers will immediately float and finish the mortar bed between them, but I opted to let the screeds harden overnight.
This process may seem to be more time-consuming than using thin wooden float strips, which are often used to set a proper slope. But because this patio floor had such an irregularly shaped area and so much variation in the slab, creating a series of mortar screeds made floating the mortar bed much easier and quicker in the long run.
Floating the Mortar Bed
With hardened mortar screeds in place, the areas between them and outside them can be floated simultaneously. But at my age, I tend to be less energetic than I used to be, so I usually float the areas between the screeds first. Once these areas have hardened, I go back and float the areas outside the screeds.
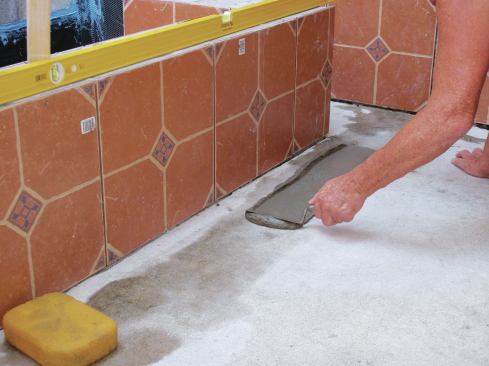
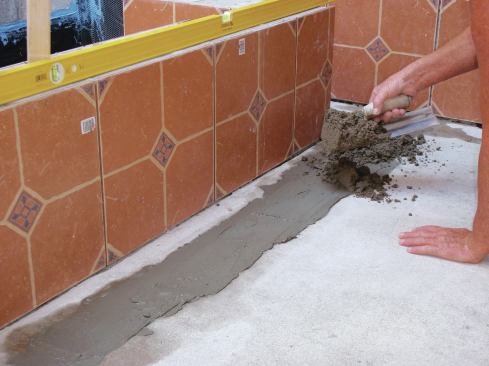
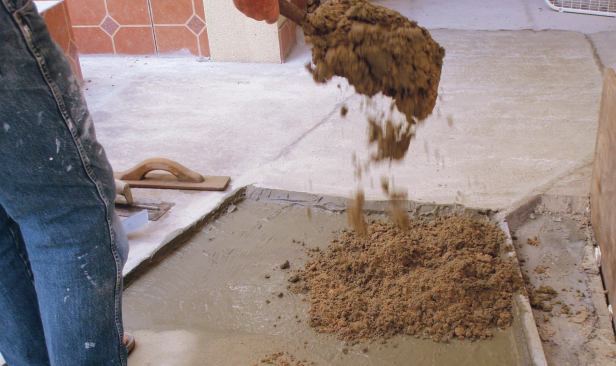
As I did when forming the screeds, I first dampened the dry slab with clean water. Again, the slab should be damp only, with no puddles. Next I applied a thin coating of slurry both to the dampened slab and to the sides of the screeds. Like the slurry used to form the screeds, this was an adhesive layer that would help the mortar bond to the slab below. Working quickly to prevent the slurry from skinning over (which would have negated the slurry-to-mortar bond), I covered the adhesive layer with mortar.
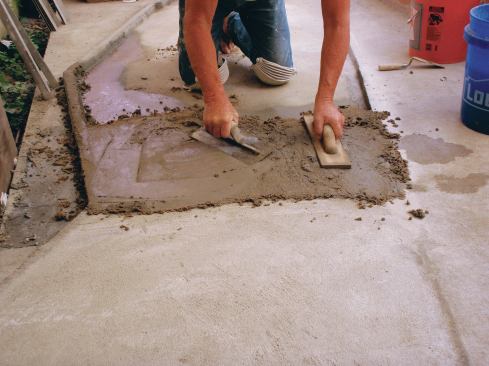
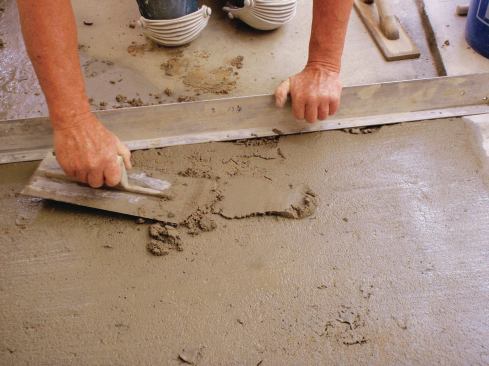
Using a wooden float, I compacted the mortar and then smoothed it using a flat trowel. My goal at this point was for the top of the compacted mortar to be about 1/4 inch to 5/8 inch above the height of the screeds. If the surface is too low, a lot of backfilling and extra compacting will be needed after screeding; if the surface is too high, screeding off the excess is more strenuous than it has to be.
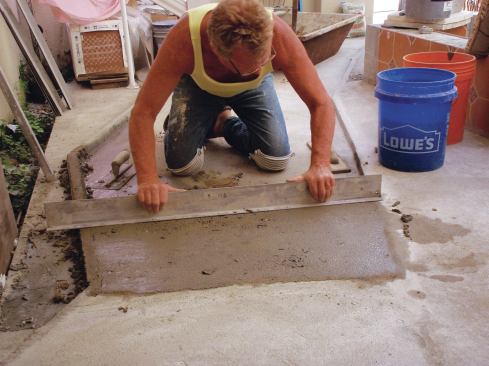
Holding the narrow face of an aluminum straightedge against the tops of the screeds, I jiggled it from side to side while gradually pulling it toward me to “saw” off or strike off the excess mortar. Even with 46 years of experience, I still had to go back and fill in the inevitable voids before finishing those areas with a final pass of the straightedge.
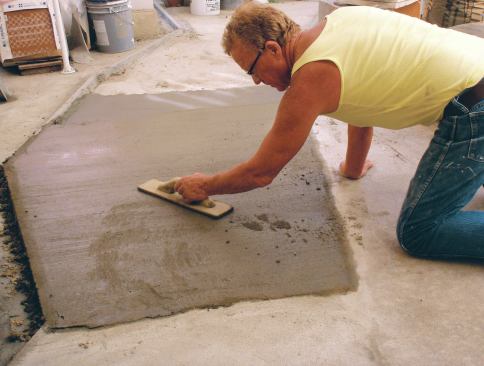
With a good helper to supply me with mixed mortar, I can generally float a lot of mortar in a day. But I was working alone on this project, and because of the effects of the South Carolina heat, I limited myself to two batches of mortar per day. By the time I’d cleaned up my tools, the mortar had set up enough that its surface could be further smoothed with a wood float. The wood float produces a flat but coarse surface—this enables a much stronger bond between the mortar bed and crack-isolation membrane than the smooth surface created by finishing with a steel trowel.


