John LaTorre
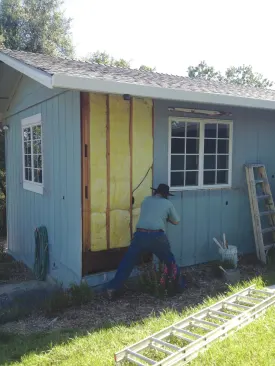
All first-floor T1-11 paneling that had deteriorated was removed…
During the building boom in northern California in the 1970s and 1980s, builders were often asked to provide houses as quickly and as economically as possible. In my area many of the houses built during that time were clad with plywood siding (T1-11), which is inexpensive, durable, and easy to install. Recently I was asked to repair the T1-11 siding on a house that exhibited all the usual problems I see with decades-old sheet siding: cracks, cupping, rot, and delamination.
Lack of Maintenance Is the Culprit
The paint on this house had not been kept up, and without that protection, moisture had gotten under the surface of the siding, causing the laminations to swell and the glue to deteriorate. Then the sun dried the swollen wood, and it shrank, cracked, and delaminated.
Minor cracks in the surface of T1-11 can be caulked and repainted. And sanding and caulking works well to fix medium-sized cracks. But the wood beside wider cracks curls as it shrinks, so caulking actually highlights the problem. Sometimes the best solution is to remove and replace the panel.
This house had another common problem: insufficient backing behind the horizontal panel joints. The walls of the house were 9 feet tall, and the builder saved money by installing 8-foot plywood panels above a 1-foot strip along the bottom of the wall. This strategy would have worked if there had been sufficient backing behind the panels, but unfortunately the 1-foot strip was attached only to the studs, every 16 inches. With no lateral support between the studs (as from a plate), this narrow strip of plywood was not stable enough to resist bending.
Adding a Weather Barrier
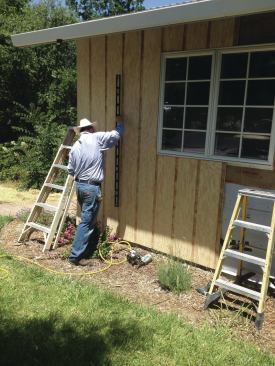
My first task was removing all the first-floor paneling that had deteriorated. We removed both the 1-foot strips and the 8-foot sheets and replaced them with full 9-foot panels. (T1-11 is available in 8-, 9-, and 10-foot sheets.)
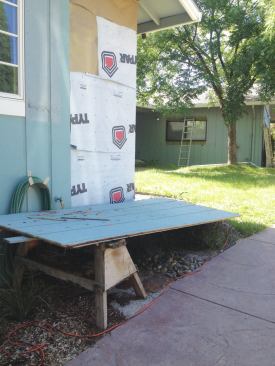
When we removed the old panels, we discovered that no water-resistive barrier (WRB) had been installed. The building code calls for a WRB—such as 15-lb. felt, building paper, or housewrap—behind the siding. So after removing the siding for this repair, I stapled a layer of housewrap to the outside of the studs.
Window Detailing
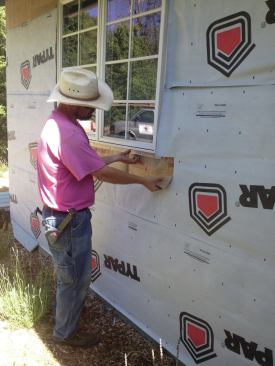
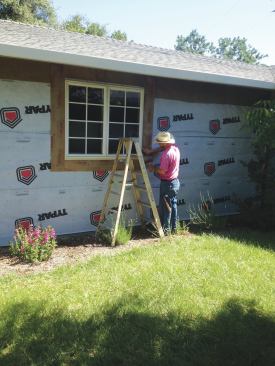
The windows were still in good shape, so we kept them in place. After the housewrap was installed, we removed the nails from the bottom flange of each window and slid flashing behind the flanges.
We installed flashing tape around the rest of the window, working from bottom to top in the usual fashion. Like a lot of the houses in this part of the country, this one had 2-foot overhangs, which go a long way toward protecting windows from moisture intrusion. Given those deep overhangs, we did not add any supplemental drip cap over the windows.
Work from the Corner
After the walls were prepped, I carefully checked the stud locations to make sure there were studs at every 4-foot interval for attaching the edges of the panels. If any additional backing is needed, it has to be done before the panels go on. I also marked out the stud positions on each sheet before setting it in place.
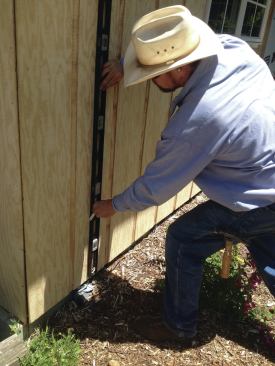
We started installing the panels at an outside corner of the house. To position each sheet, I set it on 2-by blocks about 1/2 inch lower than was needed. Then I used a crowbar on another block to lever the panel up and hold it in place while I drove nails in the corners.
Because the panels are installed parallel to each other, it’s imperative that the first one be perfectly plumb—that is, unless the walls themselves are not plumb.. I always tack the first two or three sheets with nails in each corner so that I can make adjustments if the panels start to run out of line.
Nailing The Panels
Once I was satisfied with the panel placement, I drove the tacks home and nailed off the rest of the panels with 7d galvanized ring-shank nails. A typical nailing schedule for plywood siding calls for nails every 8 inches along the edges and every 12 inches in the field, but I like to shrink the nail spacing to every 6 inches on vertical edges and every 8 inches in the field. At the stud-location marks I’d made earlier, I drew vertical lines using a long level, to guide my nail placement in the field.
I also add extra nailing along the top and bottom edges of each sheet. The “board” sections on this board-and-batten-style siding were 8 inches wide, and I drove two nails at the ends of each flat board section. These nails will prevent the siding from expanding and buckling at the grooves, and they also help to tie the top plate to the bottom plate, which is often required on an engineer’s shear schedule.
Finishing Details
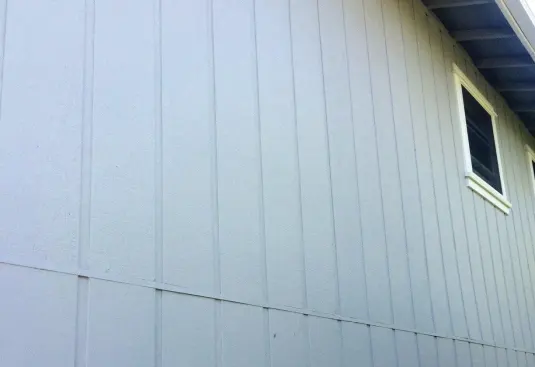
The house had a two-story section, and where the plywood siding extended up the tall walls, I installed the bottom sheets first, with metal Z-flashing on top.The top sheets then rested on the flashing.
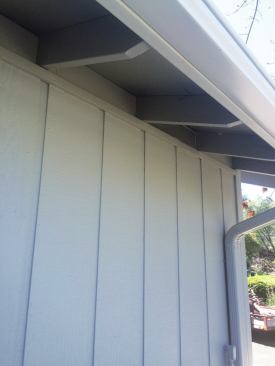
The rafters and eaves blocking on the houses I work on never line up perfectly. So I didn’t try for a tight fit when cutting the sheets to length. Instead I left a gap of about 1/4 inch. To finish that detail, I caulked the gap and ran 1×3 trim along the top edge. Again, as the top edge was under a 2-foot overhang, I wasn’t too concerned about moisture intrusion.
The corner boards installed right over the new siding, and I added trim—in a style that the owner preferred over the original—around the windows. As a final step, the painter caulked all remaining gaps before painting the house.
One word of caution: If you plan to spray-paint reverse board-and-batten plywood siding, use a brush in the grooves to get good coverage. Trying to spray into the grooves inevitably puts too much paint on the board surfaces, resulting in drips and runs.
John LaTorre is a carpenter in Tuolumne, Calif.


