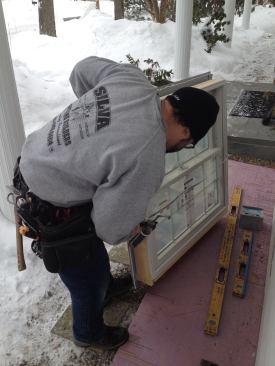
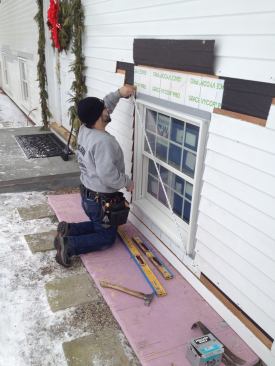
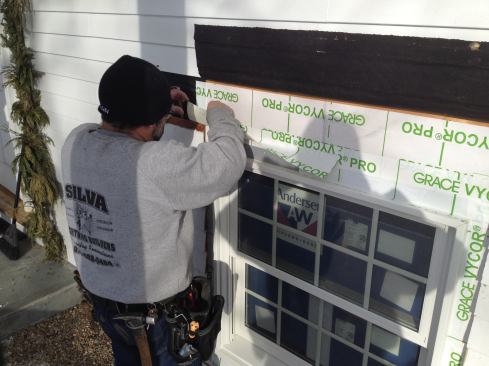
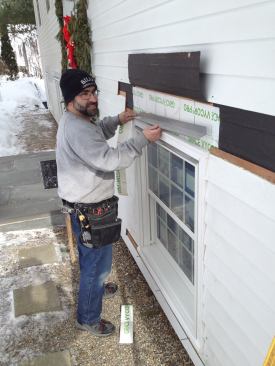
A mark in the center of the window and one in the opening allows…
A mark in the center of the window and one in the opening allows Manny to center the window from the outside.
John Simmons
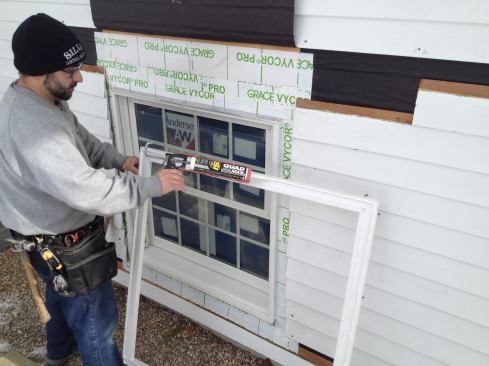
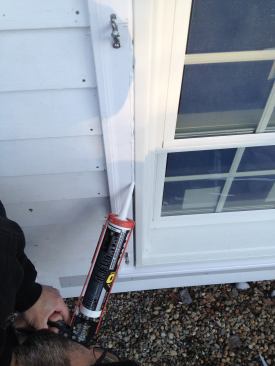
A bead of low-temperature caulk applied around the opening will …
A bead of low-temperature caulk applied around the opening will seal the window flange against the house.
John Simmons
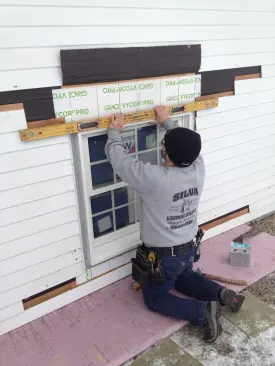
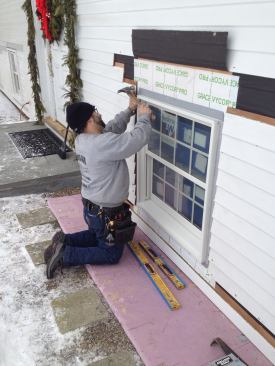
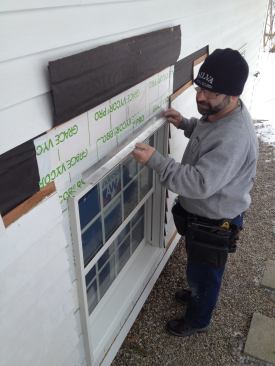
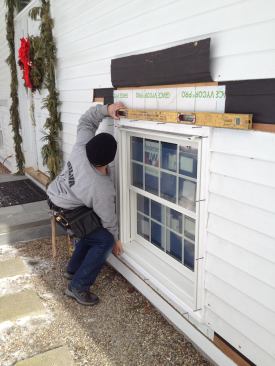
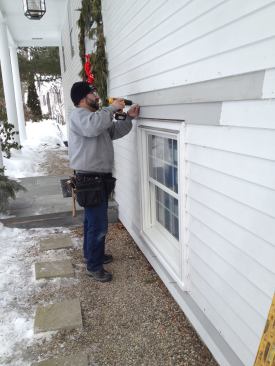
After positioning the window in the opening, Manny checks the to…
After positioning the window in the opening, Manny checks the top of the window for level.
John Simmons
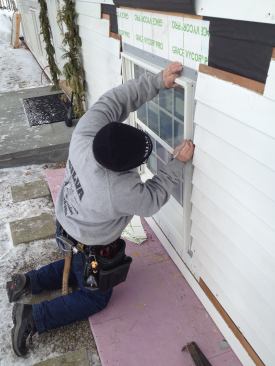
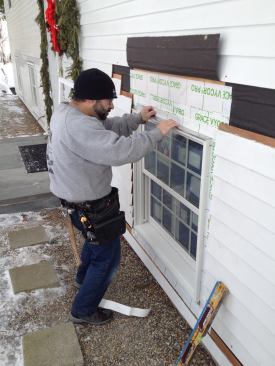
A level set against the side jamb of the window ensures that it'…
A level set against the side jamb of the window ensures that it's plumb in the opening.
John Simmons
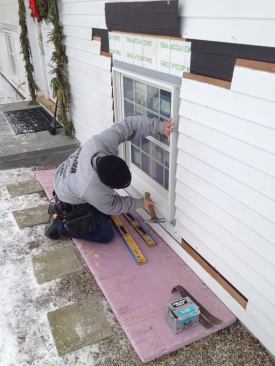
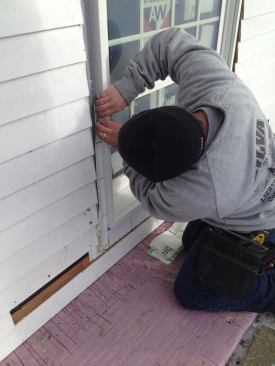
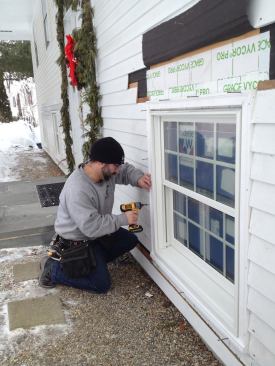
After confirming that the window is level and centered, Manny na…
After confirming that the window is level and centered, Manny nails off the two bottom corners.
John Simmons
Before nailing the top corners, Manny checks the diagonal measur…
Before nailing the top corners, Manny checks the diagonal measurements of the window in both directions to make sure it's perfectly square.
John Simmons
Nailing the top corners locks the unit in position. At that poin…
Nailing the top corners locks the unit in position. At that point the rest of the flange can be nailed off.
John Simmons
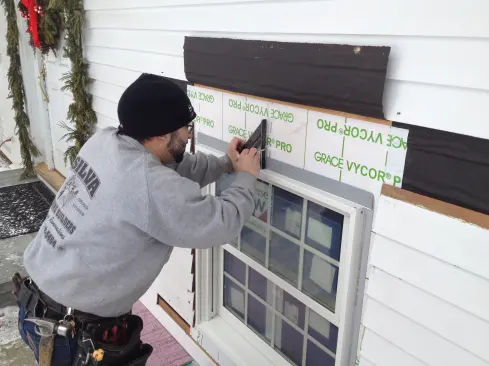
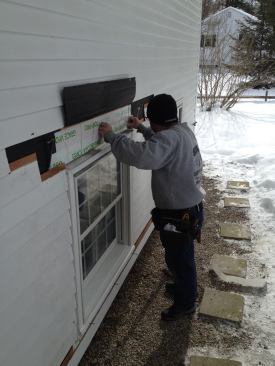
Before applying the flashing tape to the side jambs, Manny scrib…
Before applying the flashing tape to the side jambs, Manny scribes a line about 1/2 inch from the corner of the nailing flange. Starting the tape along this line will help keep it straight as it is applied.
John Simmons
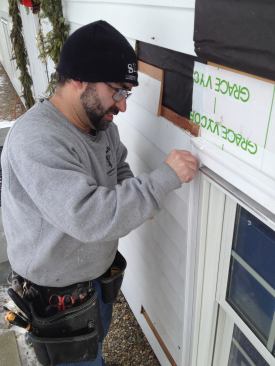
After aligning the edge of the flashing tape with the guideline,…
After aligning the edge of the flashing tape with the guideline, Manny carefully presses the tape into the corner of the nailing flange. The free edge of the tape then tucks behind the siding that had been lifted away from the wall slightly when the opening was being prepped.
John Simmons
The window manufacturer specifies that the side flashing tape ex…
The window manufacturer specifies that the side flashing tape extend 2 inches past the upper nailing flange of the window. Manny extends the tape past the flange almost 4 inches on both sides.
John Simmons
Flashing tape for the top of the window is wide enough to cover …
Flashing tape for the top of the window is wide enough to cover the ends of the side flashing.
John Simmons
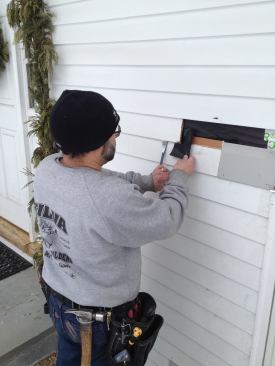
Manny installs the first of two pieces of drip cap specified by …
Manny installs the first of two pieces of drip cap specified by the manufacturer.
John Simmons
A width of flashing tape secures the drip cap in place.
John Simmons
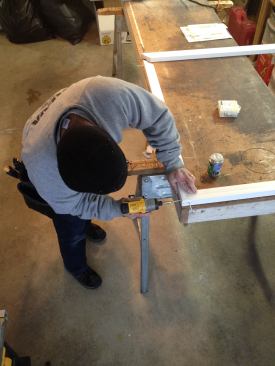
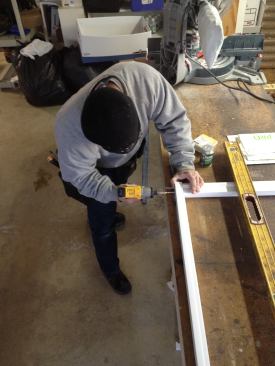
Before coming to the site to do the installation, Manny cut and …
Before coming to the site to do the installation, Manny cut and preassembled the exterior molding for the window in the comfort of his shop. To join the PVC molding, he glued and screwed the corners.
John Simmons
Manny glues and screws the sill piece to the brickmold trim.
John Simmons
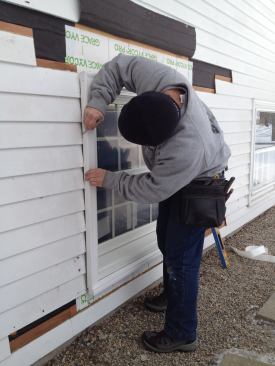
To save time and money, the original siding was kept in place fo…
To save time and money, the original siding was kept in place for the installation. To fit the exterior trim, Manny holds the molding in place and scribes a line along the ends of the siding boards.
John Simmons
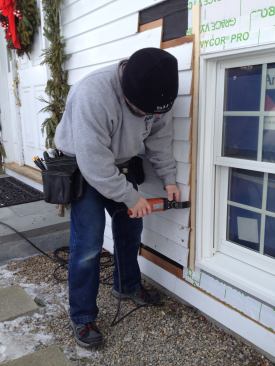
Manny cuts back to his scribe line using an oscillating cutter t…
Manny cuts back to his scribe line using an oscillating cutter to remove the sliver of material.
John Simmons
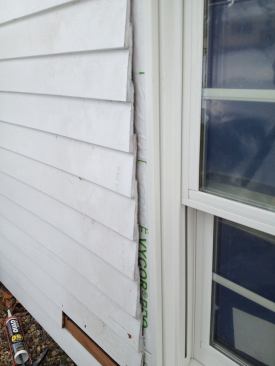
Raw wood like the cut ends of clapboards is vulnerable to absorb…
Raw wood like the cut ends of clapboards is vulnerable to absorbing moisture which can cause paint to fail prematurely, (or worse can lead to rot. A coat of fast-drying primer seals the cut ends before trim goes on).
John Simmons
Manny applies a bead of caulk to the back side of the prefabrica…
Manny applies a bead of caulk to the back side of the prefabricated window trim before setting it into place.
John Simmons
Before screwing the window trim into place, Manny adds spacers t…
Before screwing the window trim into place, Manny adds spacers to hold the trim level.
John Simmons
A concealed fastener system secures the window trim in place. Th…
A concealed fastener system secures the window trim in place. The screws are self-countersinking.
John Simmons
Small plugs made from the same material as the trim are pushed i…
Small plugs made from the same material as the trim are pushed into the holes. When the plugs are hammered flush, the holes completely diappear.
John Simmons
Per the manufacturer’s instructions, a second layer of drip ca…
Per the manufacturer’s instructions, a second layer of drip cap is installed over the molding.
John Simmons
Flashing tape seals the drip cap to the wall. The original tar-p…
Flashing tape seals the drip cap to the wall. The original tar-paper barrier will then flop down to cover the whole assembly.
John Simmons
A tab of tar paper inserts behind the butt joint of the clapboar…
A tab of tar paper inserts behind the butt joint of the clapboard before the new piece goes in.
John Simmons
A bead of caulk on the butt end of the clapboard provides furthe…
A bead of caulk on the butt end of the clapboard provides further protection.
John Simmons
Manny pre-drills lengths of new preprimed clapboards that will b…
Manny pre-drills lengths of new preprimed clapboards that will be secured with stainless steel nails.
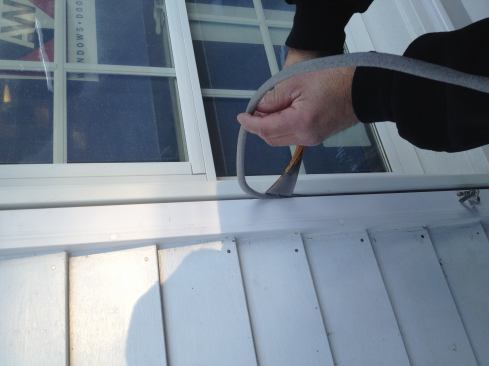
To seal between the window and the trim, Manny first presses foa…
To seal between the window and the trim, Manny first presses foam backer rod into the joint.
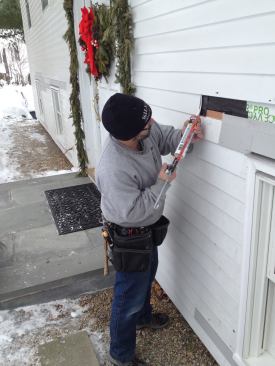
A bead of low-temperature caulk is squeezed in over the backer r…
A bead of low-temperature caulk is squeezed in over the backer rod. Manny then smooths out the bead with his finger. Note that the joint between the siding and the window trim has also been caulked.
In Part 1 of this slideshow series, Manny Silva, of Silva Lightning Builders in North Andover, Mass., had removed an existing window and prepped the opening for the new window with a sloped drainage plane and flashing tape. Working in the thick of one of the coldest winters on record, Manny used techniques that let him install the windows as quickly and efficiently as possible to minimize the time that the house would be open to the elements. In Part 2 Manny installs the window in the opening, again using techniques that speed the job along and enable the installation to be done by one person. The complete article with text and photos will appear in the April issue of the magazine.