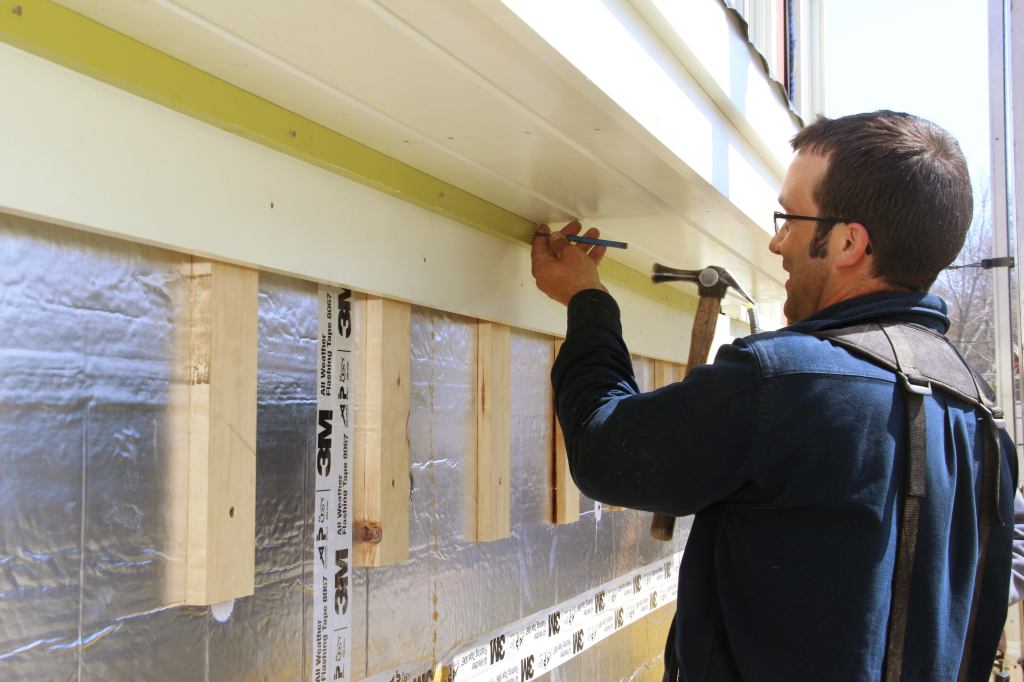
Using Siding Fasteners
Staples for siding
Many installers prefer staples for shingles and shakes because the thinner shank of the staple legs are less likely to cause splits.
Use two staples (minimum 7/16-in. crown, maximum ¾-in. crown per staple for each shingle or shake), with crowns placed parallel to the butt.
Nails for siding
For best result use “splitless” ring-shank, or spiral-shank, siding nails. Textured heads will reduce the glossy appearance of the nail head.
Anti-Corrosion Coatings
Use only galvanized or stainless steel fasteners for exterior siding and trim.
Stainless-steel (Type 304 or 316) is the most corrosion-resistant, but are very expensive. Type 316 statinless steel fasteners are typically required by codes for any exterior application with 15 miles of salt water, or when using fire-treated materials.
Double hot-dipped galvanized nails are the next best choice, but only for hand nails. (See discussion of air nails below.) Hot-dipped galvanized (HDG) typically refers to fasteners that have been dipped in molten zinc after fabrication.
G185 and G90 galvanized are the next in line, with G185 having more than twice the amout of zinc – 1.85 oz./sq. ft. vs. 0.9 oz./sq. ft.. This coating thickness refers to total amount of zinc (0.925 oz. per side for G185 and 0.45 per side for G90. Typically the zinc is applied to the wire before fabrication.
Hot-dipped zinc-coated nails offer the best protection among the galvanized nails. Nails can be double dipped for heavier plating. True hot-dipped nails are hard to distinguish from hot-galvanized nails; look for ASTM-153, the standard for hot-dipped galvanized hardware.
Air nails. Stainless steel works equally well for hand nails or air nails. Galvanized air nails, however, are generally not as corrosion-resistant as double hot-dipped galvanized hand nails.
Electroplated nails work best in nail guns. They are immersed in an electrolytic solution that deposits a thin film of zinc on them when an electric current is run through the solution. The drawback is that the thin coating oxidizes in harsh exposures to salt air and pollution. Do not use electroplated nails for cedar or redwood.
Mechanically plated nails are rotated when cold in a barrel of zinc dust then immersed in a chromate solution. This process leaves threaded nails clean, but the coating is thin.
Hot-dipped galvanized air nails are rotated in a barrel in a furnace to melt the zinc. They may not be evenly coated and threads may fill up.

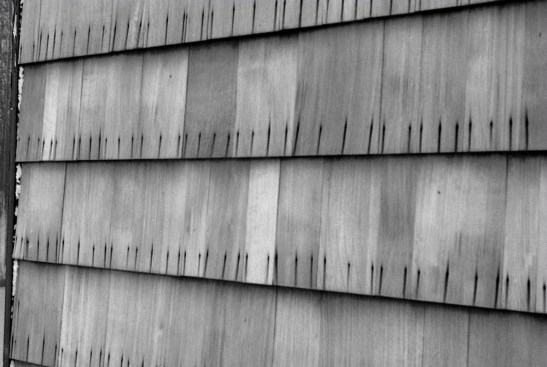
Box nails are thinner than common nails and less likely to split the wood, but have less structural strength. Casing nails are basically exterior finish nails but are a bit larger. Their barrel shaped heads that can be set below the surface and are used in trim. Siding nails have rings or spiral shanks that prevent them from popping out when the siding and framing expand and contract. Textured Head nails (not shown) will reduce glossy spots where the head must be exposed.
Bleeding is caused by excessive moisture in siding, which reacts to the iron in nails. The staining is caused when a high moisture content in wood dissolves the wood’s naturally occurring extractives — pigments, tannins, oils, and resins. To prevent bleeding, keep siding dry before installation. Back-prime to help seal extractives in the wood, and install the siding on a rain screen to promote drying. Seal or paint the wood when it is dry and maintain the finish to keep wood dry over time.
Figure: Recommended Nails for Cedar Siding
| Siding Type | Nominal Thickness (in.) | Spiral/Ring shank Nail Length (in.) |
|---|---|---|
| Bevel | 1/2 | 2 (6d) |
| 5/8 | 2 (6d) | |
| 3/4 | 2 1/4 (7d) | |
| 7/8 to 15/16 | 3 (10d) | |
| 1 1/4 | 3 (10d) | |
| Boards, T&G and Lap | 5/8 | 2 (6d) |
| 3/4 | 2 (6d) | |
| 7/8 | 2 1/4 (7d) | |
| Battens for Board and Batten | 3/4 | 3 (10d) |
Note: For application over foam sheathing, add the thickness of the foam to the tabulated nail length.
Nails should be long enough to penetrate the wood at least 1 ¼ inches.
Source: Western Red Cedar Lumber Association


