
Tom O'Brien
The author believes that windows should be replaced if they're f…
Tom O'Brien
The author believes that windows should be replaced if they're f…
There’s money to be made from replacing old windows, and sometimes a complete replacement makes sense for the homeowner, too, especially if the windows in question were never built to last. But in most cases, the hoped-for energy savings simply don’t justify the expense of tearing out and disposing of an otherwise sound wood sash. In my experience, any window that’s old enough to have weights and cords deserves an upgrade rather than a toss in the dumpster.
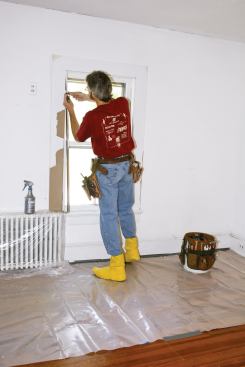
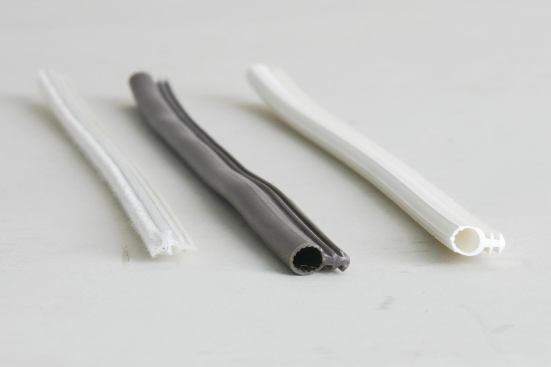
Homeowners considering a window replacement almost always bring up energy concerns, but their bigger beef is that the units operate poorly — usually because over the years too much paint has been applied in the wrong places. After I’ve cleaned and weatherstripped an old sash, it fits tightly, yet goes up and down with the touch of a finger.
Double-Hung to Single
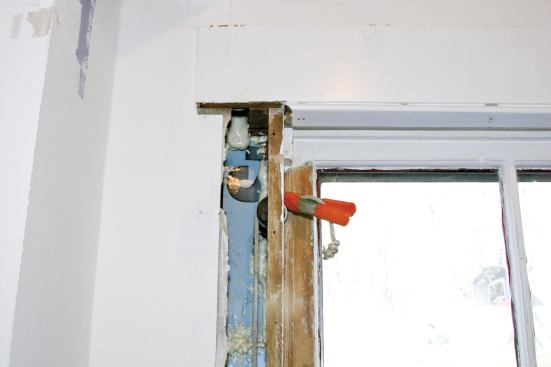
Back in the days before A/C and active ventilation systems, double-hung windows promoted air circulation when the bottom sash was raised and the top sash lowered. Most of the older windows I encounter have top sashes that haven’t moved in decades and storm windows that are only screened for the lower sash. So unless the owner insists on having two operable sashes, I simply make sure that the upper unit is square and secure. If it’s loose, I toenail it in place with a pair of 3-inch trim screws driven upward through each side of the bottom rail, then caulk the edges.
Removing the Sash
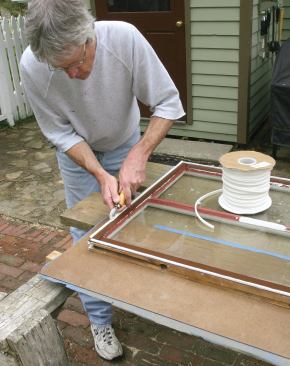
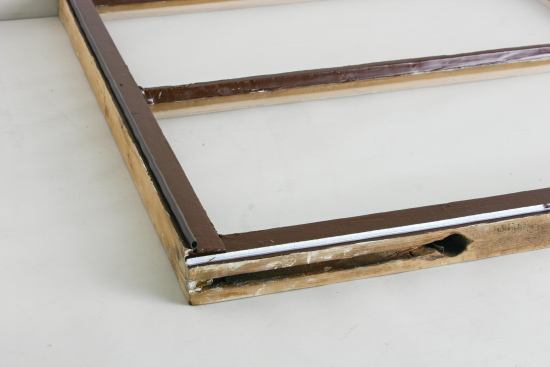
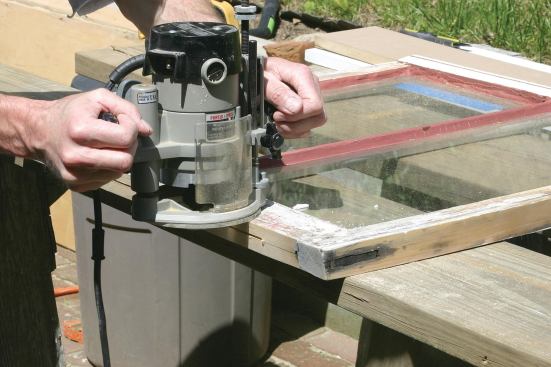
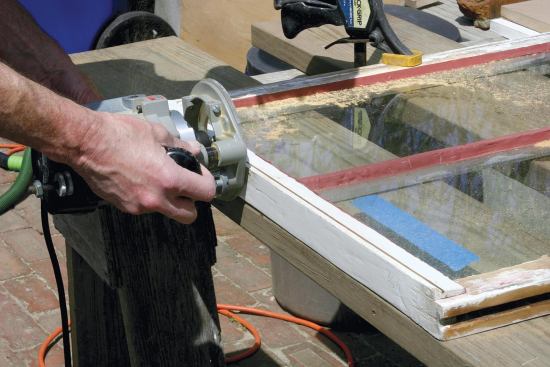
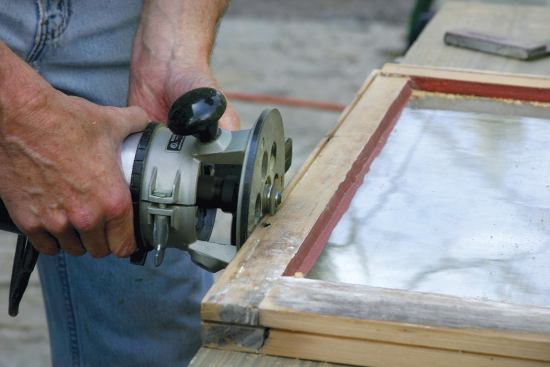
Taking out a lower sash simply requires prying off one stop and disconnecting the cords, but I remove both stops because they will need to be ripped down slightly to accommodate the thickness of the weather seals. After I disconnect each sash cord, I attach a spring clamp to prevent the weight from falling to the bottom of the weight box (see slideshow). If I’m working on more than one window, I mark an indelible code on each of the pieces to ensure that everything goes back in the right place.
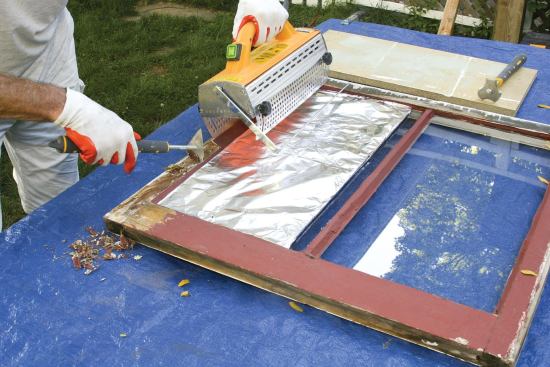
Since old windows of this type typically have some lead paint on them, I set up a lead-safe work space around each of the window frames, and take appropriate safety measures while preparing the sash and stops for weatherstripping.
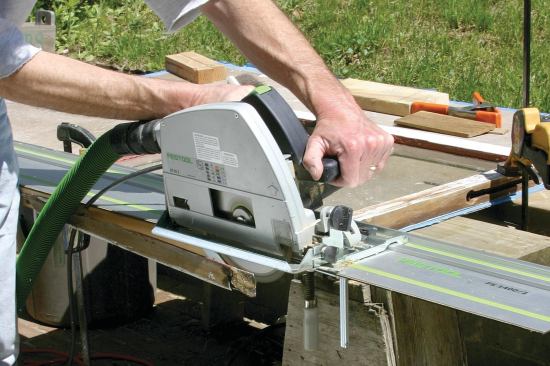
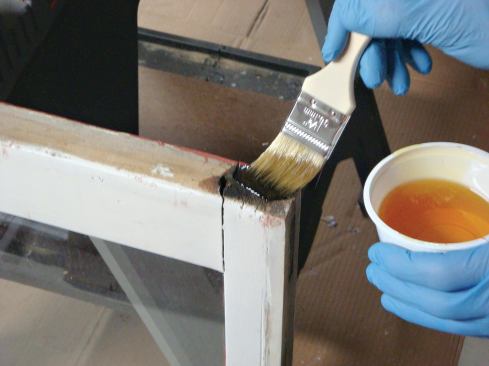
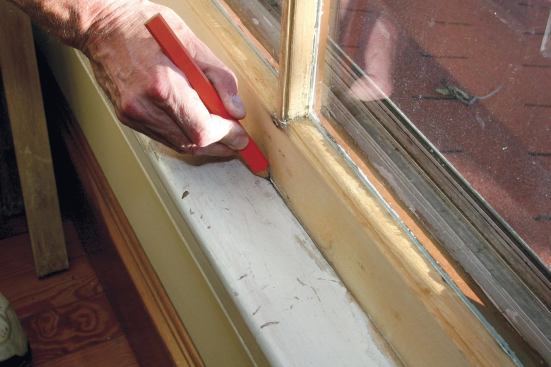
Sashes that are in rough shape — with extensive wood rot, flaking paint, separated joints, cracked panes, or crumbling glazing — need to be completely stripped and repaired. But if the sash is generally sound, I simply remove the paint from the surfaces that are to be fitted with weather seals or that are subject to abrasion. For this task I use an infrared paint remover (around $500 from Eco-Strip, 703/476-6222, eco-strip.com), which breaks the bond between the paint and substrate without releasing lead fumes. The tool is an investment, but worth it if you plan to do a lot of this work; nothing is faster.
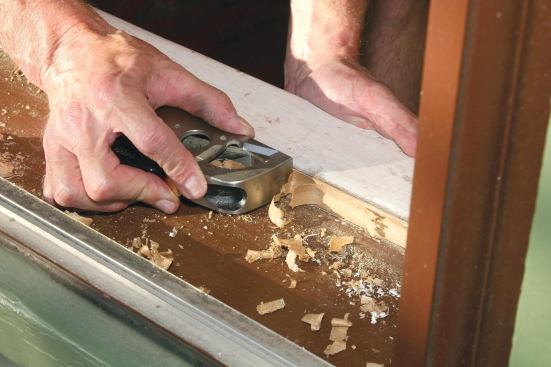
After the paint is gone, I give the bare wood surfaces a light sanding with 100-grit paper in a random orbit sander attached to a HEPA vac.


