In my article, “A Partial Foundation Retrofit” (Jun/19), I mentioned two locations that needed attention in this client’s foundation. In that article, I focused on where the existing foundation had lost all structural integrity and needed to be completely replaced. Here, I address the second location, where the engineer deemed that the existing foundation—though weak—would just require reinforcing.
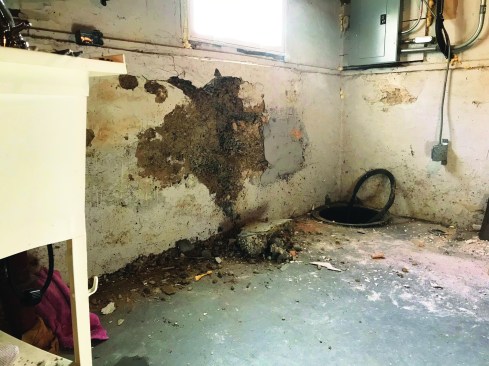
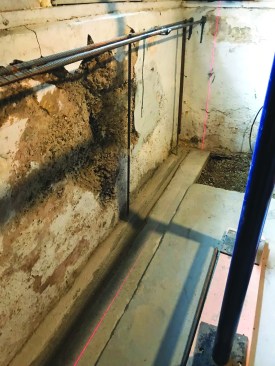
This area of the existing foundation was weak but still structurally sound.
In their investigation, the crew discovered that there was no footing under the original foundation and turned to an engineer for a solution.
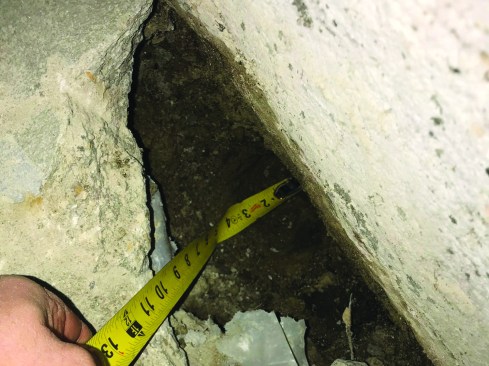
The solution was pouring what we call a “bench wall,” which is basically a reinforced retaining wall poured against and tied into the original foundation wall. Before starting, we checked an area where the slab had broken and discovered that there was no footing under the original wall. The engineer’s answer was to excavate under the original foundation in alternating 2-foot sections, supporting the old wall while allowing the new concrete footing to extend into the voids under the wall.
The crew cut the slab and dug a footing trench 1 foot wide and 1 foot deep. Under the wall, they dug 2-foot-wide voids 2 feet apart that would be filled with concrete as part of the new footing.
A special tool bends rebar into the needed shapes.
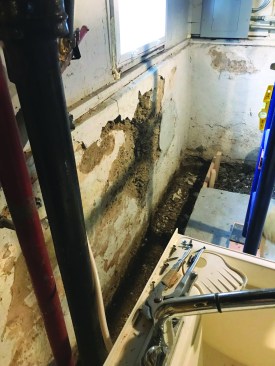
Once the bench wall was poured on top of the new footing, we framed a tight-fitting 2×4 wall between the floor joists and the top of the concrete. This wall helped support the exterior wall load and the floor load, and it also helped the newly poured wall resist buckling horizontally.
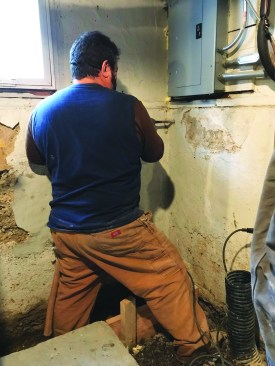
Rebar was essential for tying the new bench wall to the existing foundation. A crew member started by drilling holes at the top of the adjacent foundation walls.
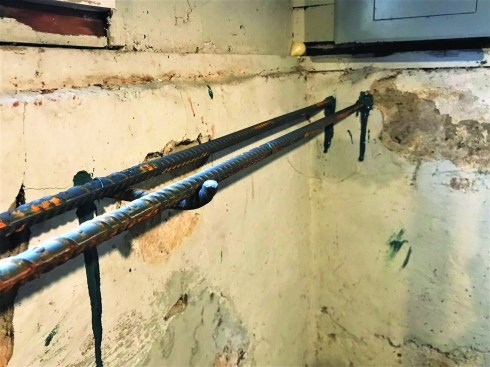
Then the crew used high-strength epoxy to attach two lengths of rebar at one end of the wall. Short lengths of rebar drilled and epoxied into the foundation wall provide support for the rebar along its length.
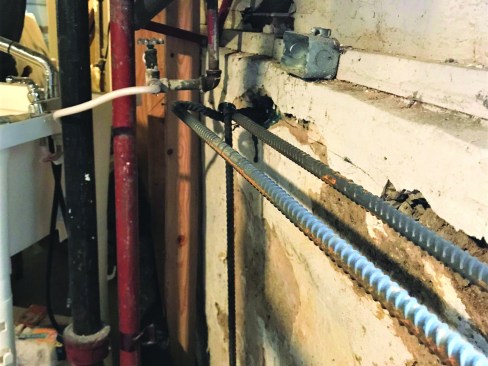
The other end of the length of rebar was bent and epoxied into the existing wall. The ends of the vertical and horizontal lengths were tied together for the pour.
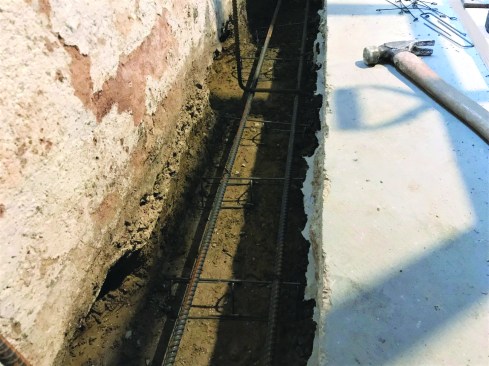
In the footing trench, lengths of rebar were set on chairs pinned to the base of the footing. One of the 2-foot voids that was dug out under the existing foundation every 2 feet is visible in the foreground.

The concrete for the footing extended into the voids under the existing wall to support it. The crew mixed and poured concrete for the footing from bags, troweling the top for a smooth surface.
A keyway cast into the footing helped to lock the bench wall in place, while a laser line was used to guide placement of the form.
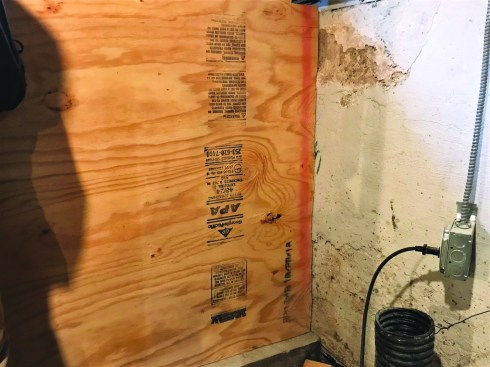
After scribing the form plywood to the adjacent wall, the crew built a frame for the form.
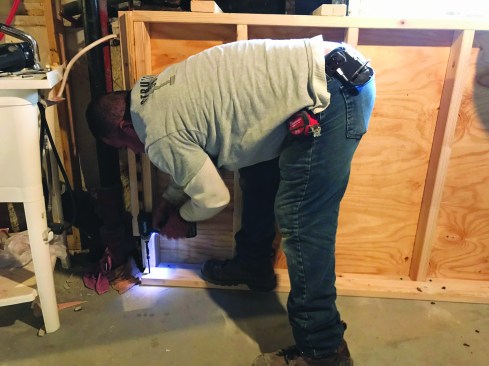
A 2×4 anchored to the slab held the bottom of the form in place.
To ensure that the form didn’t move or bow out during the pour, the crew attached a horizontal strongback across the middle. Diagonal 2-bys braced back to the floor provided additional support.
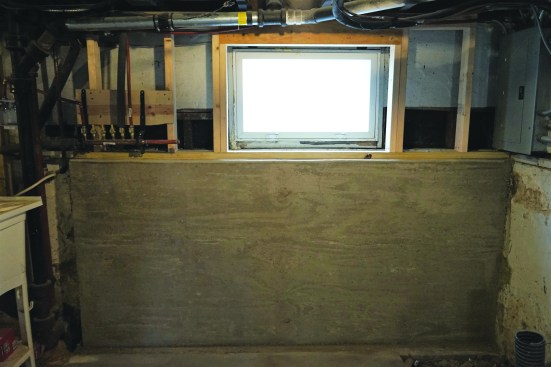
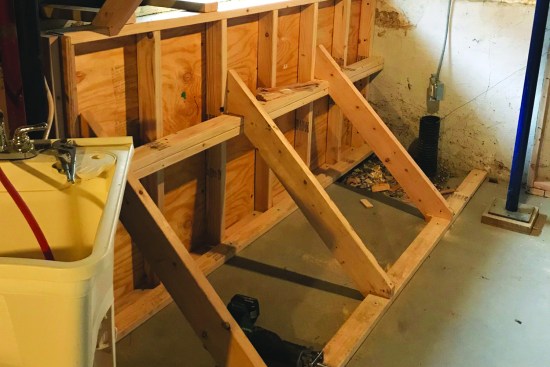
After placing the concrete and allowing it to set for a few days, the crew stripped the form and framed a 2×4 wall tight between the bench wall and the joists above. In addition to the wall helping support the floor and exterior wall loads, pressure on the wall added to the lateral stability of the bench wall.
Photos by Jake Lewandowski


