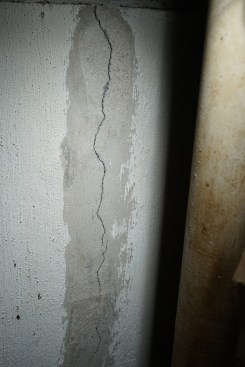
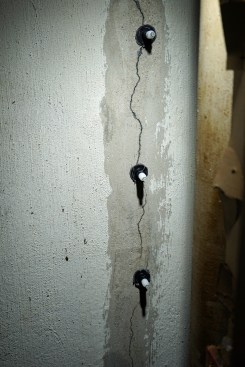
While my family’s company, Great Lakes Builders, specializes in structural repairs, we are often called in to fix cracks in foundations that don’t present any overt structural problems but do allow water infiltration and need to be sealed up to keep the basement dry. That was the case on the job shown in this article.
For this job, we used Simpson Strong-Tie’s Crack-Pac Flex-H2O, which is a lot easier to apply than some of the brands that we have sourced from concrete supply companies in our area. The Crack-Pac system uses an injection resin that reacts with moisture and expands, creating a flexible dam in cracks up to 1/4 inch wide. The installation method I’ll describe here ensures that we are able to get continuous coverage in the crack to provide a good seal and a clean job.
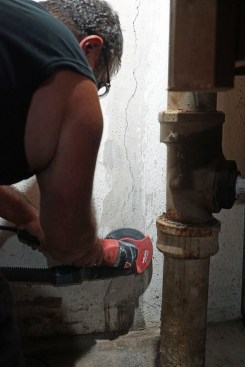
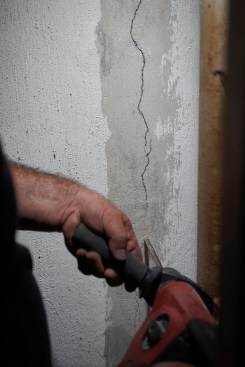
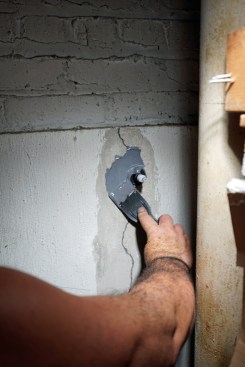
Toby Bonilla of Great Lakes Builders grinds the surface of the f…
The basic process shown in the photos on the following pages begins with grinding down the surface near the crack. On this job, we are grinding through paint, but we do this even on unpainted concrete to remove dirt and surface particles to ensure a strong bond with the dam material (epoxy paste) that we will apply to hold the injection resin in place. For this work, we use a grinder with a vacuum shroud so we can be as dust-free as possible.
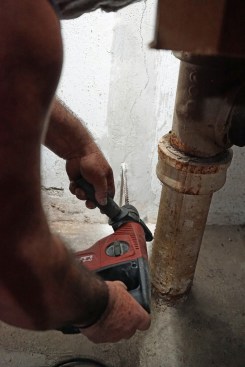
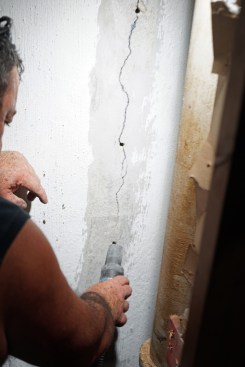
Using a rotary hammer, we drill a series of small (3/8-inch-diameter) holes a few inches deep every 8 to 10 inches along the crack. Before installing the ports over these holes, we carefully vacuum out the crack and “chase” it with a small drill bit to remove any loose material.
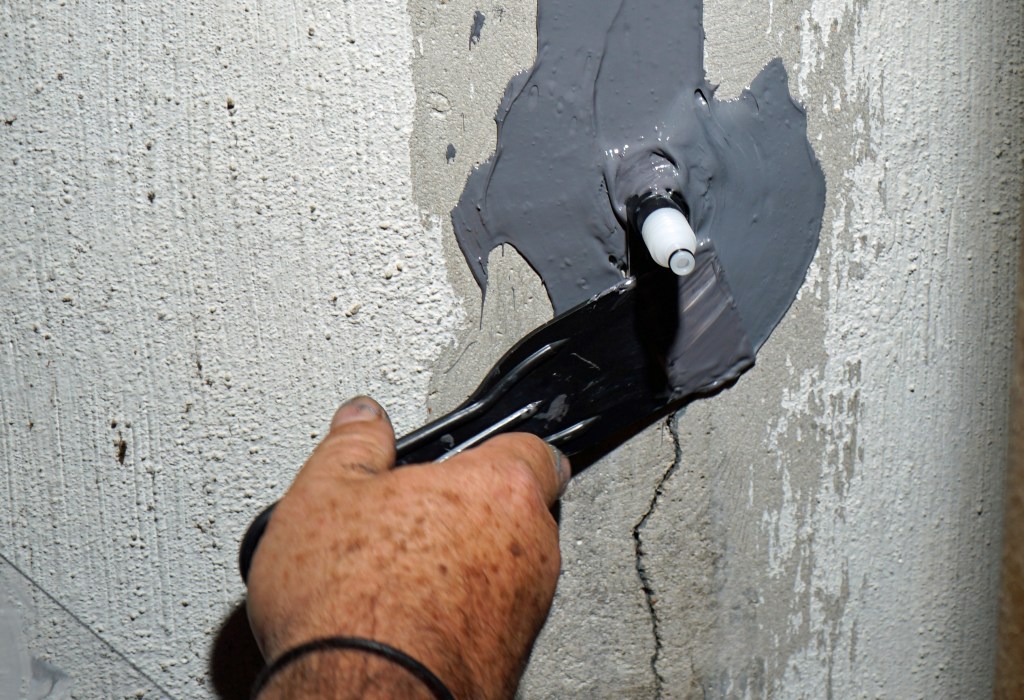
Once the crack is prepped, we mix up the epoxy paste on a small piece of Lexan and carefully trowel it onto the base of the ports, being careful not to block them. We install these over each hole and then work the paste along the entire length of the crack, literally connecting the dots with paste applied about 3/16 inch thick in a 1-inch-wide swath. The working time for Flex-H2O is a few minutes (that can vary due to environmental conditions), so we mix it in small batches. This short working time is one of the advantages. Other products can take much longer to set up, and we have had to hot-glue the ports in place so they would stick to the wall while the paste set up. The epoxy paste acts as a dam to hold the resin in. The soil holds the resin in on the other side of the foundation, but on above-grade sections, we have had to dam the crack (you can use hydraulic cement as a dam material, too), or even excavate the backfill to gain access to the crack and adequately contain the injected resin. We typically use plenty of paste on the crack, sometimes more than is recommended, to be sure we don’t have a blowout. The resin is not fun to clean up, to say the least.
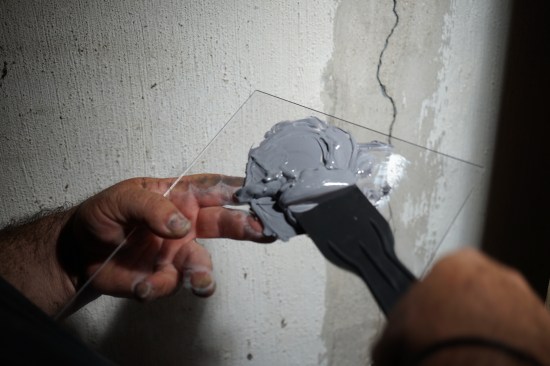


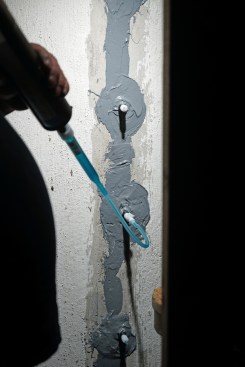
Working in small batches, Toby mixes a two-part epoxy paste …
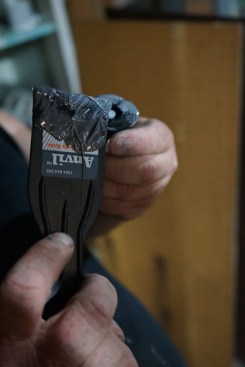
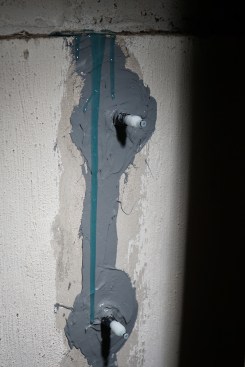
Starting with the bottom port, we inject the resin until it begins to come out the port above, and then work our way up to the last port, filling it until resin leaks out the top. We use Simpson Strong-Tie’s flush-mount ports, which have an O-ring that engages when the nozzle of the resin cartridge is pushed in, creating a good mechanical seal so there is no squeeze-out. The port also gets sealed off when you pull the nozzle out, which limits the dribble of resin. At the start, all the ports have to be pushed in to their open position.
The process for injecting a crack-sealing resin is almost identical to what we sometimes do to make structural repairs using injection epoxies. The difficulty with structural repairs, however, is that the epoxy usually holds, but stresses on the wall may cause another crack right alongside the epoxy repair. So structural jobs often include soil stabilization work to eliminate the stresses, and may also require steel plates or other methods to reinforce the wall.


