Using floor panels supported by engineered-lumber girders cuts p…
My company is a distributor for Insulspan structural insulated panels in New England and New York. Insulspan’s Michigan factory ships 8-by-24-foot panel blanks to us, and we cut and reassemble the raw panels into complete precut SIP packages for builders and commercial contractors. We also have several field crews who set panels on site, because many of our customers don’t have crews with SIP training and experience.
We try to transmit the lessons that our crews learn in the field to outside framers who are working with our panels and packages. With explanations and tech support from our shop personnel, any competent stick-framing crew should be able to build with SIPs just about as well as our crews can — and similar support is available from other SIP suppliers in our region and around the country.
Eventually, I hope to see builders all over our region learning to use SIPs and handling them as easily as they handle components in stick construction. In principle, the two methods are similar — SIPs are just like big, wide, flat pieces of lumber. They come in standard sizes, and you can cut them up and connect them together to make whatever you want. You can use most of the same tools and fasteners, and most of the same techniques. It takes only one or two jobs for a skilled stick-framing crew to get comfortable using SIP methods.
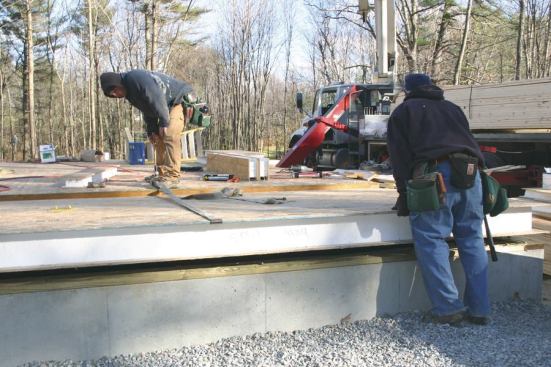
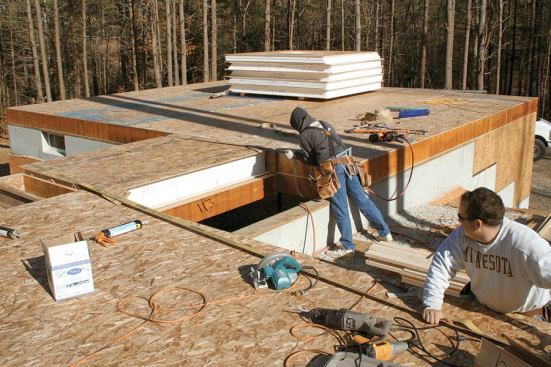
For this article, I’m going to focus on floor systems. SIPs work particularly well for certain specialized floor applications. They make a quick and easy floor for a small room addition or bump-out, and a cost-effective and satisfactory floor over a large unheated space, such as a garage with rooms above it. The rural New Hampshire house shown in the photos for this story has SIP walls and roof, SIP floors above the garage and in a small sunroom, and conventionally framed floors over the basement and between the first and second stories.
SIPs are not ideal for floors between stories inside a house. The insulation isn’t required at that interior location, and SIPs can be rather noisy underfoot — they easily transmit the sound of upstairs footfalls to spaces below. That’s why we frame the floor systems for our SIP houses with conventional methods, using engineered wood beams, wood I-joists, and OSB floor sheathing.
However, to shorten the site time for our road crews, we’ve started panelizing a lot of our floor systems in the shop, and setting the large floor sections on site with our crane. That helps us make the most of the on-site efficiency of SIP wall and roof construction; when we don’t prebuild, framing floors on site is the one part of the job that takes us as long as it would take anyone else.
So, on these pages I’ll cover SIP floor applications first; then I’ll describe the way we panelize wood I-joist floor systems and the various methods of detailing SIP walls to support the loads imposed by stick-framed floors.
Insulated Floor for a Small Room
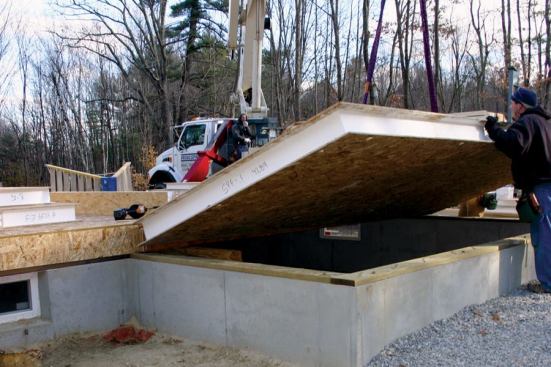
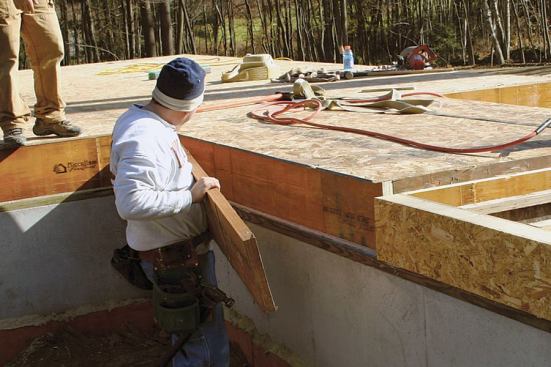
The floor of a small bump-out or room addition is one of the quickest and simplest uses of SIP technology. SIP blanks come 8 feet wide by 24 feet long, so we were able to cut this sunroom floor from a single panel. The floor panel bears on the foundation wall on three sides. Where it joins the floor frame of the main house, it attaches to an LVL ledger beam.
It’s common practice for us to sleeve a beam or structural spline into a space routed out of the panel’s foam. In this example, we placed the structural member first, and then slipped the panel edge over it. To do that, we had to remember to leave space for the panel’s OSB skin between the LVL beam and the member below it. We typically use a 1/2-inch plywood shim to space the beam away from other framing, leaving just a tiny bit of extra room to slide in the 7/16-inch or 15/32-inch OSB. In this case, the panel was a tight fit on the beam, so the crew had to use come-alongs to pull it snugly into position.
The floor panel was 10 inches deep, for about an R-40 insulation value, but it wouldn’t have to be that deep to make the 8-foot span. The rule of thumb for typical floor loads goes like this:
• 6-inch panels will span about 8 feet
• 8-inch panels will span 10 feet
• 10-inch panels will span 12 feet
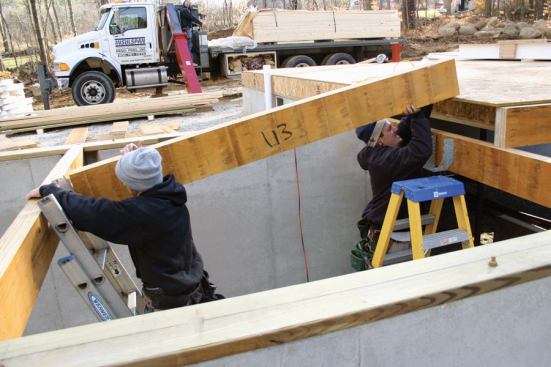
These spans are achieved without structural splines. If you use 4-foot-wide lengths of panel with LVL members embedded in the joints, it’s technically possible to achieve clear spans of as long as 24 feet. But when a design calls for long spans, we prefer to support panels from below with engineered beams, as we did for the floor over this house’s garage. That’s a simpler assembly to set up, and it’s also more convenient to air-seal at the seams.
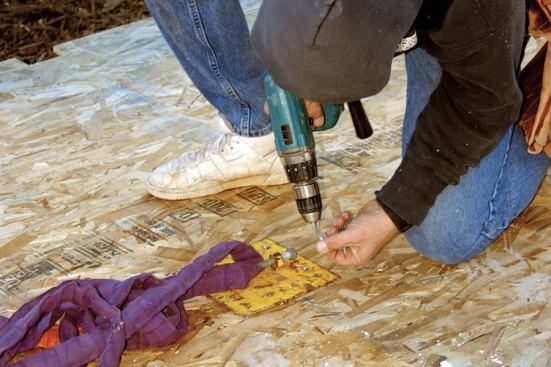
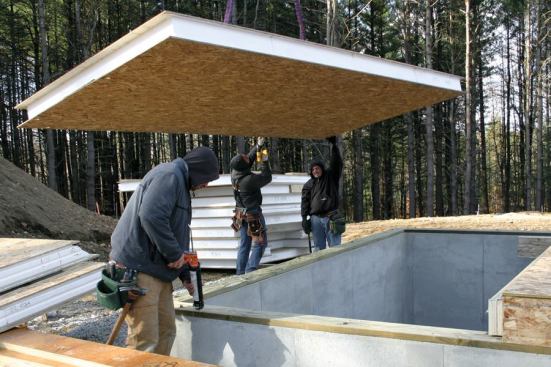
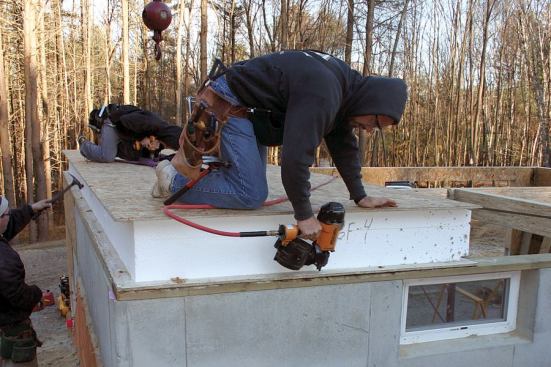
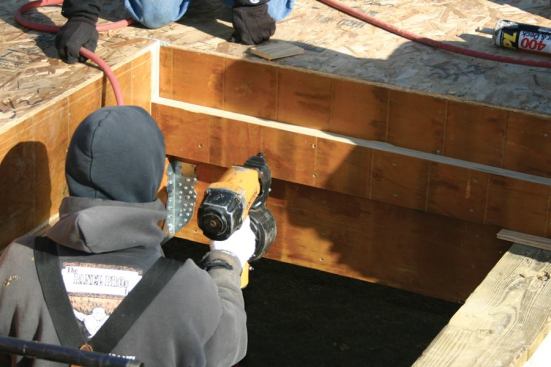
We lift the floor panels into place with the crane. Panel builders often lift panels using big steel hooks that they drive through the panel skin. We used to do that, but it’s frowned upon these days because of the surface damage it does to the panel. So now we use a steel lifting plate, which we screw directly to the panel. The plate accepts 16 screws, enough for a strong attachment.
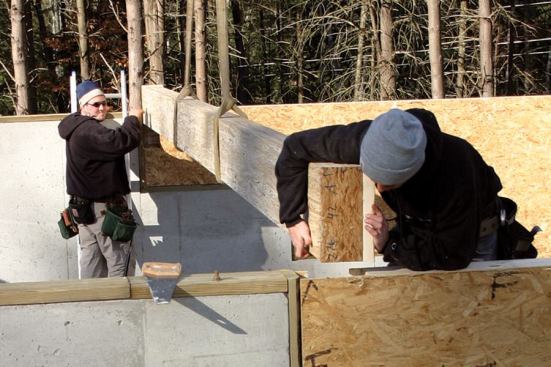
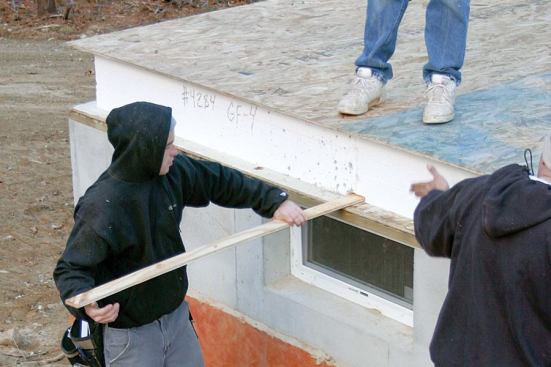
Once the floor is in place, its routed edge will be filled with an LVL rim joist. The LVL’s structural capabilities aren’t really needed in this location, but we use LVL because it’s stable. Ordinary lumber would shrink away from the panel, creating gaps and potential air leaks.
Prerouted grooves at panel edges receive 1/2-inch plywood spline…
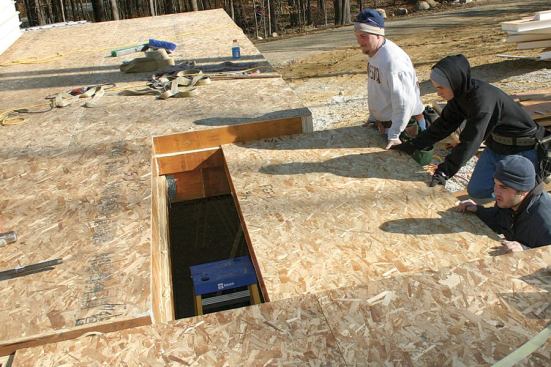
Insulated Floor Over a Garage
The classic SIP floor application is as an insulated lid for an unheated garage. This location is notoriously hard to insulate and air-seal in stick construction; with 12-inch SIPs, however, you can have a true R-48 floor with no thermal bypasses and virtually no leaks, after just a morning’s work.
Official R-values, by the way, are measured under laboratory conditions at an ambient temperature of 75°F. One good thing about expanded polystyrene (EPS), the core material in SIPs, is that its R-value increases as the temperature decreases. At 75°F, EPS has an insulating value of R-3.85 per inch, but at 25°F, it’s R-4.35 per inch. That’s why I tell people the R-value of a 10-inch panel is “about R-40” and that of a 12-inch panel is “about R-48.” At 75°F, it’s really a little less, and at 25°F it’s a little more — but who needs insulation at 75°F, anyway?
With fiberglass, it’s the opposite: The colder it gets, the less actual insulating value fiberglass has. And the effect continues: When it’s below zero outside, fiberglass loses even more of its rated value, whereas EPS gains value. Keep in mind that the floor over a garage in a cold state like New Hampshire is one of those places where effective R-value really matters. At -5°F with the wind blowing, your feet appreciate insulation that performs better when the weather gets colder.
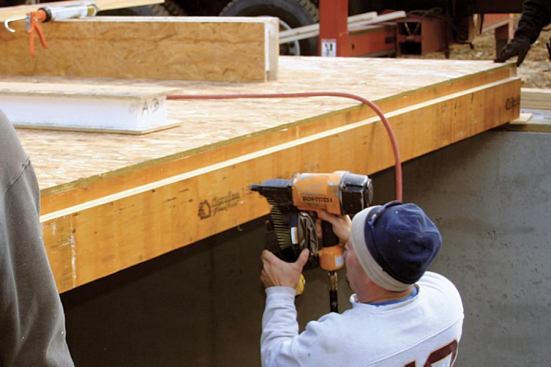
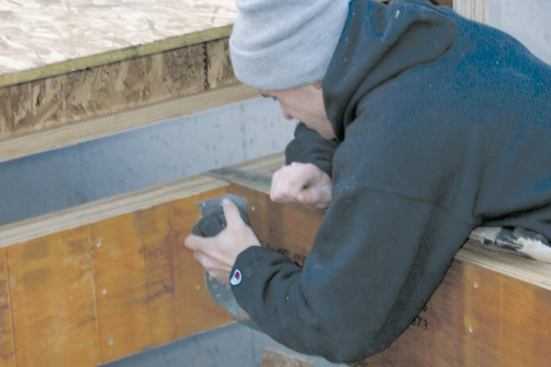
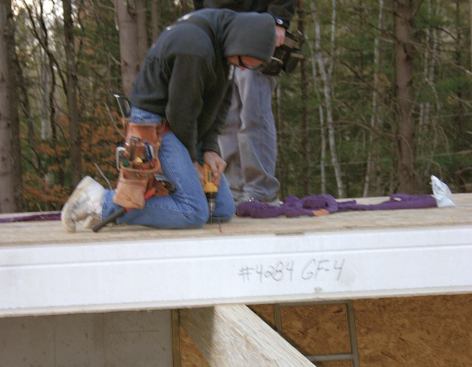
Air-sealing matters, too, of course. The body of a structural insulated panel is airtight by nature, but joints and seams need attention. We seal every joint in the house with construction adhesive, expanding foam, or adhesive membrane tape. For a garage floor like this, we apply construction adhesive to the foundation sills before placing the panels; then, after all the structural connections are made, we inject expanding foam into the panel-to-panel joints.
We make the structural connection between adjoining floor panels by sliding splines into prerouted edge spaces and stitching the panels together with staples or 8d nails. Floor perimeters, as usual, get stuffed with LVLs (another spot where we apply construction adhesive). We fasten the panels down at the sills and at supporting beams with long, hardened-epoxy-coated screws (Trufast Corp., 800/443-9602, www.trufast.com).
One drawback to a SIP floor is that it has no framing voids where you can run wiring or mechanicals. In a garage, code officials may allow you to fasten Romex cable directly to the ceiling. If they don’t, you may have to furr down the ceiling or build out a chase for the wires.


