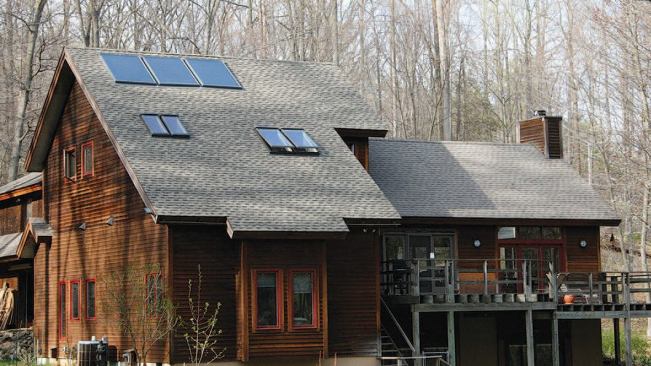
In most cases, installing new skylights or a row of solar thermal collectors on an existing roof is pretty straightforward. That’s because most roofs are stick-framed and we know what to expect. I knew this roof was different, because I had built the timber-frame and structural-insulated-panel home 20 years before, but I was still surprised by some of the difficulties we encountered along the way.
For anyone not familiar with SIPs, most are manufactured of foam insulation sandwiched between sheets of oriented strand board. The roof panels on this home were made with 91/4-inch-thick polystyrene and were installed over an exposed timber-frame structure, with rafters and purlins spaced several feet apart providing support.
Installing the Skylights
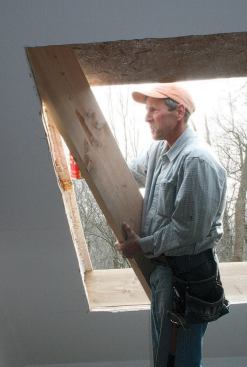
In some ways, making a skylight opening in a SIPs roof is easier than it is with a stick-framed roof: There’s usually no framing lumber in the way, so there’s no need to cut and head off rafters. All that’s required is to cut out the hole, then reinforce the edges of the cut panels with let-in 2-by framing members — 2x10s in this case.
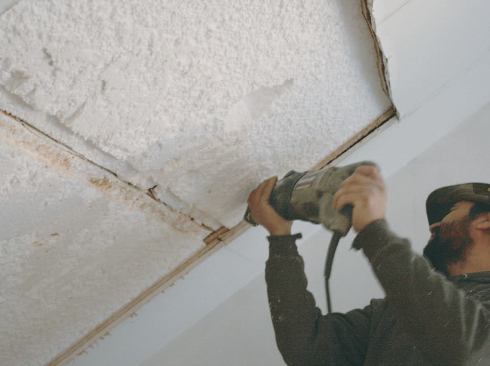
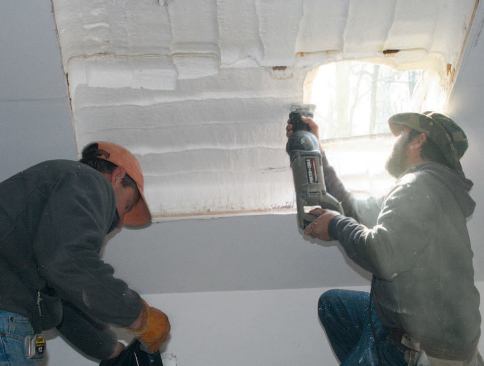
We first marked the skylight location on the ceiling, then removed the ceiling drywall, which was attached directly to the underside of the roof panel. We pulled off the interior OSB without much difficulty, revealing the SIPs’ solid core of EPS foam. At this point, we used a long drill bit to transfer the corners of the opening to the roof surface.
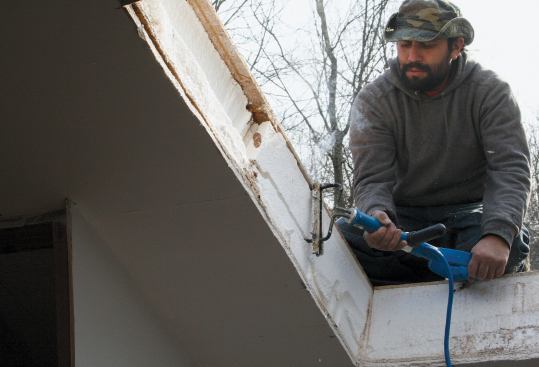
Removing the EPS — the stuff disposable coffee cups are made of — is not as simple as it might seem. The material resists being cut with sharp-bladed tools, and sawing, slicing, or chopping it produces a blizzard of foam particles that are a pain to clean up. A “hot knife” — an electric resistance wand that resembles a plug-in charcoal lighter — is the right tool for this job. The wand’s element heats up quickly and cuts through the foam like a hot knife through butter; it quickly carved away the thick foam in repeated passes.
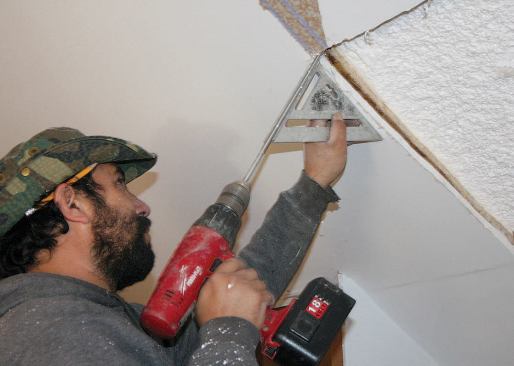
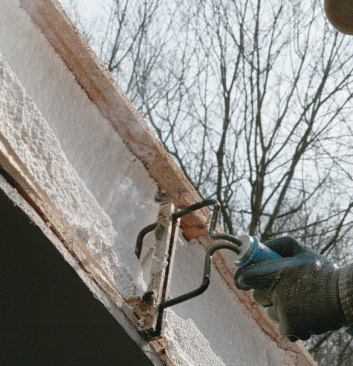
A rough opening in a SIP requires the support of solid wood framing around all edges. After we finished cutting the opening, the crew used the hot knife to recess the foam along all four sides to receive the framing members. The tool shown here is sized to remove foam from the edge of a nominal 6-inch-thick SIP so that 2×6 framing can be let in. The adjustable depth gauge rides on the OSB and sets the depth of the cut according to the thickness of the framing to be installed. For this job, we set it at 1 1/2 inches, and made two passes to accommodate the 2×10 framing we would need for the 10-inch-thick panel. As we inserted the framing, we used canned spray foam to fill gaps and adhere the framing, then nailed it off through the interior and exterior OSB skins.
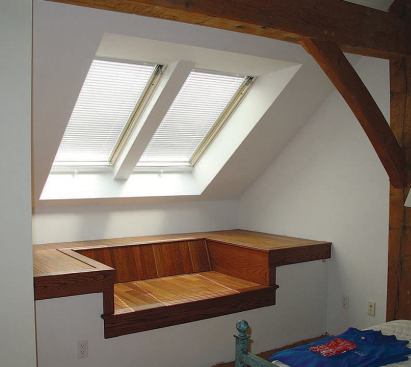
The rest of the skylight installation was straightforward. As usual, we flashed the Velux units with the manufacturer-supplied metal flashings.


