
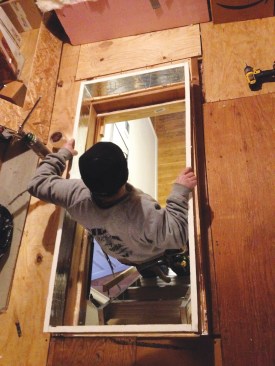
Oftentimes, taking on a remodeling project on one part of a client’s house will lead to a completely different project on another part of the house. That was the case with the insulated hatch cover described in this article. I was in the process of fixing some rot-damaged garage framing and doors in my clients’ 1960s split-level home when they mentioned that they also had a problem with the drop-down stairs leading up to the attic. Even though the stairs had been recently replaced, the ceiling opening was still very drafty. To block the cold air leaking into their upstairs hallway, they had tried cobbling together a hatch cover using rigid foam and scrap lumber, but this solution wasn’t particularly effective. They were hopeful that I could cap the stairs with an insulated, airtight cover that wouldn’t block access to the attic.
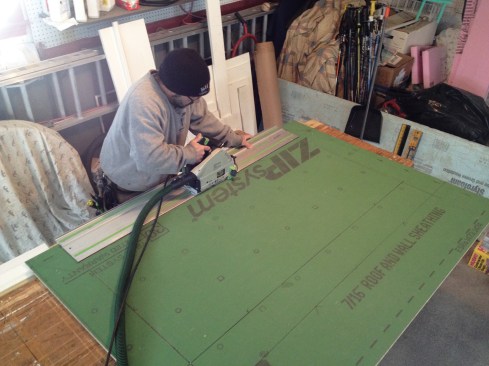
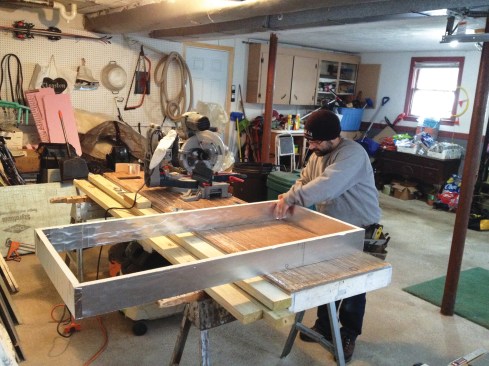
The author cut the hatch-cover sides and apron from a single sheet of Zip System sheathing,
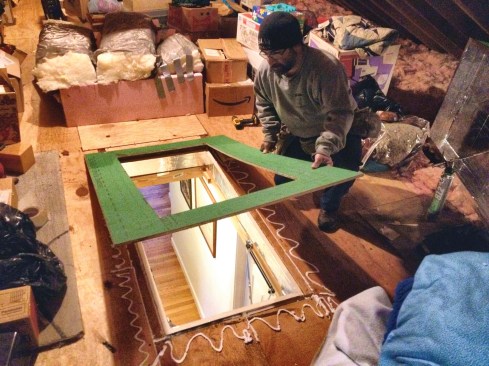
Sized to fit over the stair opening, the apron is needed to provide a flat base for the hatch cover to close against.
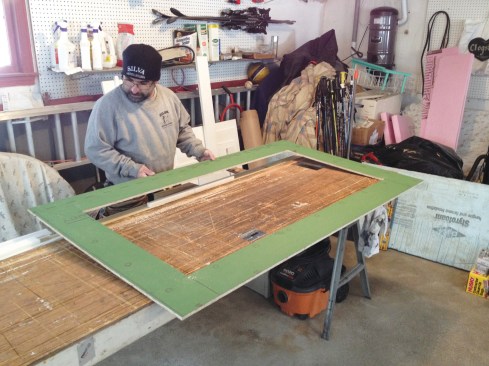
When I checked out the stairs, I saw that air-sealing the hatch cover would be complicated by the attic’s uneven floor, which was sheathed with scrap pieces of plywood of various thicknesses. I had a good idea of how to build the hatch cover, since I’d recently built several of them for other clients, but I had to figure out a cost-effective way to even out the floor around the opening so that the hatch cover could close tightly against it.
Apron. My solution was to cover the opening with an apron cut from a single sheet of Zip System sheathing. Zip sheathing is flatter and more stable than regular CDX plywood and therefore easier to shim as needed to make it perfectly flat over the opening. Working in the homeowner’s garage, I started by laying out cuts for the apron on the sheathing based on the size of the 22 1/2-inch-by-54-inch rough ceiling opening required for the attic stairs. The apron was sized so that it would overlap the floor sheathing by 6 inches on each side.
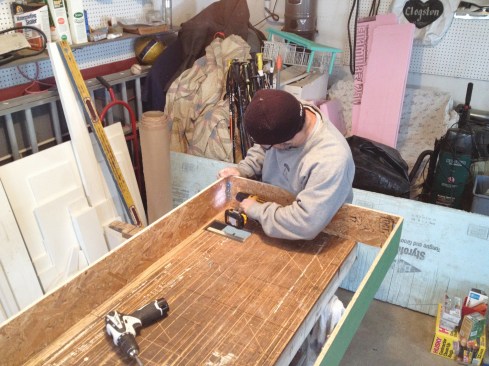
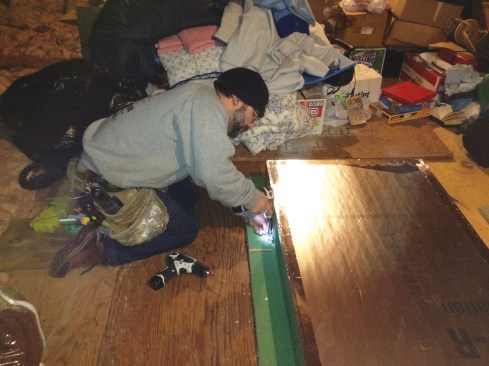
At the corners, the author used steel angles and short screws to join the sides of the cover together.
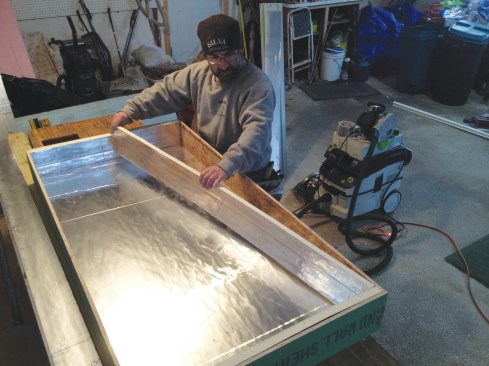
After cutting out the opening with my track saw and trimming the apron to length, I had enough sheathing left over to cut out the parts for the 6-inch-high, 30-inch-by-60-inch frame for the insulated hatch cover that would cap the opening.
Hatch cover. I fastened the corners of the panels that make up the hatch-cover frame together with Simpson Strong-Tie angles and 1/2-inch-long #8 stainless steel pan-head screws. Next, I ripped a sheet of 1-inch-thick foil-faced rigid polyisocyanurate insulation into the sizes needed to complete the cap. In general, 1-inch foam board is thin enough to easily cut with a utility knife, but I needed more precision for the tight fit needed on this project and instead made the cuts using both my track saw and a table saw, ensuring that the cuts were straight and the edges were square.
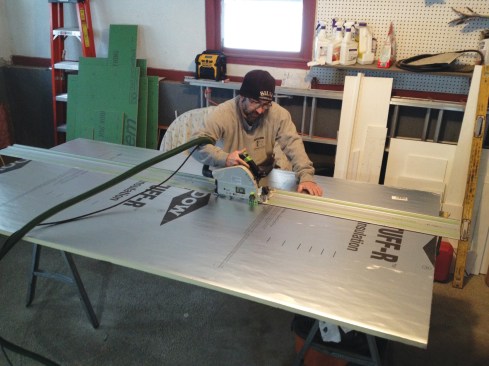
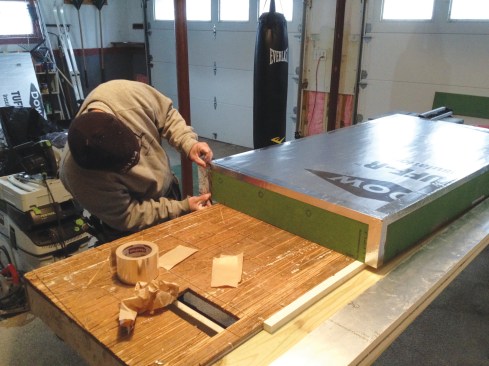
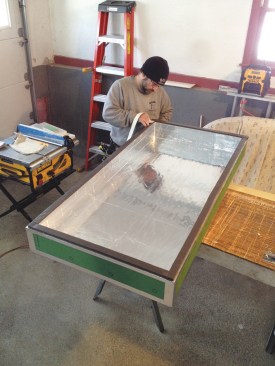
All of the rigid foam used to insulate the assembly was cut from a single 4-foot-by-8-foot sheet of 1-inch-thick polyisocyanurate (top left). After fitting the foam top and sides (top right) to the hatch cover, the author taped all the joints with foil-faced HVAC tape (above) and applied a gasket to the bottom edge of the cover (right).
I joined the foam-board top to the Zip System sides of the hatch cover using Nashua 322 foil-faced HVAC tape, first marking reference lines on the sheathing for the tape with a Sharpie. This technique makes it easier to form straight, clean-looking taped joints, which helps prevent the tape from wrinkling. I’ve used this particular tape for a number of different applications and found that it works well in a wide range of temperatures (I assembled the cover in a cold garage but expect that the attic will be very hot in the summer). It’s also extremely sticky, so to avoid folds and make the process more manageable, I typically apply the tape in about 2-foot-long sections.
After I taped the foam top to the sides of the hatch-cover frame, I added the remaining foam strips to the inside of the cap, taping all of the seams with foil tape. Finally, I applied a 1 1/2-inch-wide gasket material (commonly used for weatherization projects) to the bottom edges of the cover.
Foam jamb extension. The final piece of the assembly is the foam jamb extension, an insert that fills the gap between the attic stair jambs and the framing for the opening. To create a gap-free fit between the apron and the extension, I cut the 1-inch foil-faced foam strips that make up the four sides of the extension so that the extension extends slightly above floor level.
To help insulate and air seal the stair opening, the author assembled a foam jamb extension to be inserted in the opening.
Before installing the insert, I filled any gaps between the wooden attic stair jamb and framing with low-expansion spray foam. I also applied spray foam to the insert before sliding it down into place. To keep the insert from shifting upward again while the spray foam cured, I taped the joints between the wood jambs and the foam jamb extension with the foil tape.
The foam jamb extension is sized to fit snugly in the stair opening, and extends slightly above the level of the attic floor.
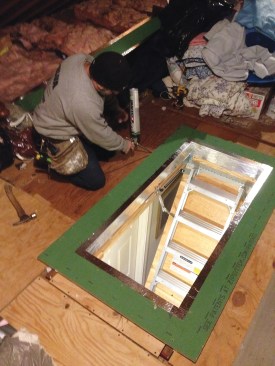
Apron installation. Then I installed the apron over the foam jamb extension, first applying more spray foam to the floor sheathing. After taping the joint between the apron and foam jamb extension with foil-faced tape, I checked the fit around the perimeter of the apron, adjusting as needed with shims and using my spirit level as a straightedge to ensure that the assembly was level. Then I screwed the apron to the attic floor sheathing with coated deck screws and filled any small gaps between the apron and floor sheathing with more foam.
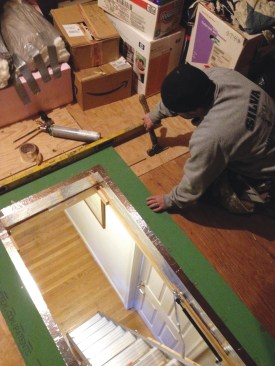
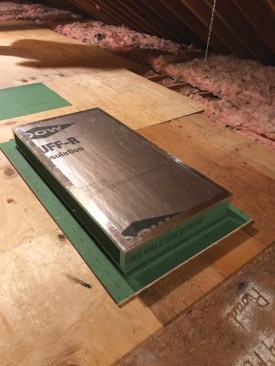
Before installing the apron, the author applied a zigzag bead of canned foam insulation to the floor of the attic around the opening.
Before screwing the apron to the attic floor, the author sealed the joint between the foam insert and the apron with foil tape, and shimmed the apron so that it was as flat as possible.
After it was installed, he sealed the gap between the floor and the apron with foam.
Final assembly. Before installing the hatch cover, I screwed a pair of blocks cut from sheathing to the apron in the locations where I planned to install the T-hinges that connect the hatch cover to the apron. The blocks raise the bottom edge of the hatch cover by 1/2 inch, allowing the gasket to compress evenly around the apron instead of being pinched at the hinge locations.
A pair of blocks screwed to the apron provide a mounting point for the hatch cover's hinges.
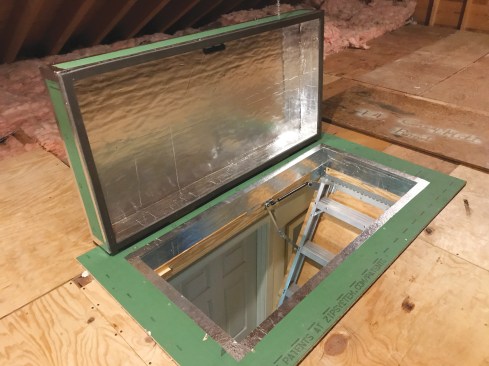
Raising the hinges allows the hatch cover to remain open without a separate prop (above), and to close snugly without pinching the gasket on the hinge side of the cover (right).
Finally, I dropped the hatch cover into position over the apron and fastened the hinges to the cover with more 1/2-inch stainless steel pan-head screws. I also screwed a grab handle to the inside of the cover, to make it easier to raise and lower it without being tempted to push up on the foam cover. While the insulated cover fits down snugly over the opening, it is light enough to open easily from underneath as the homeowner ascends the stairs, and the blocking underneath the hinges ensures that the cover opens slightly past 90 degrees, so the cover remains in the open position instead of flopping back down over the opening.
Photos by the author.


