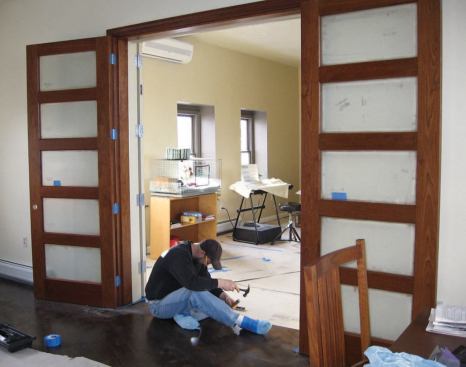

New wood strip flooring running diagonally through the passagewa…
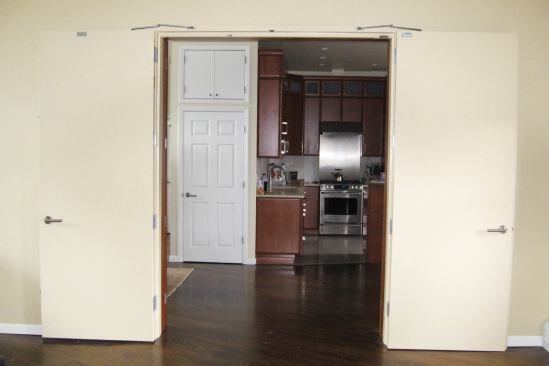
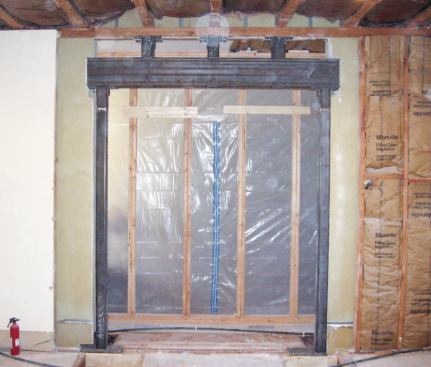
Real estate is scarce in Hoboken, N.J., so a few years ago our client decided to double his family’s living space by buying the condo next door to his own and connecting the two units. After a lengthy permitting process involving both the condo association and the town, the project finally won approval. A key hurdle was the new 6-foot-wide passageway through the fire wall separating the condos. To maintain the wall’s integrity, the local building department required a set of fire-rated doors that would automatically close and completely block off the opening if a fire broke out in either unit.
Automatically released fire doors are common in commercial and institutional work, but we had never installed one in any of our residential remodels. To bring myself up to speed, I asked subs, suppliers, and technical reps about the required components and their associated costs while I worked on the estimate. After the 6’0″x8’0″ doors closed, they would have to be gap-free and latch in three places to maintain their 90-minute fire-door rating and meet the city’s code requirements.
Framing the Opening
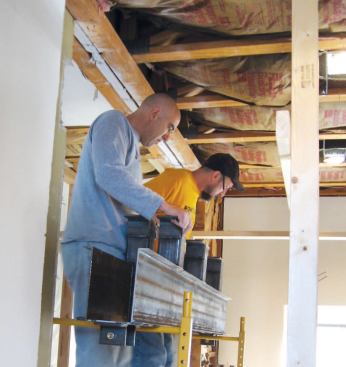
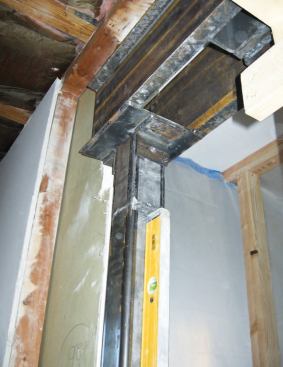
The 25-year-old three-story condo building was clad with brick but had typical studwall framing with truss floor and roof systems. Between each unit, a 10 3/4-inch-thick fire wall framed with double 2×4 studwalls separated by 2 1/4 inches of drywall extended from the basement up through the roof. The initial plans that we bid on indicated that the new opening could be framed with engineered lumber and wood posts, but when the building inspector reviewed the project he specified steel instead.
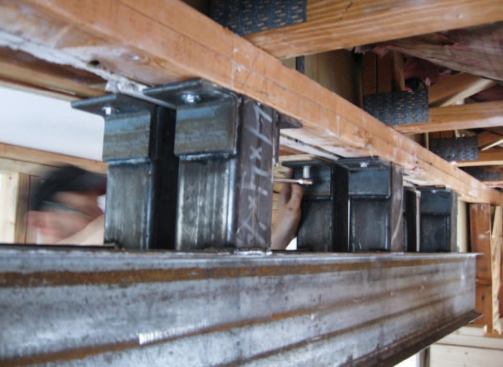
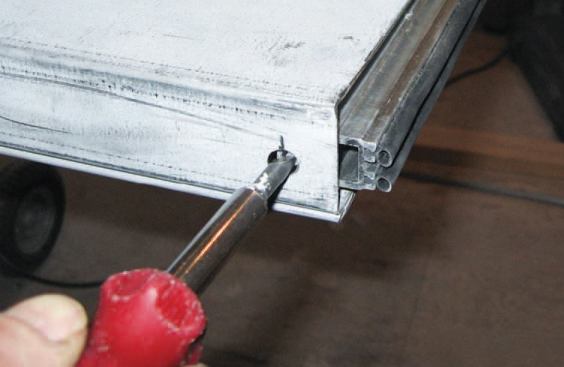
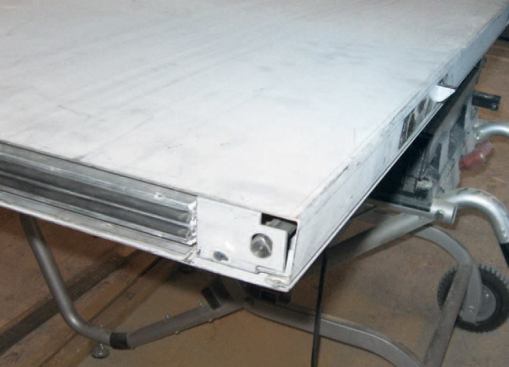
For the header, the project engineer designed a 9 1/2-inch-wide steel girder – the thickness of the wall minus the outer layers of drywall – using two sections of MC 10 x 8.4 steel channel. Welded between the steel channels are three pairs of cripples fabricated from HSS 4 x 4 x 1/4 steel posts. The cripples have steel angles welded to their tops so that we could fasten them (with 3/8-inch-diameter lag-bolts) to the top wall plates carrying the roof truss system.
After we blocked the girder into position and lag-bolted the cripples to the wall plates above, we measured down to the floor trusses and cut to length the two HSS 4 x 4 x 1/4 columns that we used to support the girder. The columns fit into brackets welded to each end of the girder and are fastened to the brackets with 5/8-inch-diameter bolts. At the base of the columns, we reinforced the floor trusses underneath the bearing points with 2-by squash blocks (a detail approved by the inspector).
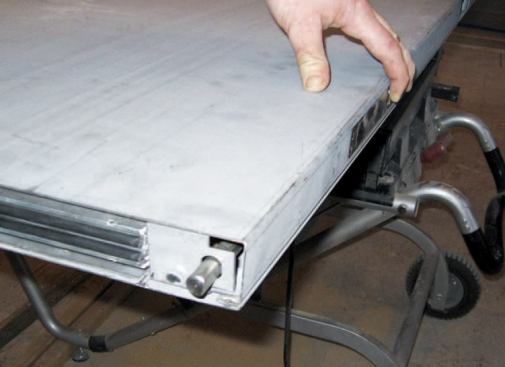
Door Sill
We ordered the doors and most of the needed components from Accurate Door & Hardware. The doors were equipped with automatic door bottoms (National Guard Products). As the doors seat themselves on the door jambs, a plunger on each door’s edge compresses and drops the neoprene door bottom mortised into the door base, sealing the door against the floor.
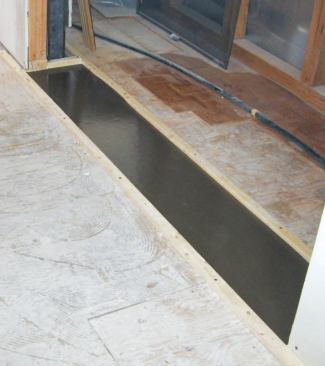
Automatic door bottoms have a little bit of vertical adjustability, but not enough to accommodate conditions in the two condos, where the floors were out of level and also out of plane with each other. A wood or metal threshold would have been the easiest way to address this problem, because it could have been shimmed level. However, the homeowners wanted the doors to have a flush sill with continuous wood flooring running diagonally through the opening. So we tacked tapered strips of wood to the subfloor to create a flat and level area at the door opening, then filled the area with self-leveling underlayment. Later, when the flooring subcontractor installed the strip flooring, he used shims as needed to gradually transition the flooring up and over the threshold.
Installation
When we framed the opening, our electrician replaced the original two independent smoke detection systems with a single 120-volt system. The new smoke detectors are connected by 1 4/3 wire, with the third conductor carrying a signal between the detectors and to a relay located in the boiler room.
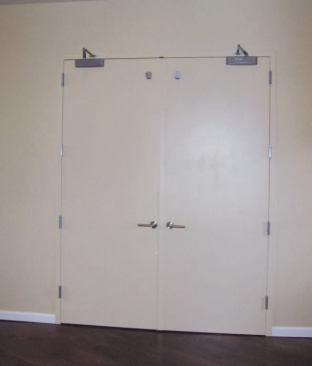
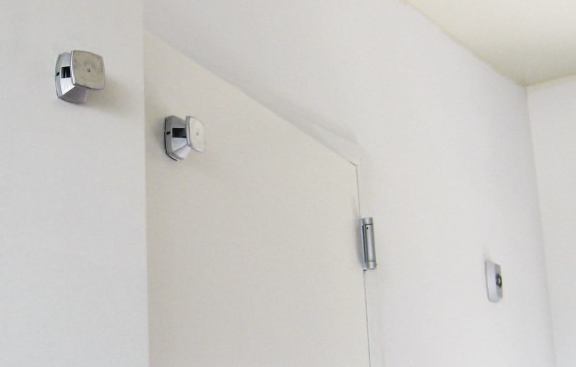
The relay passes electric current to a pair of Siemens electromagnetic door holders that under normal conditions hold the fire doors in the open position. When a detector is activated, the signal reaches the relay, which disrupts the current powering the magnets. With nothing to hold them open, the doors automatically close, thanks to hydraulic closing mechanisms.
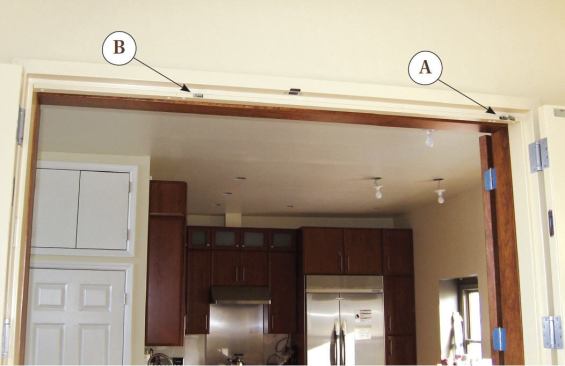
Because there are two doors, the unit had to be equipped with a closing coordinator and other hardware so that they would shut in the proper sequence and lock tightly. The passive door has to close first and remain in place before receiving the active door, which has an astragal and an active door handle; otherwise, the astragal would prevent the passive door from fully closing.
The closing coordinator is mounted on the head stop of the head frame and is equipped with a pair of bars, one for each door. One bar is longer and located closer to the side jamb; it holds the active door far enough away from the jamb to allow the passive door to close unimpeded. When the passive door closes, it compresses the shorter of the two bars (which is located farther away from the jamb), releasing the longer bar holding the active door.
The passive door is also fitted with automatic flush bolts that project into catches mortised into the floor and top jamb. When the active door closes against the passive door, it depresses a lever mechanism that throws the flush bolts and locks the passive door in place. The active door’s latch hardware secures it to the now-stationary passive door.
While commercial fire doors are normally equipped with hydraulic door closers, our client didn’t like the way the closers looked and asked us to try simple spring-loaded hinges first. But these hinges made the doors close too quickly and bounce against the stops, disrupting the closing sequence. Eventually we installed an LCN 4030 series closer on each door to dampen the closing action, allowing the doors to remain reliably tight against the stops and latch properly. The astragal, the automatic door bottoms, and the stop moldings seal off any gaps and help maintain the assembly’s fire rating.
Cost
These doors took about 10 hours longer to install than a set of regular twin doors would have. Mounting the drop sills and flush bolts in the door slabs and mortising the floor plates to receive the flush bolts and head jamb plate took about four hours. We spent another six hours installing the pumps and adjusting the various components so that they would operate properly. Some of that time was spent fooling around with the spring-loaded hinges, but most was spent tapping holes for the fasteners in the metal doors and jambs.
The total cost for the doors was $1,500, which included the drop sills, flush bolts, and hinges. The pumps cost $220 each. The final cost doesn’t include the set of French doors we installed on the other side of the opening, which the family uses under normal conditions when they simply want to close off the passageway between units.


