I’ve owned several different miter saws since starting in the trades nearly 20 years ago, and I recently tested eight brand-new 10-inch dual-bevel sliders (“Tool Test: 10-Inch Sliding Dual-Bevel Compound Miter Saws,” Sep/18). Between my time in the field as a carpenter and the time I spent on that review, I have developed some efficiencies around tuning them up. Miter saws are complex machines designed to perform a wide range of tasks, so it’s worth taking 10 or 15 minutes after you’ve pulled one out of the box, or out of the back of the pickup, to make sure it’s cutting as intended. The steps outlined here make for an efficient process that can be done on the jobsite using tools that you likely already have in your pouch or truck.
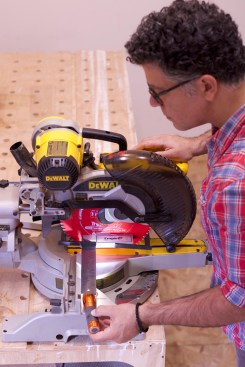
For this article, I tuned up a DeWalt DW717; the methods can be done with any miter saw, however. If you don’t look at your saw’s owner’s manual for anything else, I highly recommend reading thoroughly the section on calibrating its cutting accuracy. In many cases, the adjustments are intuitive, but in some, it takes a lot of time to become familiar with where and how those adjustments are made.
Check the Table First
Out of the box, the saw’s table should be flat. Because of the way miter-saw tables are designed, it’s highly unlikely that you’re going to get a saw that dips or bows egregiously in the middle. You might, however, find small inconsistencies in various spots rather than a blatant sway in the table’s overall flatness. Of the eight saws that I recently tested, only a couple of them were perfect across the table—the rest had minor dips here or there—but they were all flat.
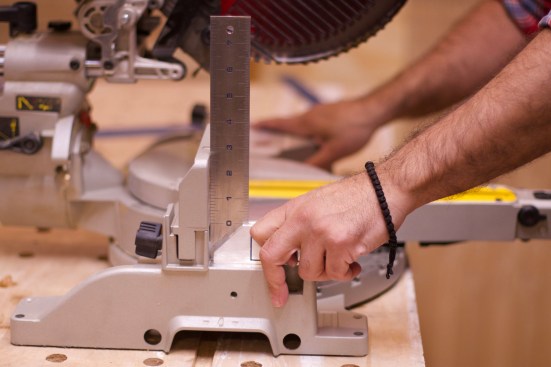
The easiest way to check the table’s flatness is by running a straightedge across it. A framing square is a good choice for this. It’s long enough to rake across the table from wing-to-wing, and it’s thin enough that you can see smaller areas that might dip or bow.
If there are huge discrepancies—like the thickness of a credit card—with a new saw, it’s probably worth returning. You may find that the table drops a hair here or there, likely due from the casting process or abuse after a lot of use. For saws that are well broken in, tape (like painter’s tape) can work as a way of bridging any low spots if necessary—though in my experience, it’s unlikely that you’re going to see the results of a 1/64-inch dip here or there show up on casing or baseboard or even crown cut.
The Fence is Next
A straight fence is key. A fence that bows inward toward the back of the blade will cause the blade to bind and, depending on the saw, kick the head out toward your body. There are two types of fences you’ll encounter: a continuous fence and a two-piece fence. Some folks make the mistake of thinking that here is where you want to adjust the saw so that it cuts square miters. It is not.
Saws that have a continuous fence are joined in the middle by a rounded section called the “yoke.” Saws that don’t have a yoke have side fences that are independent from one another and need to be adjusted separately. When adjusting a continuous fence, remove the auxiliary fences and lay a framing square on edge from end to end. I like to place the square on a piece of 3/4-inch stock to get it off the table slightly, putting it at an area where most stock will be registering on the fence.

Remove the auxiliary fence from the stationary fence and check it for straightness, adjusting as needed.
Replace the auxiliary fence and check that it is square to the table.
If the fence needs adjusting, loosen the screws and align to the framing square’s edge as necessary. For continuous fences linked by a yoke, prying at the yoke might be necessary—particularly if the fence cants in toward the back of the blade. Keep in mind, though, that the holes for the fence’s screws offer some wiggle room but not a lot. Two-piece fences are obviously much easier to adjust. You can adjust one side at a time if necessary, leaving the other side’s screws tightened.
Once the fence is straight, move on to make sure the auxiliary fences are square to the table. If they aren’t, which was the case with two saws that I tested, it’s because there was a defect in casting the fence or it got damaged. If your saw doesn’t register square here, you probably need to take it to a repair shop to have it adjusted or order replacement auxiliary fences.
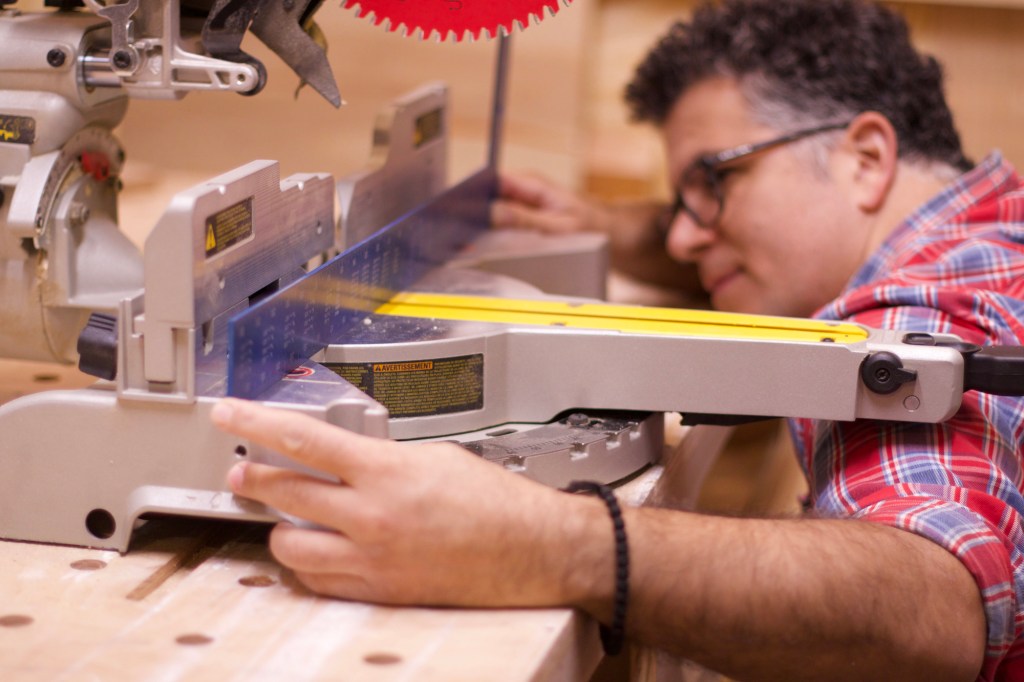
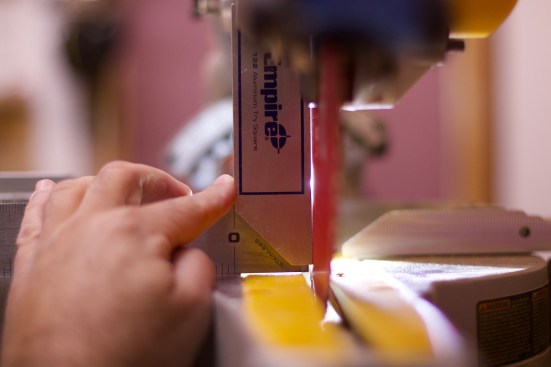
With the saw’s head set at the 90° detent, clamp the try square to the saw blade so that the square can register near the top of the fixed fence. A flashlight will help identify even the tiniest gaps here.
Square the Blade to the Fence
Squaring the blade to the fence is the next adjustment to be made. This involves setting the miter detent plate, which is usually held to the saw’s base by four screws. I perform this step by registering a square to the blade and the fence. I’ve seen many carpenters use a rafter square for this job; I think it’s a bad choice here. Rafter squares, particularly those likely to be in your tool pouch, get beat up if even you can’t see evidence of such at first glance. Other square types are arguably useful here—people make a good case for combination squares. Personally, I like the try-square style because it has a large, flat stock that registers well onto the saw’s blade, and it has a long enough blade to register on the fence. (I’m not advocating a brand of square, just the style.)
In addition to a try square, I use an LED light from Klein Tools (I like its size and brightness for this task) behind the square to help me see any adjustments that need to be made. I place the light under the square’s blade to illuminate any gaps that might show up. I’ve found this method to be more reliable than simply using my eye because it’s often difficult to see the variation given the colors and sheen of the various metals.
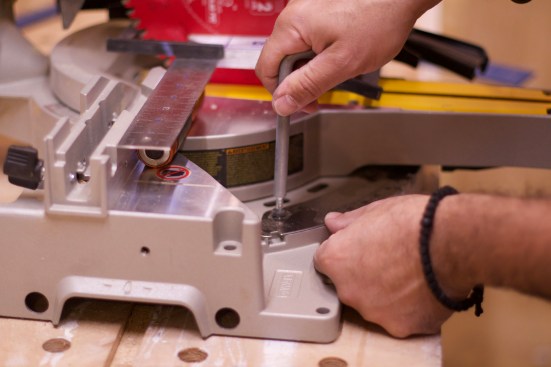
Start by setting the blade into the 90° detent slot (or 0°, depending on your saw’s scale) but don’t lock it. Now place a square between the blade and fence. I like to clamp the stock of the try square directly to the blade. I do this using two track-saw track clamps. It frees up my hands to loosen the detent-plate screws and then to tap the head of the saw as needed while I’m watching the place where the square’s blade touches the fence.
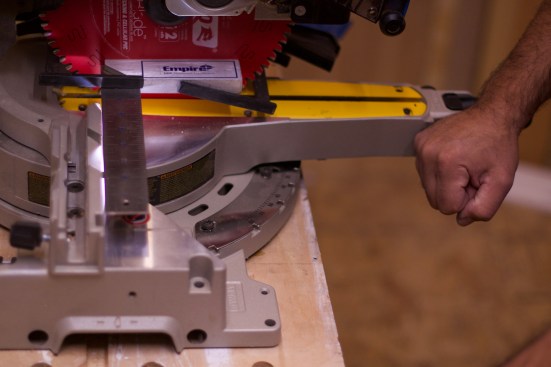
Loosen the miter plate screws and gently tap the end of the table until the light disappears.
Lock the head in place and then tighten all the screws on the detent plate.
From here, adjust as needed until the light disappears and the square’s blade registers tightly against the fence. Then lock the miter in place, and set the detent screws.
Once the blade is set square to the fence, it should in theory cut accurate miters since the detent plate includes detents for miters.

Set a square against the table and press it lightly to the blade.
Shine a light behind the square.
Set the Bevel Last
Setting the saw’s bevel starts with making sure the blade is square to the table. If the saw has a bevel detent plate (as this DeWalt does), then the respective angles will follow in their accuracy in the same way the miter detent plate functions. With other saws, adjusting the 90° bevel cut is a separate process from adjusting the left and right 45° positive stops. This adjustment allows you to fine-tune the bevel cut at the stops. Sometimes these adjustment screws are hidden; others have more obvious adjustments. I follow the same process for setting the bevel as I do for the miter, though I don’t always use clamps, because it’s tough to engage them with the square in this setup.

If the saw has a detent plate, setting the blade square to the table will account for other detent angles.

On some saws, you have to set the 45° stop independently. A combination square works well.
Following these steps, which are a variation of the steps outlined in your saw’s user manual, should have your saw cutting as accurately as it can. Without employing the use of a caliper and a whole other set of cutting methods (and time), it’s not possible to give any reliable guidance on acceptable measurable tolerances. If you’re on site, trial and error with the joints will tell you how well the saw is performing. Minor adjustments can be made using cuts as a gauge. But if you follow these techniques, you’ll be well on your way.


