One thing I have always liked about taping drywall is that it’s fast-moving work. There is always a lot of energy in the air when we walk into a freshly hung job and get ready to start embedding the tape. Although we want to start taping as quickly as possible, we often need to address several details first so taping can proceed without interruption. These details include filling wide gaps between sheets, fixing poorly driven screws, and repairing any damaged edges.
Prepping for the prep work. I have a set routine for addressing those issues. First, I gather up the tools and materials I’ll need. I stick a utility knife with a fresh blade in my pocket and put a cordless drill with a screw-setting attachment on my belt. I also grab a handful of screws and put them in my pocket or tool pouch.
I cut up some short pieces of mesh tape and stick them to my shirt. The tape pieces on my shirt won’t win me any awards for best-dressed drywaller, but having short pieces of tape within easy reach rather than carrying the roll around and dispensing the tape as I go makes the job proceed much faster.
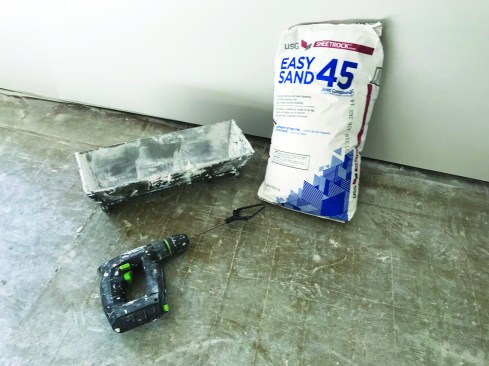
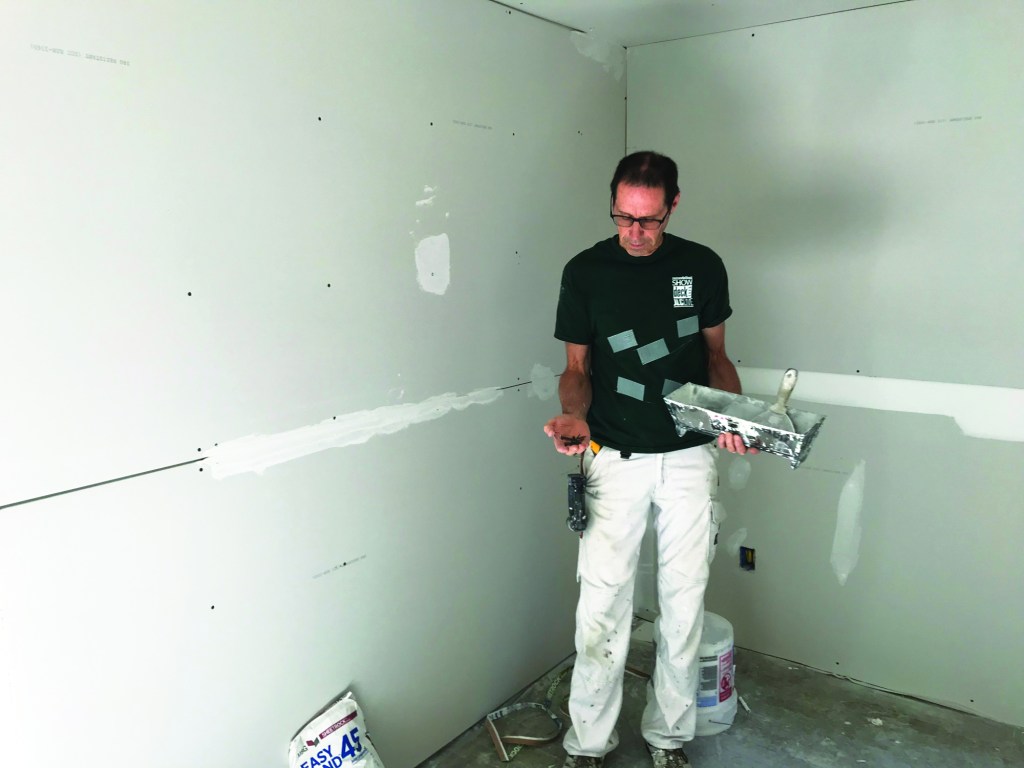
Setting compound. For the prep work I do before taping, I work out of a mud pan, using a 6-inch joint knife to dispense the compound. I mix up a full pan of setting compound, making up small batches right in the mud pan. I always put water in the pan and then add the powder to the water. Because I’m mixing up small batches, I don’t bother weighing or measuring the powder and water. A little experience can go a long way here in gauging the proper amounts.
Setting compounds are sold according to the working times for the compound. Depending on the scale of the job, I usually use 45 or 90. For smaller, quicker jobs, I sometimes use 5. When I’m ready to go, I let the taping crew know what room I will be starting in, and then I move from room to room in a clockwise direction.
The author fills any cracks wider than 1/8 inch between sheets with setting compound.
These gaps include corners, wall-to-ceiling joints, and joints between sheets.
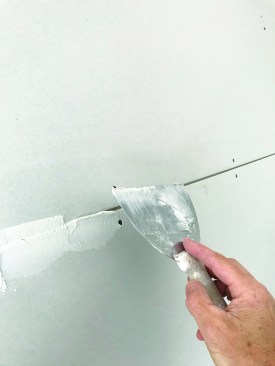
The tapers will follow, going over these cracks with mesh tape and compound.
Filling wide gaps. When I walk into a room, I first look for any gaps wider than 1/8 inch between drywall sheets. These are typically in corners, between the wall and ceiling, and along the seams between sheets.
For gap filling, I quickly press the setting compound into the open space and smooth it out. Unlike other coats that the tapers will apply, I don’t worry about making the surface perfectly smooth. I just try to keep the coat even, without high spots or ridges.
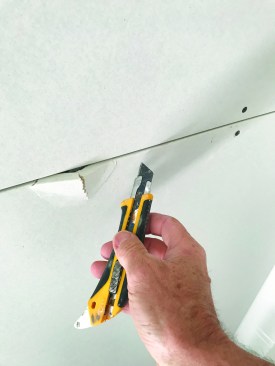
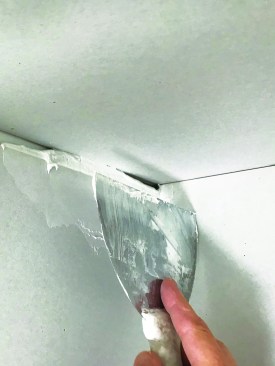
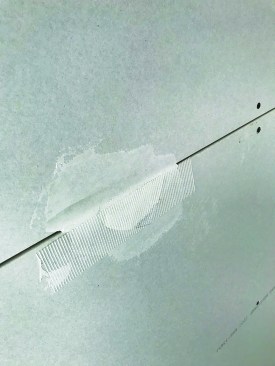
Repairing a damaged edge begins with slicing the paper around the damage …
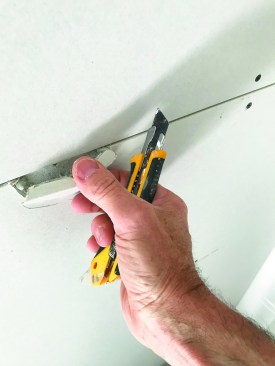
… then removing the debris.
Damage control. Sheets with damaged edges are inevitable on almost every project. When I come across a damaged section, I cut away the damaged area or loose paper with a utility knife and remove the damaged drywall. Next, I apply a quick coat of setting compound over the damaged area and then put mesh tape over the wet compound.
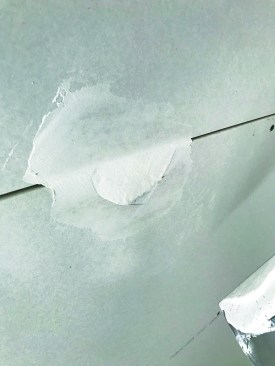
The author then fills the hole …
… and covers it with mesh tape.
I also look for areas where damage might not be noticed or easily covered by the tapers. One such area is where the crew hanging the drywall cuts out around electrical boxes. Most professional hangers cut out these areas with a drywall router, and it’s common to see places where the bit has wandered. The cover plates may not hide these damaged areas, so I hit them with a quick dab of compound and a short piece of tape.
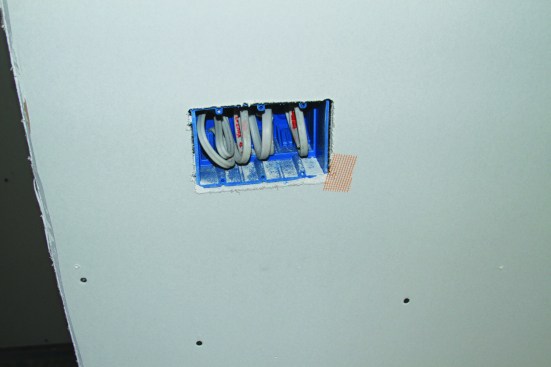
Damage from cutting around electrical boxes also needs to be repaired.
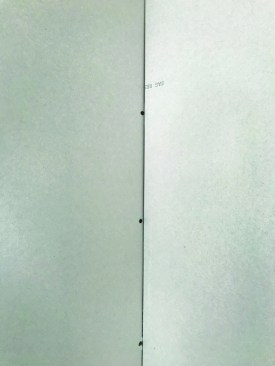
Screw patrol. The last thing I check is the fasteners. I look for screws that might have missed the framing underneath. A telltale sign is a screw head that has not sunk properly below the surface of the sheet. When in doubt, I try to sink the screw in deeper. If it spins, then it needs to be removed and replaced. If it’s not obvious where framing is, I use a drill bit on my cordless drill to probe, and set a screw into the framing to the proper depth.
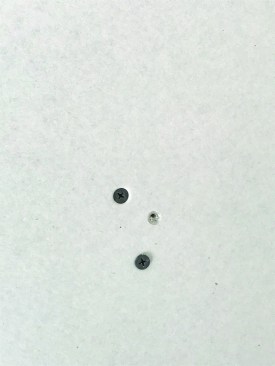
The heads of screws that miss the framing will be proud of the drywall surface, as illustrated by the lower screw in this photo.
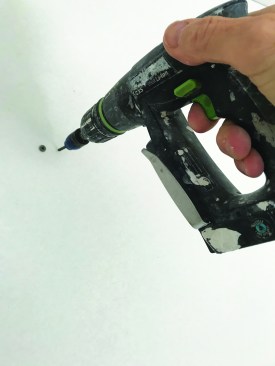
A drill bit probe can be used to locate the framing.
If a screw has not hit the framing and it just spins, I may not be able to remove it with a drill. In those cases, I can usually grab the screw head with my fingertips and back the screw out by hand.
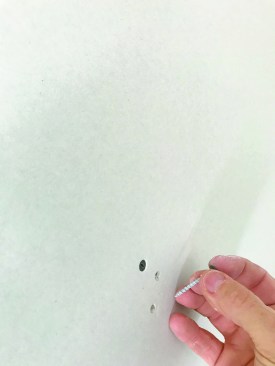
When an errant screw won’t back out with a screw gun, the author takes the screw out by hand.
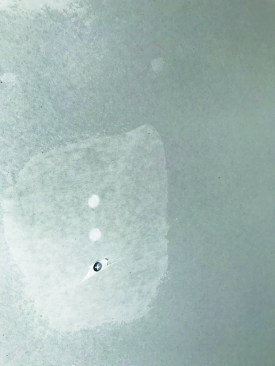
Any screw not driven deep enough will show up at the coating stage.
A screw head that is not set to the proper depth will show up immediately when you are skim coating over the screws. Likewise, screws that are driven too deep break the paper surface of the drywall and lose much of their holding power. If not fixed, they can cause screw pops later on.
When doing my prep rounds, I often find areas where screws are totally missing or not enough screws were used. If inside corners are missing screws, the corner line can end up crooked or cracks can form when baseboard or crown is installed.
Don’t skip the prep. If I’m not on site to complete the prep work before taping, I make sure someone on the crew is in charge of doing the work. When crews decide that this prep work isn’t important and skip over this step, it inevitably slows down the taping process and causes problems down the road.
I have found that prepping each room before taping actually increases productivity, by enabling the taping crew to proceed efficiently and without distraction. Even more importantly, this example of “working smarter not harder” has the benefit of increasing the quality and the durability of the drywall work.


