Q. When I’m installing crown molding in a large room, the walls are often longer than the material used to trim it out, and the scarf-joint technique I use when installing baseboard doesn’t work quite so well with crown. What is the fastest and most efficient way to make nearly invisible splice joints in the molding?
A. Gary Katz, a finish carpenter for over 40 years and the wizard behind ThisIsCarpentry.com responds: Splicing crown molding on the wall is a waste of energy and effort, so while there are several approaches that you could take, there are really only two ways I can recommend for handling walls that are longer than your crown molding. These days, younger production carpenters are butt-jointing those splices, using biscuits or Festool dominoes in the joint, and even assembling the pieces on the wall. They seem very happy with the process and the results.
But as a nearly 70-year-old carpenter, I’m not too thrilled about butt joints, as you can probably imagine. Instead, I prefer to preassemble the joint on my miter saw, with a piece of 1/4-inch plywood glued to the back to reinforce the joint.
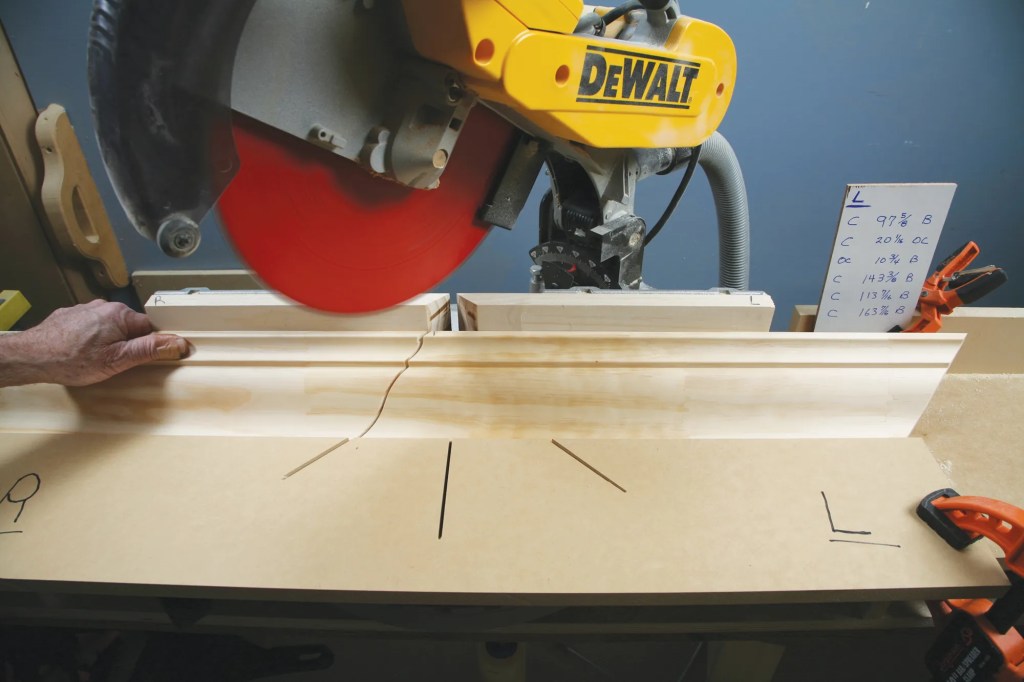
I start by cutting an inside corner miter on the end of the first piece and an outside corner miter on the end of the second piece, usually with the crown nested “in-position” at my saw. The trick to making these cuts accurately is to fit your miter saw with a simple crown stop jig (see photos, below), or fasten a pair of crown stop brackets (an accessory offered by many miter saw manufacturers) to the miter-saw extension wings; when you preassemble long lengths of crown molding, you really need proper support.
With the crown upside-down, measure its horizontal projection, then rip a gauge block to that width to use in setting the crown stop.
The jig holds the crown molding in position when you’re cutting the inside and outside corner miters needed to make a splice, and when gluing the joint together.
I start the assembly by gluing a 1/4-inch plywood gusset to the back of the piece that has the inside corner cut. I use FastCap’s quick-curing 2P-10 adhesive for that, with activator.
Once the glue sets, I roll the piece on its back, spread regular wood glue on the miter (both pieces), put 2P-10 on the face of the plywood, and spray activator on the back of the second piece of crown (with the outside corner miter). Then I place the second piece, holding pressure on the miter and where the crown contacts the plywood. This is where it helps to use your crown stop and assemble the pieces in a nested position—which makes it easier to align the miter—and apply pressure for about 30 seconds, until the 2P-10 sets.
Then I carefully move the preassembled pieces to the floor and against a wall, out of the way. Since I’ll need to wait a few hours for the wood glue to dry, I glue up all of the long pieces that I’ll need for the room at the same time. Then, it’s simply a matter of measuring and cutting the piece as if it’s one single length.


