
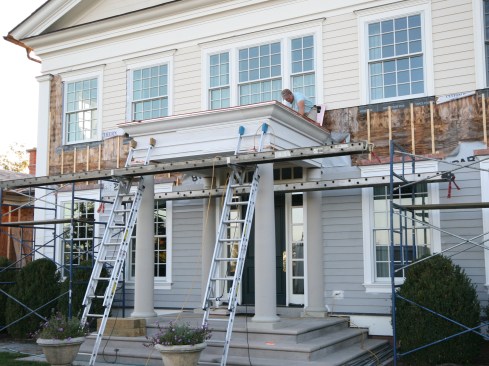
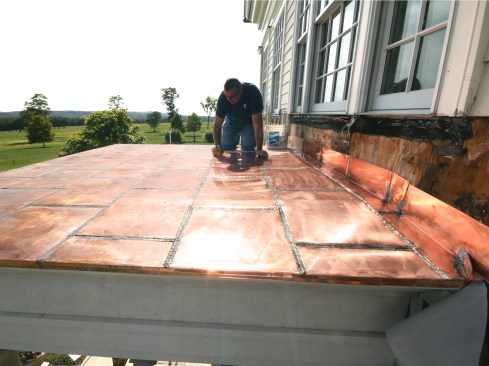
The project’s GC built the new entry over an existing flight of stone entry steps, which helped dictate the overall roof size of 12 feet wide by 9 feet deep. The GC’s crew built the plywood deck with a slightly pitched hip roof (for drainage and to keep the crown molding at the same level), and then waterproofed the roof deck with Grace Ice and Water Shield. When we arrived on site to take measurements—before fabricating the roof’s components back at our shop—the portico was pretty much done.
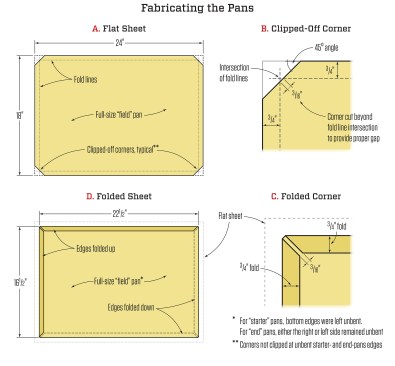
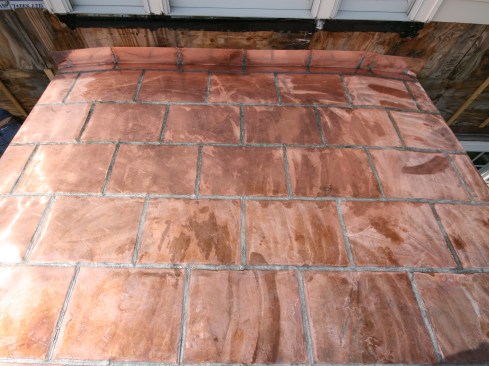
We fabricated most of the roof components in our shop—our goal was to show up on site with most of the pieces already made. For this job, we ended up with 18-inch-by-24-inch pans (A), which worked out to having six pans across the roof’s width and six pans deep. We made them out of 16-gauge copper, cutting the pieces from 3-foot-by-8-foot sheets of copper using a metal brake with a cut-off wheel. Before we bent any of the interlocking seams on the “field” panels, we trimmed the corners to allow the sides to be bent properly. We clipped off the panel’s corners at a 45-degree angle (B), and cut them so they would have a 3/16-inch gap when bent (C). The gap widths can vary slightly, but if they are too thin, the pans won't fit easily together and if they’re too wide, a hole will be created that will need to be filled with solder. From there, we folded two of the field pan’s edges up and two down, creating four 3/4-inch interlocking seams (D). For “starter” pans, we left the bottom edges unbent in order to fold them over the perimeter drip-edge. For the “end” pans, we left either the right or left side unbent. We fabricated the drip-edge ourselves in the shop and left the roof-to-wall pieces to be site-bent.
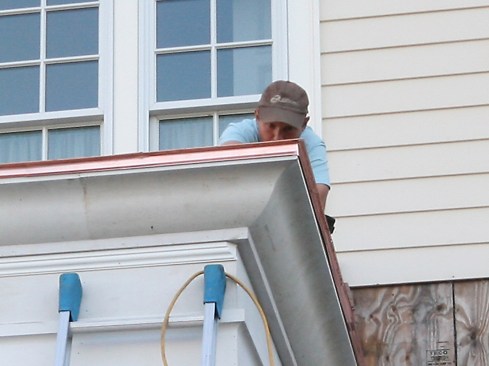
We installed the perimeter drip-edge first and then began fitting the starter pans. We interlocked the side seams, then folded the pan’s bottom edge over the drip’s 3/4-inch overhang, clamping tight with a hand seamer by Malco.
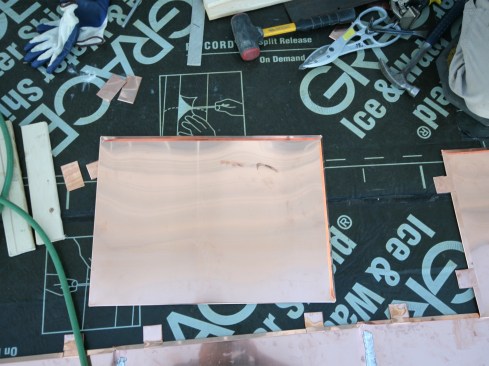
On this job, we installed the pans over the Grace Ice and Water Shield (traditionally, the roof pans are installed over a rosin-paper slip sheet). Because Grace’s plastic membrane surface is smooth, we weren’t too concerned with the copper sticking, impeding panel movement.
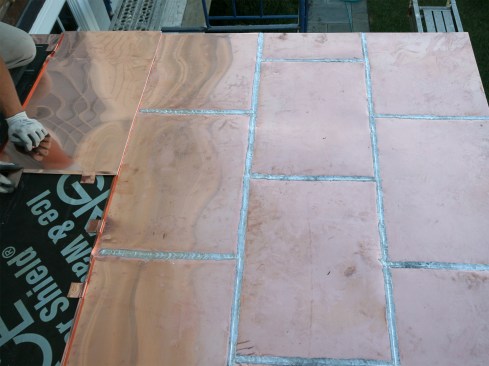
On succeeding rows, we offset the seams in a staggered pattern, like a running bond. The uphill pans overlap the edges of lower pans during installation. The slight pitch of the hip roof did not affect the layout; the copper pans were flexible enough to be bent down without having to alter the layout or the panels themselves.
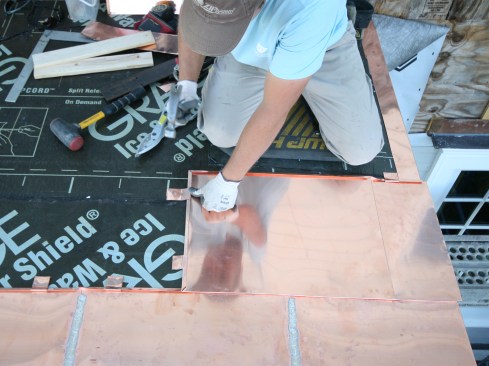
Four copper cleats secure each panel. The ends of these cleats must be bent over to cover the nail heads on the off-chance a nail were to work “free” and rub against the pan. At the roof’s edge, we interlocked the bottom and side seams, then folded the pan’s side edge over the drip edge, clamping tight with the hand seamer.
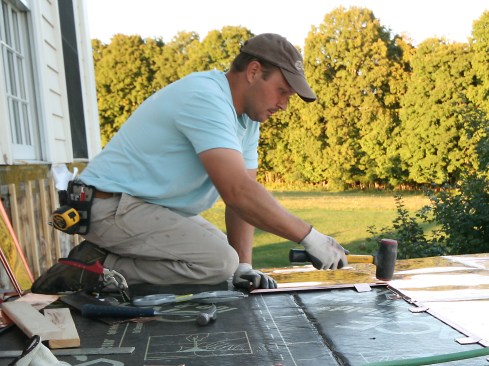
With the panel set in place, we then flattened the seams with a rubber dead-blow hammer.
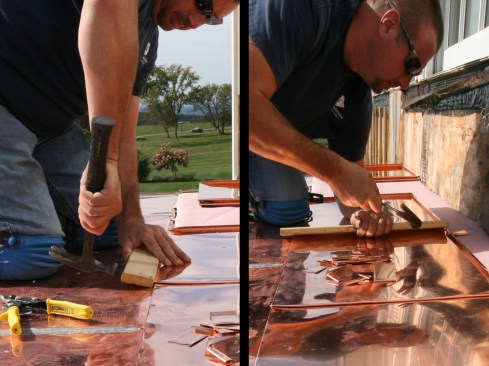
A simple block of wood helped drive the panel up (left) and over into position (right).
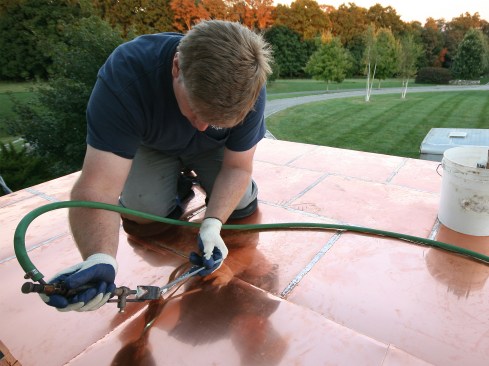
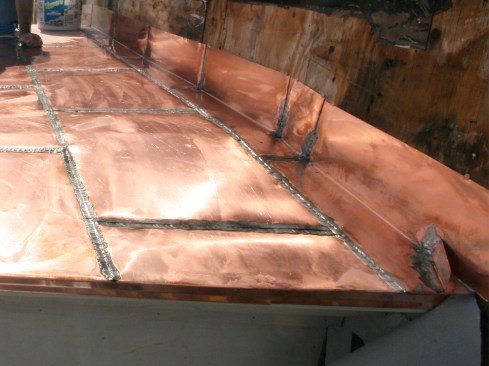
Once we had a few rows locked in and flattened, we began soldering the seams. A rule of thumb is to only install as much copper as you can solder in a day. If it’s going to rain, you want to make sure you get all the installed panels soldered, even dew can affect the solder’s ability to get sucked back into the seam. For this job, we waited for a window of consecutive days of clear weather. We got a little more than half the roof done the first day, then tarped it off at night.
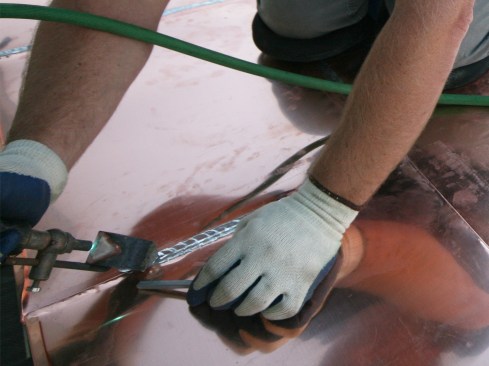
Soldering is two-handed work: One hand works the iron; the other controls the solder stick. While holding the iron at a shallow angle with the tip against the metal, press the solder stick against one facet of the tip until a drop of melted solder forms, then use the iron to spread the drop across the seam. Each drop adds another layer, and the heat of the iron on the copper draws the solder into the seam to make a watertight seal. For soldering tips, see the “Soldering Gutters” video and “Soldering Seams” slideshow.
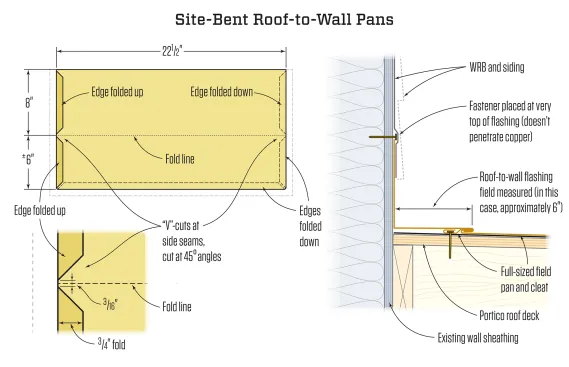
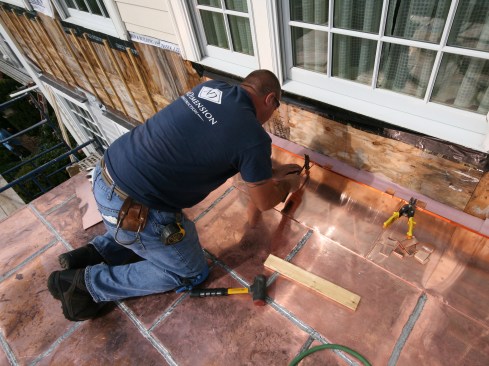
We custom-fit the roof-to-wall pans, bending them on site. In order to make the 90-degree turn with the brake, we had to make V-cuts at the panel’s side seams (left). The vertical leg of each pan is fastened with a couple of nails at the very top of the flashing—the head of the copper nail holds the pan in place without penetrating the copper flashing (right). With the roof-to-wall pan in place, it was integrated into the existing WRB and sided over.
When we planned the roof’s layout, we designed the full-sized panels to stop about 6 inches short of the wall. We measured and bent the roof-to-wall pans on site, custom-fitting them to accountant for any variation in length when we joined the six rows together.
We interlocked the bottom and side seams of the roof-to-wall pans and then fastened the vertical leg with a couple of nails at the very top of the flashing before we soldered the seams. Solder was run up the vertical leg 4 inches or so and a kickout flashing was soldered in place.
Before leaving the job, we wiped the roof surface down with baking soda and water a couple of times to help neutralize the acid from the soldering flux. The acid could cause the copper to prematurely (and unevenly) patina.
The project took three of us a little more than two days in the field (and another day in the shop fabricating the copper pieces) to complete. It cost $4,500 for our work alone, including materials and labor.


