Charles Wardell
The author demonstrates the weaving details that set his jo…
Weaving Hip Caps
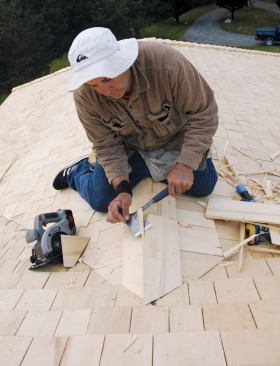
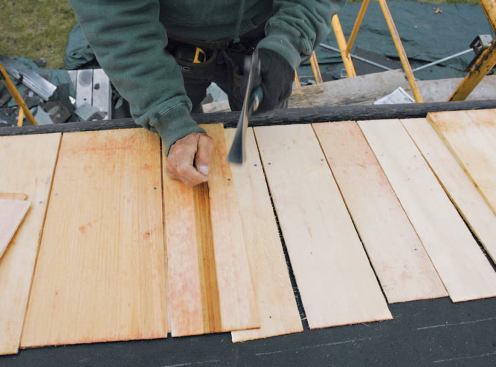
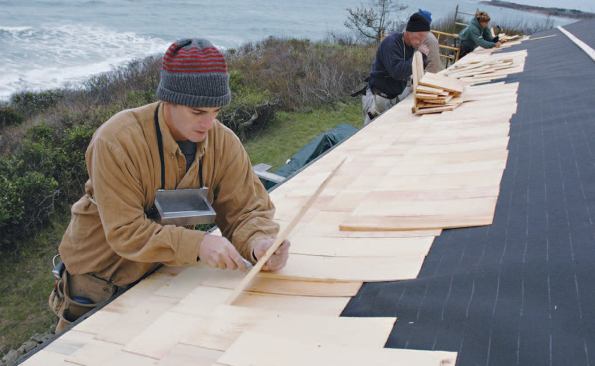
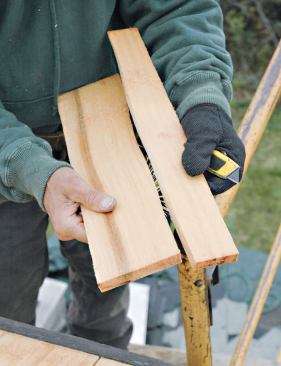
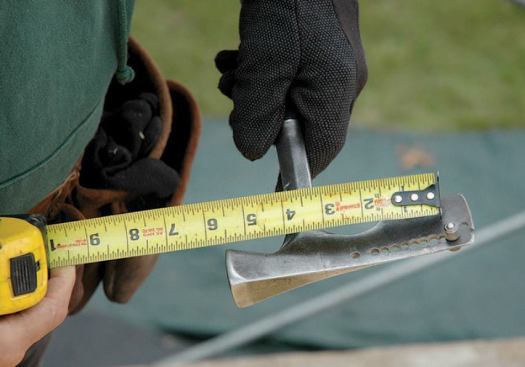
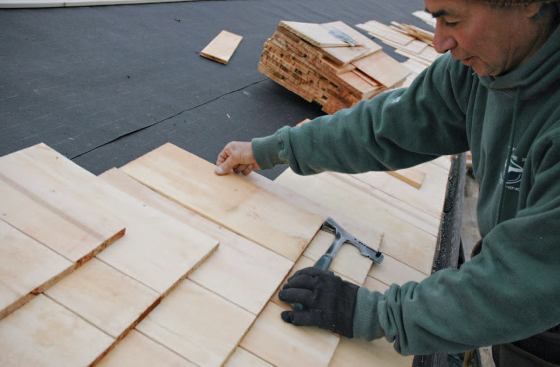
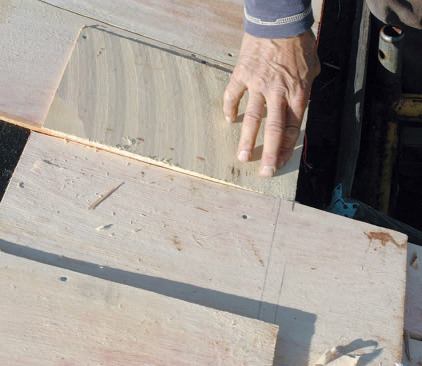
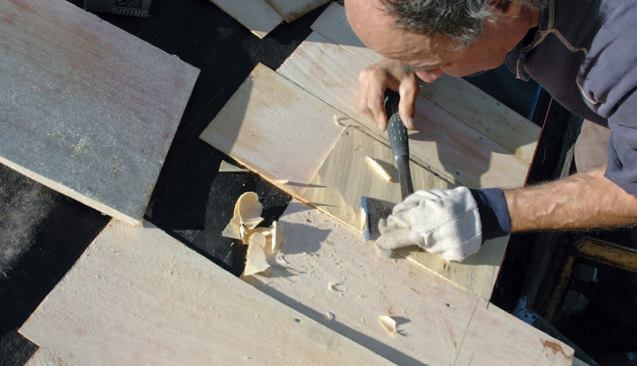
Unlike a standard hip cap, which sits on top of the shingles and leaves a gap underneath, a woven cap is tight to the roof surface. Because every shingle has to be trimmed and planed, we hand-select shingles with straight, open grain – ones that will split straight and are easy to trim. Every shingle is fitted in place and trimmed to lie flush to its neighbor. It’s slow going, and even slower with Alaskan yellow cedar, which is denser and more difficult to plane than red cedar. But whatever the wood species, the steps required for a tightly woven cap are the same.
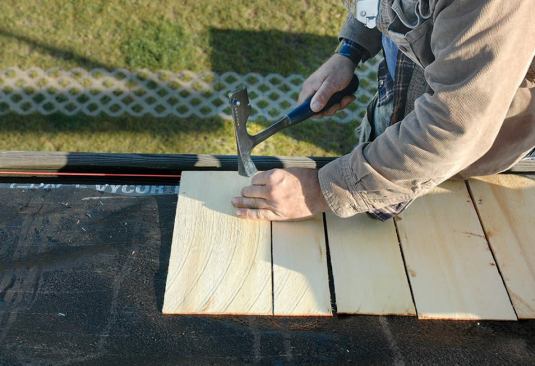
We bring the field shingles to the hip and snap lines on both sides to indicate the edges of the cap. At the bottom, we run the two starter courses to the corner from each side (see slideshow). We then follow with two more pairs of hip starters, which are oriented diagonally up the hip, and which we trim with a circular saw to follow the eaves. Now we can work up the hip.