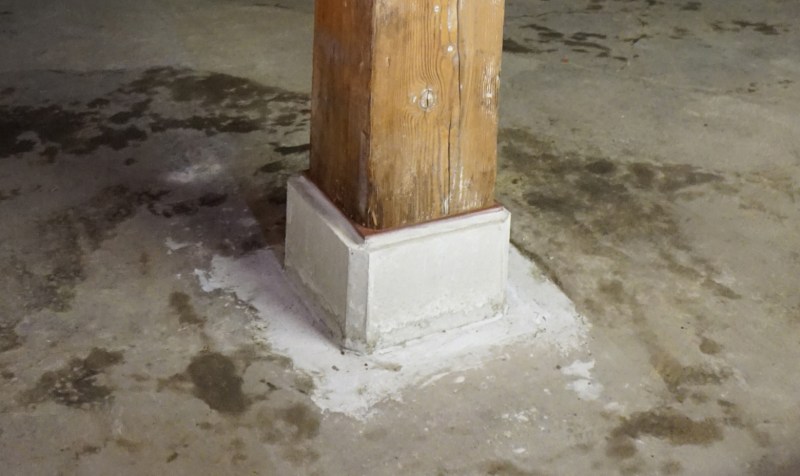
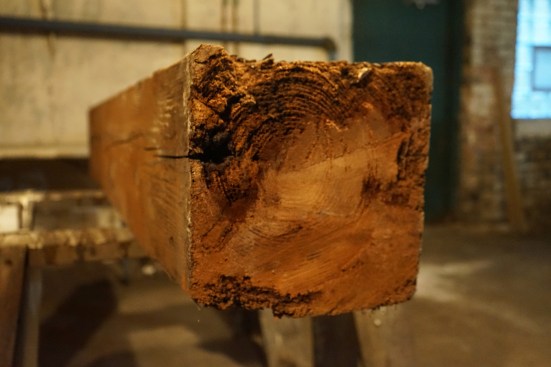
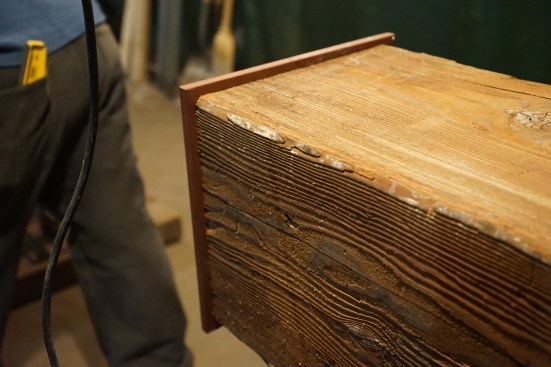
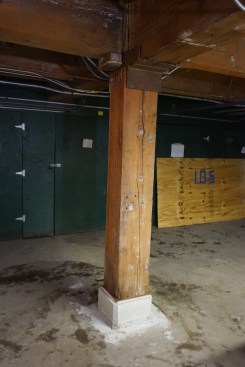
Our company specializes in structural repairs. We have worked in every type of building, from some of Chicago’s largest commercial buildings (which qualify as some of the largest buildings ever built) to grandma’s Sears, Roebuck and Co.–home built by grandpa in rural Illinois. They all start with a concern, and the concern for the job shown here was signs of rot at the base of an 11-inch-by-11-inch timber post. This post supported a main girder of an old two-story, timber-framed factory that had been converted to luxury condos. The condo president had contracted with a structural engineer, who recommended our company to do the repair.
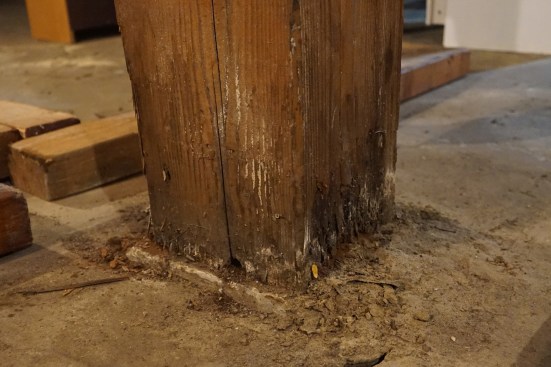
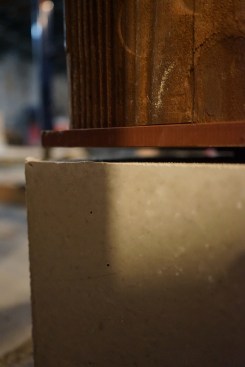
The existing footing was sound; only rot at the base of a post was of structural concern
The engineer calculated that the current loads on the column were only 8,000 pounds; the first task was to get all of that load off the timber column.
Temporary Support
We had identified early on that the existing concrete slab was thin. To avoid cracking the slab, we set cribbing on it to support our shoring and transfer the load to the sub-slab soil. This soil had a bearing capacity of at least 1,500 pounds per square foot, so a single layer of 4x6s on the flat would be enough cribbing to spread the load.
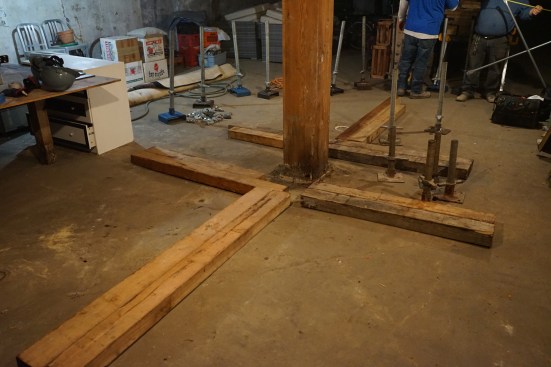
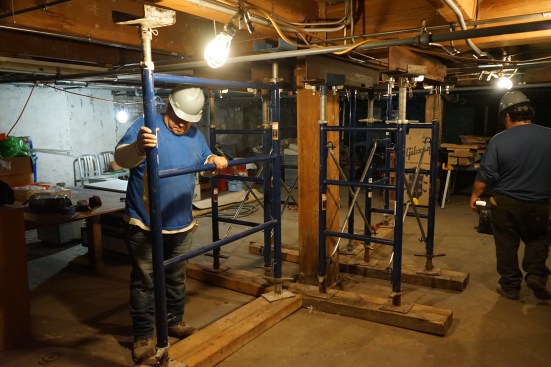
As the crew begins to set up temporary support, they begin with …
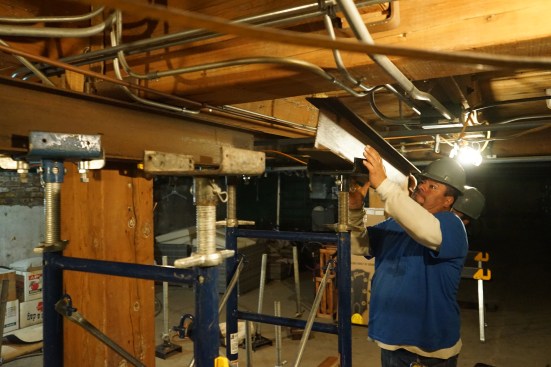
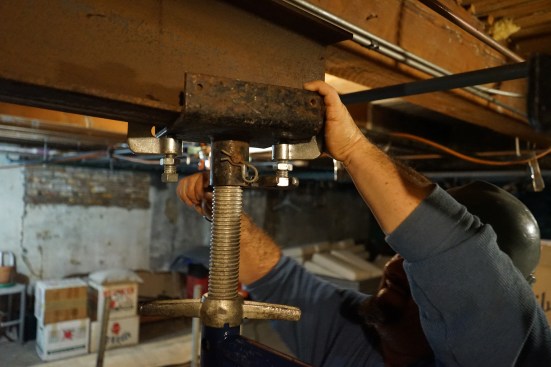
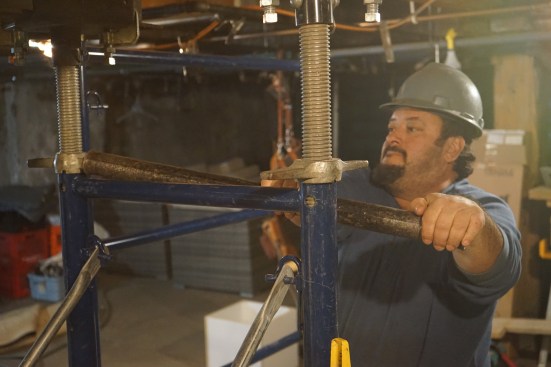
Our shoring consists of heavy-duty ladder sections, adjustable-length U-heads, and adjustable base plates. When installed correctly, the frames have the ability to handle 10 kips per leg (1 kip is equal to 1,000 pounds), or 20,000 pounds per frame. To support all of the structure that the post was carrying, we set a tower on each side under the main girder beams with two steel beams spanning from U-head to U-head.
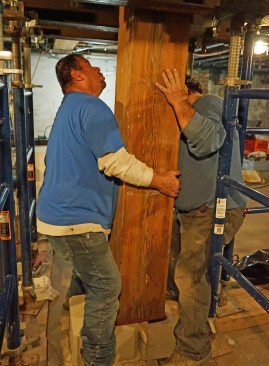
We also set a frame on each side of the post directly under the intersecting wood joists. We used the adjustable feet to ensure the frames were plumb in both directions, and once the shoring was set, we snugged up the jack screws on the U-heads until the wood post became loose and we were able to remove it with ease. It’s worth noting here that we were not jacking, or raising, the floor; otherwise, we would risk cracking plaster and causing other problems in the units above. By tightening the screw adjustment, we were only putting pressure on the floor structure so the loads transferred off the post to the shoring.
New Pier
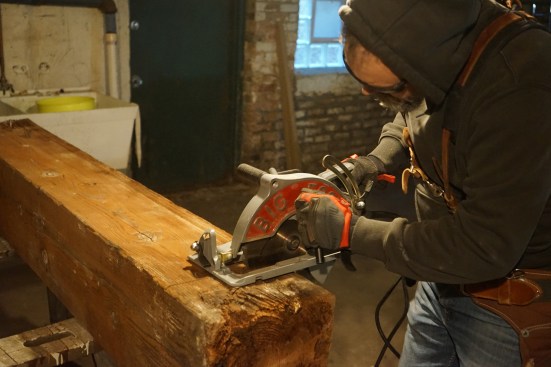
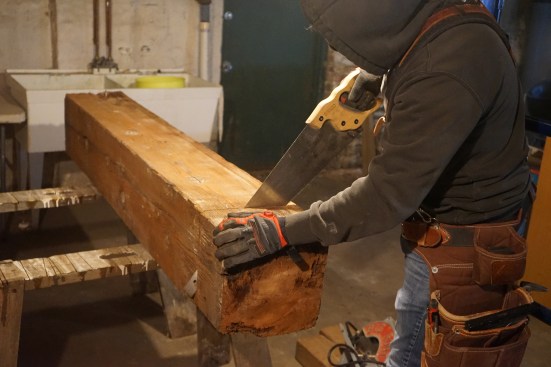
Once the structure is supported, the old post was removed and se…
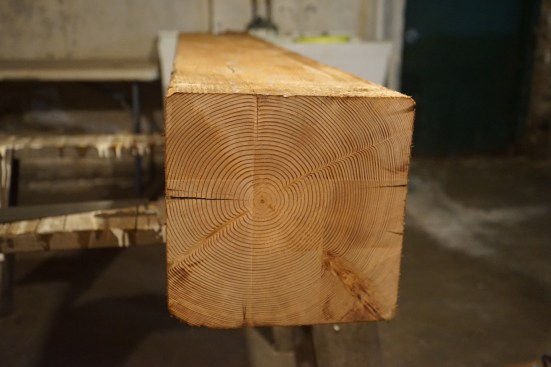
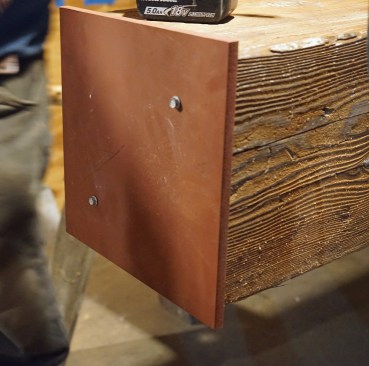
Once the post was removed and on horses, we cut off the compromised section, making sure we cut above the visible rot so the fresh end of the post was rot-free. While the post was still on horses, we preinstalled a 1/2-inch-thick steel setting plate on the bottom of it.
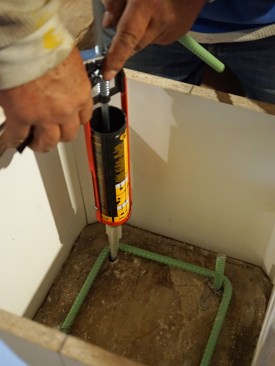
To prepare for pouring the new pier, we removed loose concrete from around the existing footing and made a melamine form, which we set plumb around the footing. The new pier would be anchored to the footing with rebar pins, so we drilled into the footing, cleaned out the holes with a wire brush (being sure to blow and vacuum out the debris), set the pins with epoxy, and tied in a single cage.
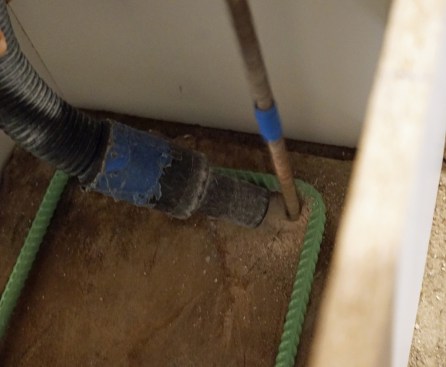

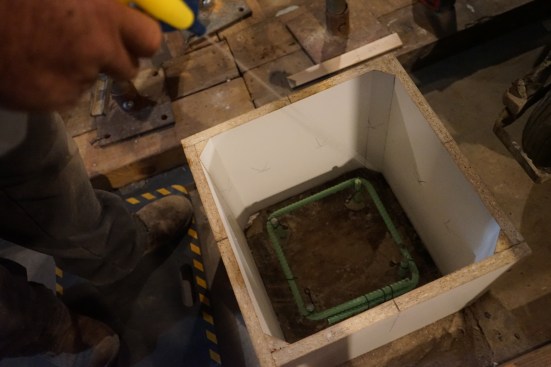
The crew drills into the existing footing for rebar pins.
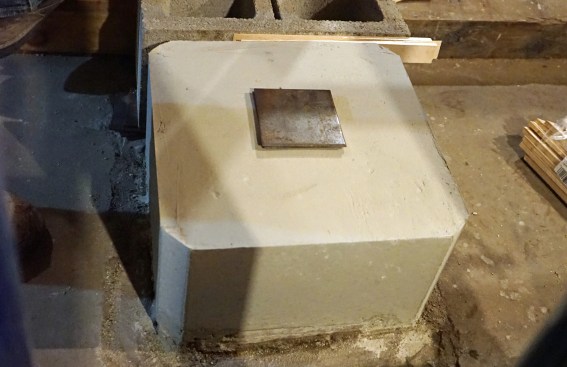
To establish the elevation of the concrete, we measured the length of the post with the setting plate attached. We set the elevation a little lower so we had 3/8 to 1/2 inch of wiggle room to insert the post on the new pier. The difference would be made up with a steel shim.
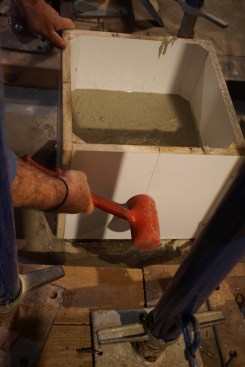
Just before pouring concrete, we saturated the existing footing with water from a spray bottle. This would prevent the form and old concrete from absorbing too much water from the concrete mix, helping to ensure a proper cure. After the pour, we tapped the sides of the form with a dead-blow mallet to remove any voids. The “high-early” bagged concrete we used reaches 3,000 psi within one hour—plenty to handle the design loads, so we could safely strip the form.
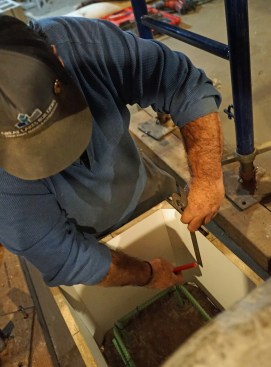
The post will sit on a 4×4 steel shim that sits in the middle of…
We were then ready to slide the post back into position. At this point, we measured from the top of the new concrete to the bottom of the girder and subtracted the length of the post with the setting plate from that distance. This gave us an exact thickness for the steel shim (the shim, called a “coupon” in our area, was cut from scrap steel).
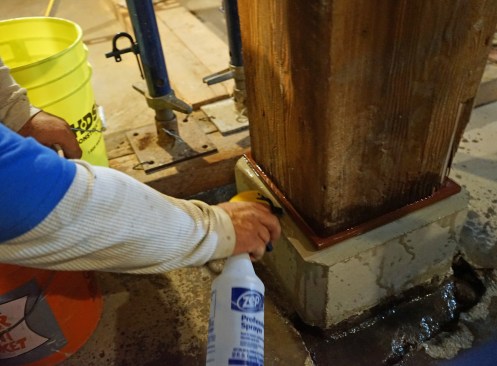
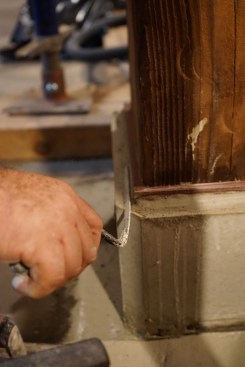
The 4-inch-by-4-inch shim carries only part of the load, and we spread this load by filling the void between the steel setting plate and the top of the new pier with non-shrink grout. The non-shrink grout we use also reaches 3,000 psi within one hour, more than enough to support the 8,000-pound load. Once it set, we could remove the shoring, clean up the site, and move on to our next project.
All photos by the author.


