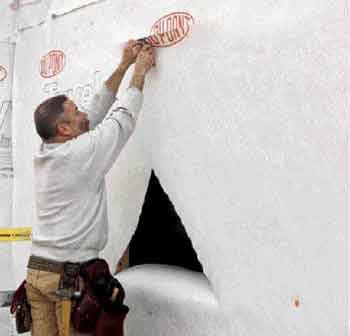
There’s no such thing as waterproof siding. Over time, moisture will work its way behind even properly installed siding. Housewrap provides good protection against the moisture that does get in, but it must be detailed properly at windows and other penetrations to work.
In this article, I’ll explain the housewrap flashing details I use when installing flanged window units. These details will prevent any water that gets past the siding from damaging the windows or rotting the framing.
Think Like a Roofer
For some reason, builders tend to work less hard at flashing details on a wall than they do flashing a roof. But when you think about it, a wall is really a roof with a very, very steep pitch, so a window is basically a skylight installed in a vertical roof. I flash windows in much the same way that I flash skylights: I start at the lowest point and work my way uphill, with each layer of flashing overlapping the previous layer, creating positive drainage laps and always avoiding reverse laps.
Cutting the Window Opening
I wrap my houses as soon as I can: The chance of rain is always present, and I want to protect the shell as quickly as possible. When it’s time to install a window, my first step is to cut the wrapped window opening. I start by making a level head cut, then two 45-degree cuts upward from the lower corners. I finish with a vertical cut.
X-cutting the opening should be avoided: The head flap of an X-cut will direct any moisture that manages to get behind the housewrap into the structure.
Next, I trim the flaps of housewrap just a bit shy of the interior face of the studs and tape them to the framing. This holds the flaps tight to the studs and makes the gap at the jambs much easier to foam. I also fasten a piece of beveled siding to the rough sill, with the thick edge toward the interior. This sloped sill will direct any moisture toward the exterior of the wall.
Finally, I create a head flap by making two 45-degree cuts 6 inches long in the housewrap at the window head corners, and temporarily fold and tape this flap up out of the way.
Next Step, Sill Flashing
After I’ve taped the housewrap to the studs, I install the sill flashing. I prefer to use Tyvek FlexWrap, a butyl-based self-healing flashing product I call “peel-and-stick on steroids.” It has all the self-healing characteristics of generic peel-and-stick, but it also can be stretched to form seamless sill corners.
I cut the sill flashing one foot longer than the width of the window opening, so the flashing will extend up the jambs 6 inches. Then I peel off the release paper, center the flashing in the opening, and lower it onto the sill. I press it into place, working from the middle toward the corners, where I carefully stretch the flashing out to create seamless protection. The flashing has a memory, so to prevent it from curling back, I drive a cap nail at the outer edge to hold it in place until the adhesive achieves its full grip (24 to 48 hours). Finally, I smooth the vertical portion of the flashing against the housewrap.
Installing the Window
Before installing the window, I apply a heavy bead of elastomeric latex caulk at the jambs and the head, but I never caulk the sill flange area. Should any moisture find its way into the rough opening, this caulk-free sill flange, coupled with the sloped sill, will provide a weep area for water to escape.
Next, I install the window, driving roofing nails through the preformed holes in the flanges, spacing them approximately 6 inches apart. Check your window manufacturer’s specifications for the correct spacing.
Flashing the Jambs and Head
Starting 2 to 3 inches above the window head, I apply flashing membrane over the jamb flanges, letting the tape extend at least to the bottom of the sill flashing.


