Most of my residential tile work centers on the kitchen or bathroom, but some homeowners also like the look and feel of tile in other parts of the house. One of the most extensive jobs we’ve done lately involved tiling every floor but the staircase in a two-story, 2,500-square-foot house, including an ornamental rug-pattern area in the great room. This was an interesting project for us because the homeowners — who happened to own a chain of upscale tile stores — were unusually well informed about the latest tile installation products and techniques.
Preparing the Subfloor
Nothing spoils a ceramic tile floor installation like a large stress crack running across the field. To prevent this kind of expensive disaster, I always do a little pre-installation detective work to make sure the floor is structurally sound. Substrate deflection is by far the biggest contributor to tile failure. If the span is too long for the joist dimension or the joists are too widely spaced, problems are inevitable.
For most tile applications, sticking to the standard L/360 formula (span divided by 360 = maximum allowable deflection at center) will keep you out of trouble. The exception is natural stone tile, which is much more susceptible to breakage than ceramic tile. Here it really helps to have the finish floor specified before framing starts, because the Tile Council of America (TCA) recommends reducing the maximum deflection by half, to L/720.
Underlayment and plywood. Whichever deflection standard is used, the total thickness of the plywood subfloor and underlayment-grade plywood should ordinarily be at least 1 1/8 inches. According to TCA, particleboard underlayment and OSB subfloor panels are not acceptable substrate materials under ceramic or stone tile.
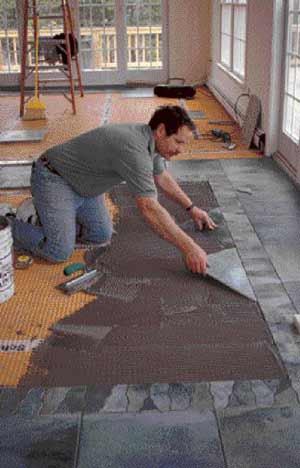
Underlayment edge and end seams must be offset from those of the subfloor by at least 2 inches to prevent telegraphed stress cracks. The subfloor plywood should be glue-nailed to the floor joists and the underlayment nailed off on 8-inch centers in the field and every 6 inches around the edges. Avoid nailing underlayment into the floor joists, because that can telegraph framing movement to the surface (see Figure 1). To be safe, I use underlayment nails that won’t penetrate the subfloor by more than 1/8 inch. I also gap the panel ends and edges, using a nickel or a quarter as a gauge, to let the panels “work” a little without stressing the tile.


