Area separation walls are critical safety features in multifamily housing. If one unit catches on fire, the area separation wall (also known as a firewall or party wall) is designed to prevent the fire from spreading to an adjoining unit or units. Equally important, it must be constructed to allow a burning unit to collapse without pulling down the firewall or compromising its structural integrity. A firewall must be continuous from wall to wall and from foundation to roof. In most cases, it continues through the roof sheathing as a parapet and protrudes through the exterior walls, although other terminations are possible where allowed by code.
Masonry vs. Gypsum Board
Traditionally, residential area separation walls have been made from concrete block or some other form of masonry. Masonry walls do the job, but from my standpoint as the vice president for construction of a company that builds stick-framed multifamily projects in southeastern Pennsylvania and southern New Jersey, they have a couple of important disadvantages.
Masonry walls require working with mortar, which can make things difficult when winter temperatures fall below freezing. Going with masonry also introduces another trade to the site, which adds to the cost and increases scheduling and coordination problems.
We’ve found that the best and most cost-effective solution is to use two-hourrated gypsum-board area separation walls, which are approved by BOCA — the applicable code in our area of operations — and meet the requirements of our insurance underwriters. (Some townships in our area still require masonry walls, however.)
Gypsum-board area separation walls are a little bit cheaper than masonry, in our experience, but their real benefit is that they’re easily erected by carpenters. Our current crew of framers, for example, had never installed gypsum-board separation walls, but they mastered the procedure within a few hours. With the required trade already on the site and weather conditions removed from the equation (carpenters can work on gypsum-board walls even in the coldest weather), it becomes much easier to stick to the schedule.
Area Separation Wall Basics
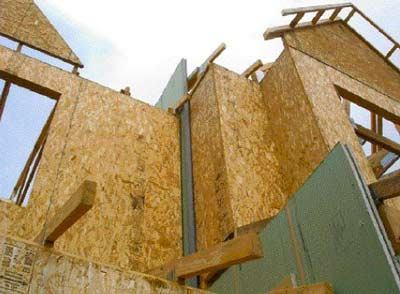
The heart of the system is a double layer of 1-inch-thick gypsum liner panels, which fits between the back-to-back framed walls of two adjacent units. The area separation wall begins at foundation level, where a U-shaped metal track is pinned to the slab. Because the gypsum-board panels are so light, they don’t require separate footers.


